July 14, 2026
My husband bought me a Cricut Joy Xtra as a gift. I don’t need a big machine. This little guy does everything I need it to do. I asked for just the machine and not a bundle package with accessories. Today, I would like to show you what it can do and give you an idea of what you need to buy to use it.
What is a Cricut?
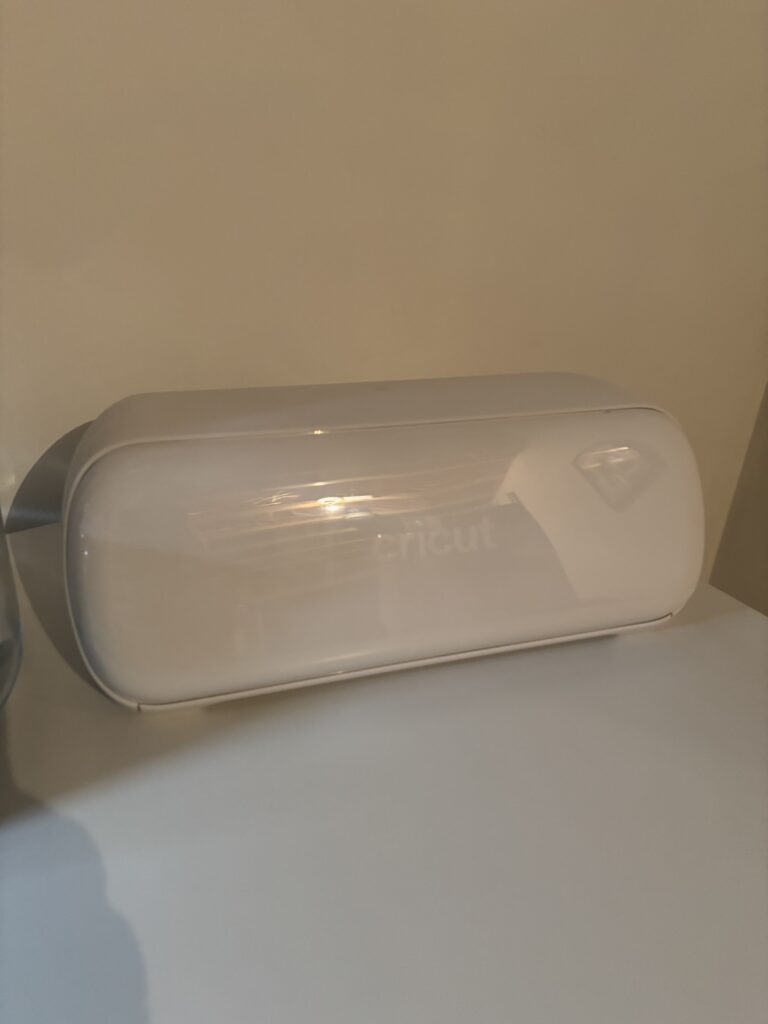
Cricuts are cutting machines that can cut everything from paper and sticker sheets, to vinyl transfers for items like t-shirts and canvas totes.
These little workers make more delicate designs and perfect cuts than you could do with a scissors. The Cricut is meant to be easy to use. While this is true, I did find that I needed to learn a few things to make my projects turn out.
There are plenty of video tutorials on the Cricut website to help you learn how to use it. So, while it may seem intimidating, it doesn’t have to be. My best advise is to take a break and step back from it when you start to get frustrated.
The basics
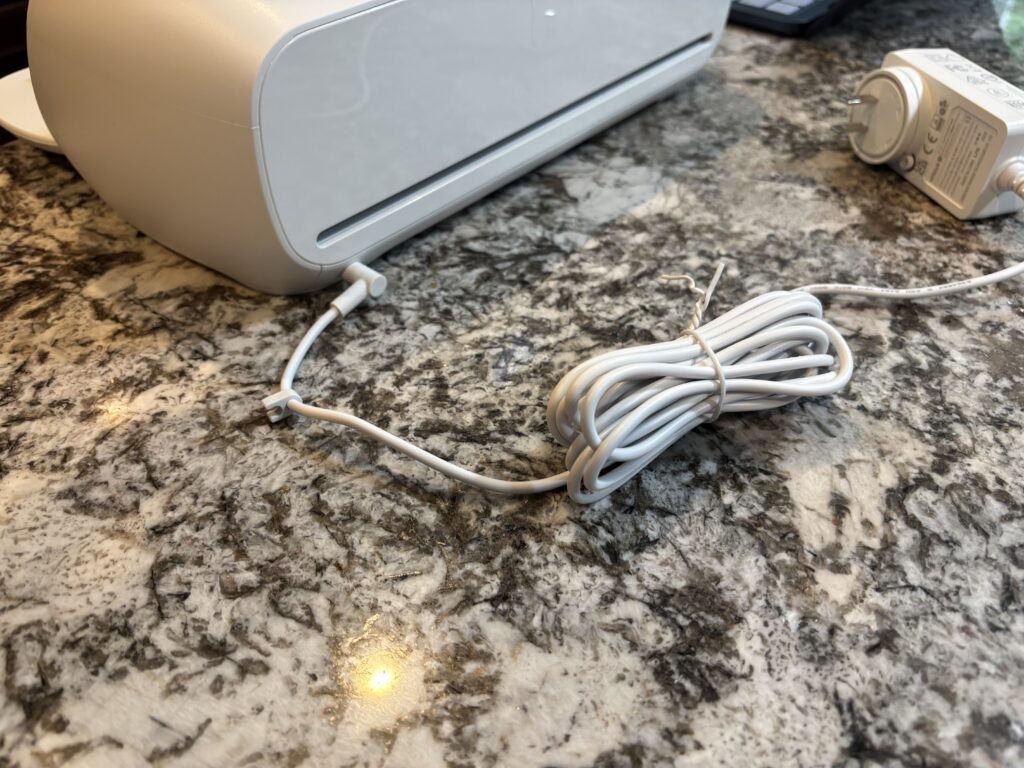
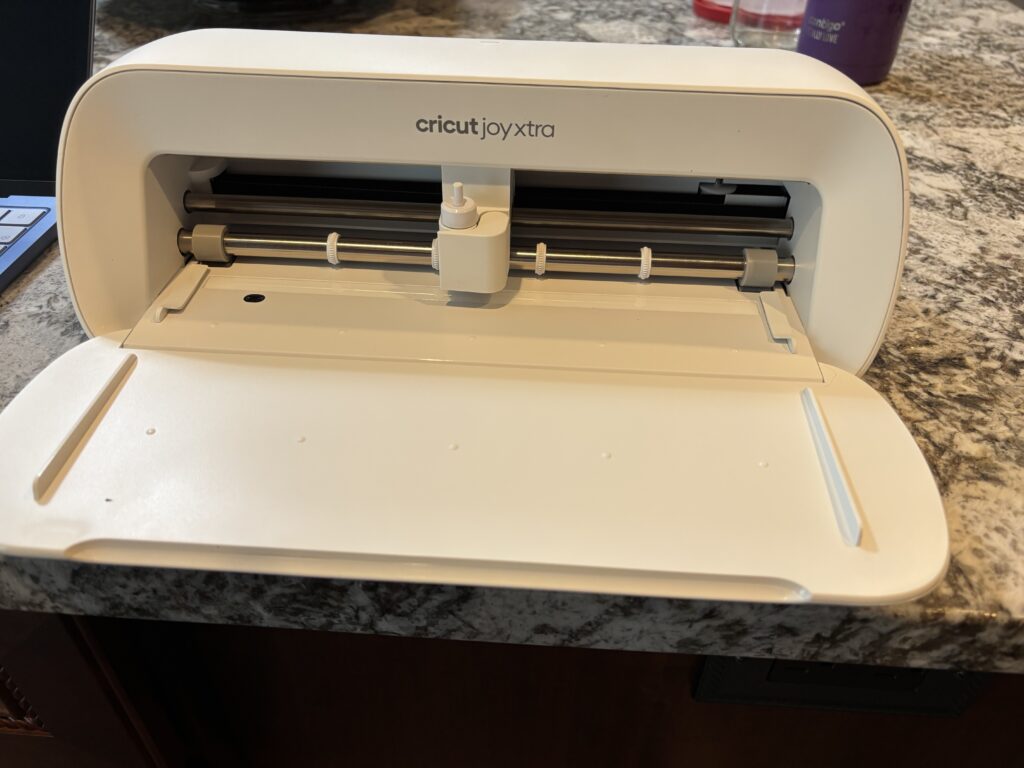
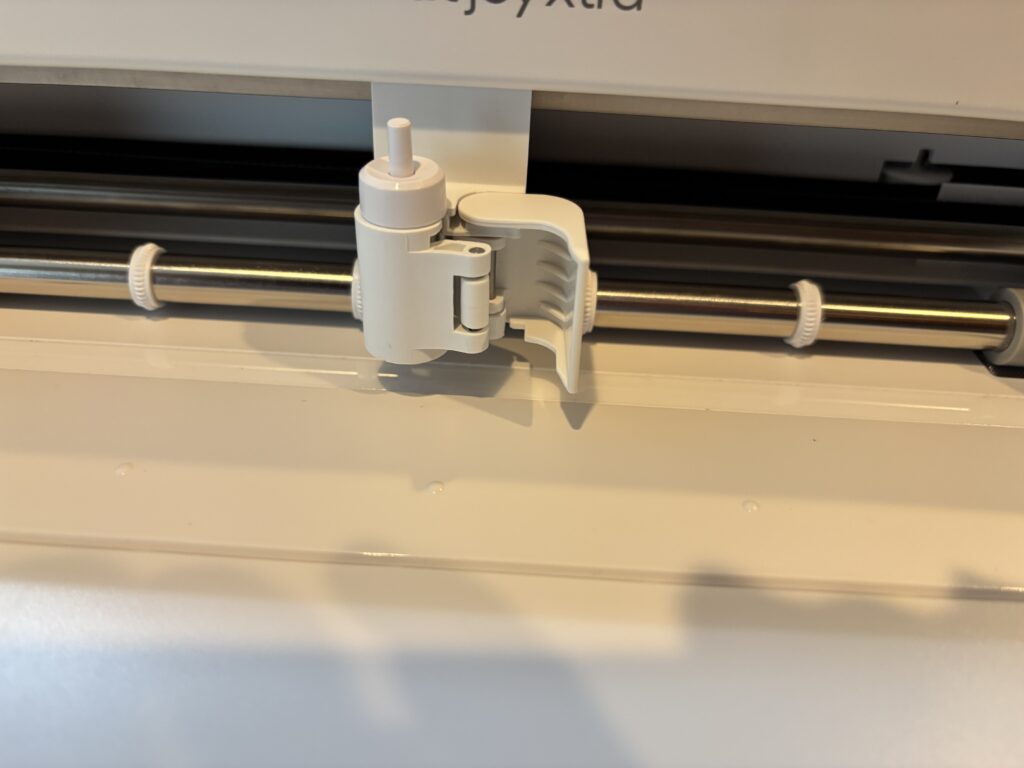
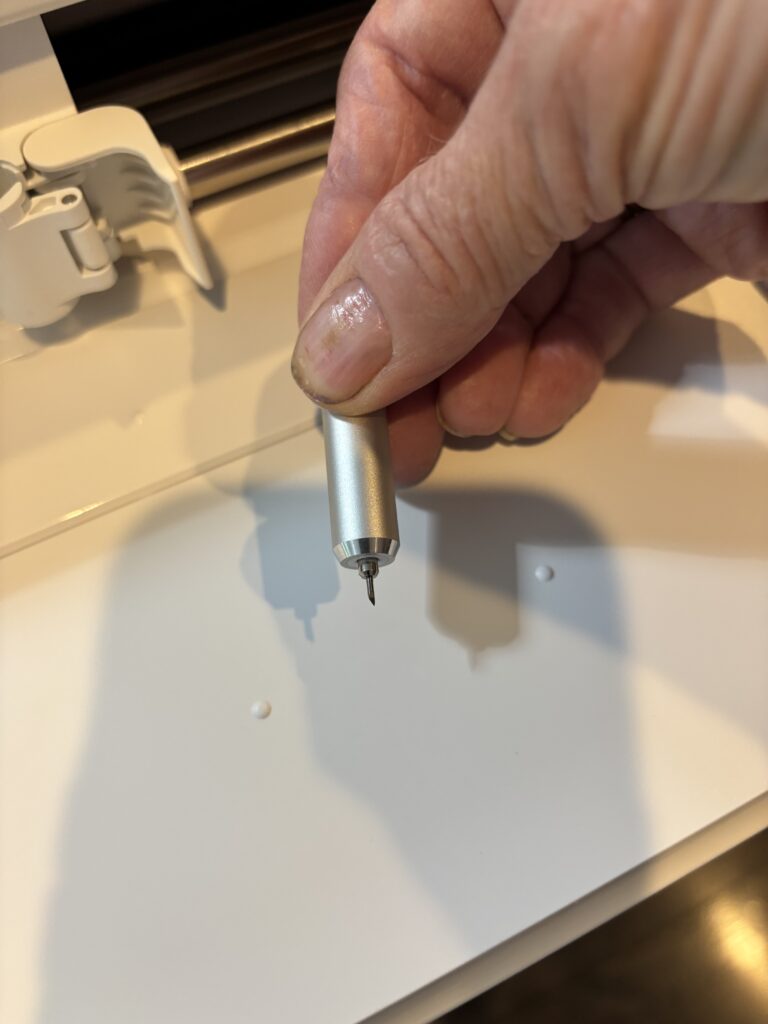
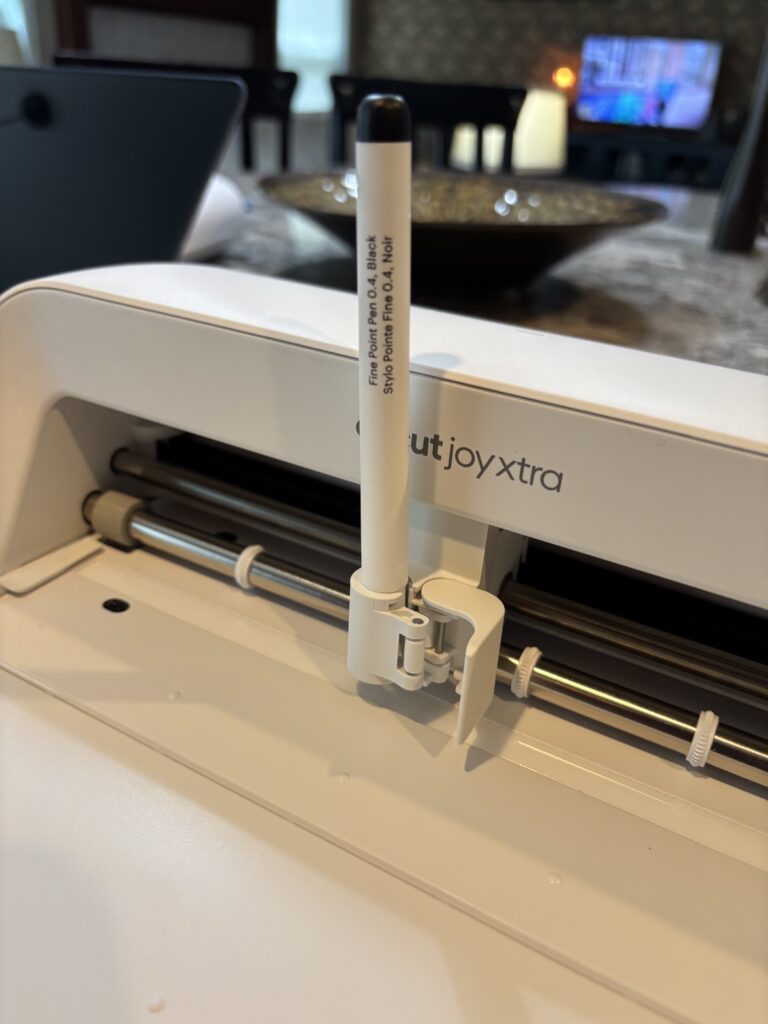
All the Cricut machines share the basic set up. The cord plugs into the back of the machine and then plugs into an outlet. The front door opens to reveal where the cutting takes place. The clamp holds a housing which holds the cutting blade. You can remove the housing and put a marker in when directed to. The blade come out by pushing the button on top of the housing.
What do I need for accessories?
Get the app
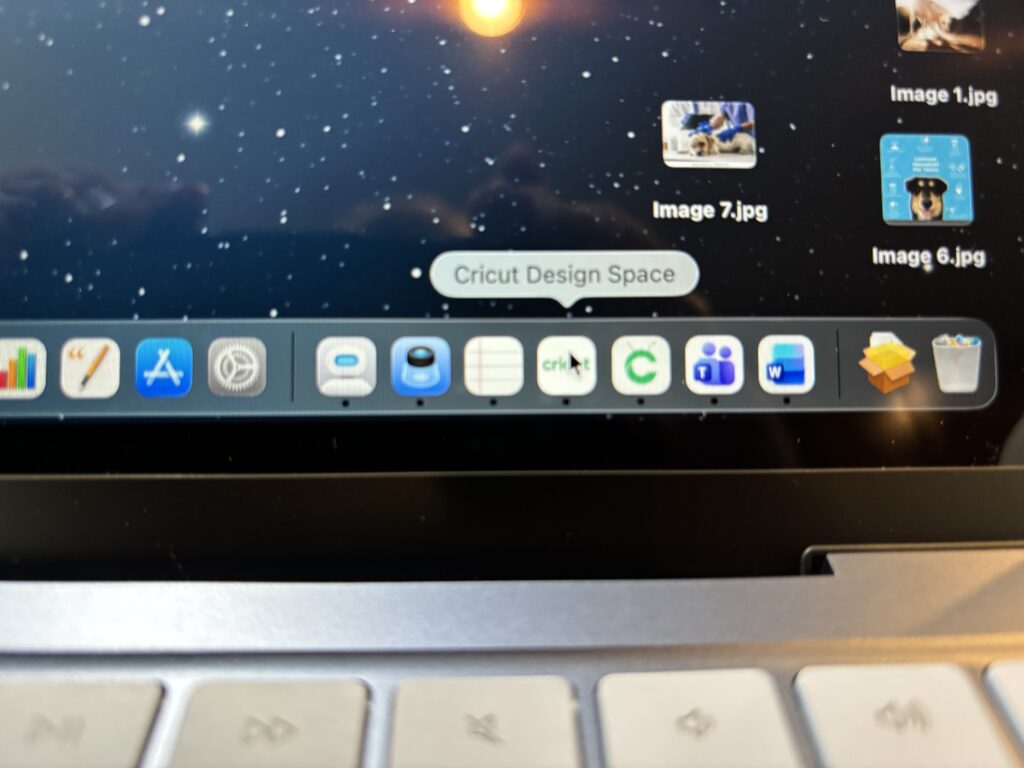
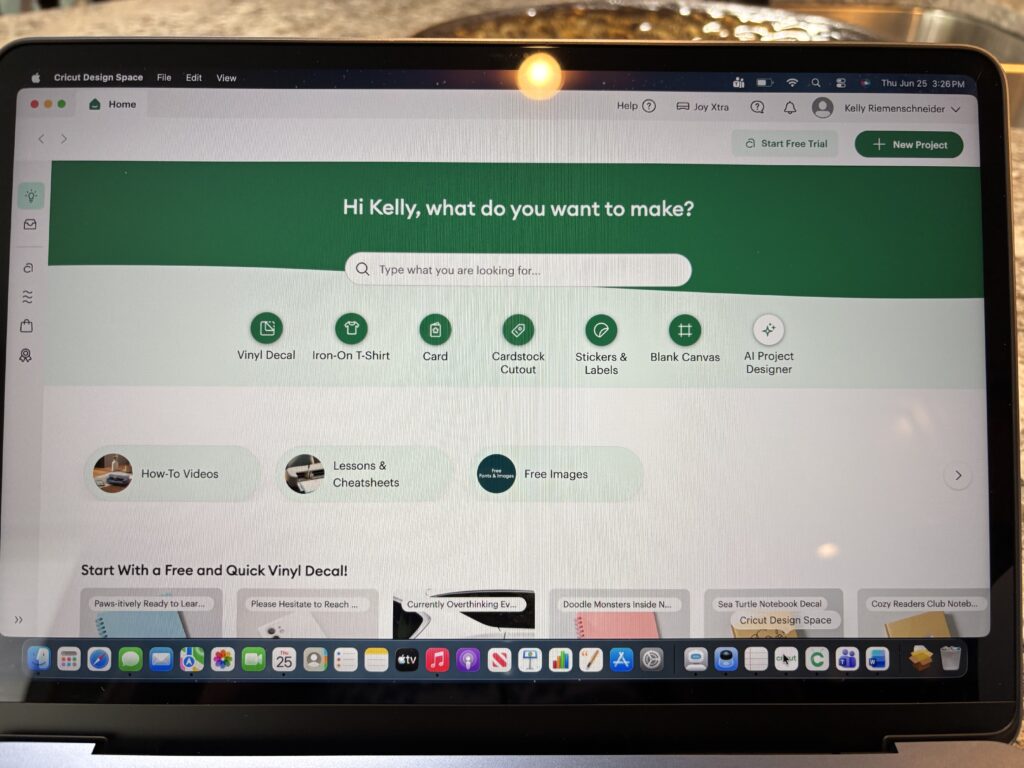
First, you will need to download the Cricut app. When they first came out, there were cartridges that you plugged into the machine to get your designs and projects. Now it is all run by the app on your computer. You will want to set your machine up in a spot that will allow your projects to go in through the front of the machine and out through the back. You need to have your cell or computer close to the Cricut so it can connect and run the machine.
Tools and materials
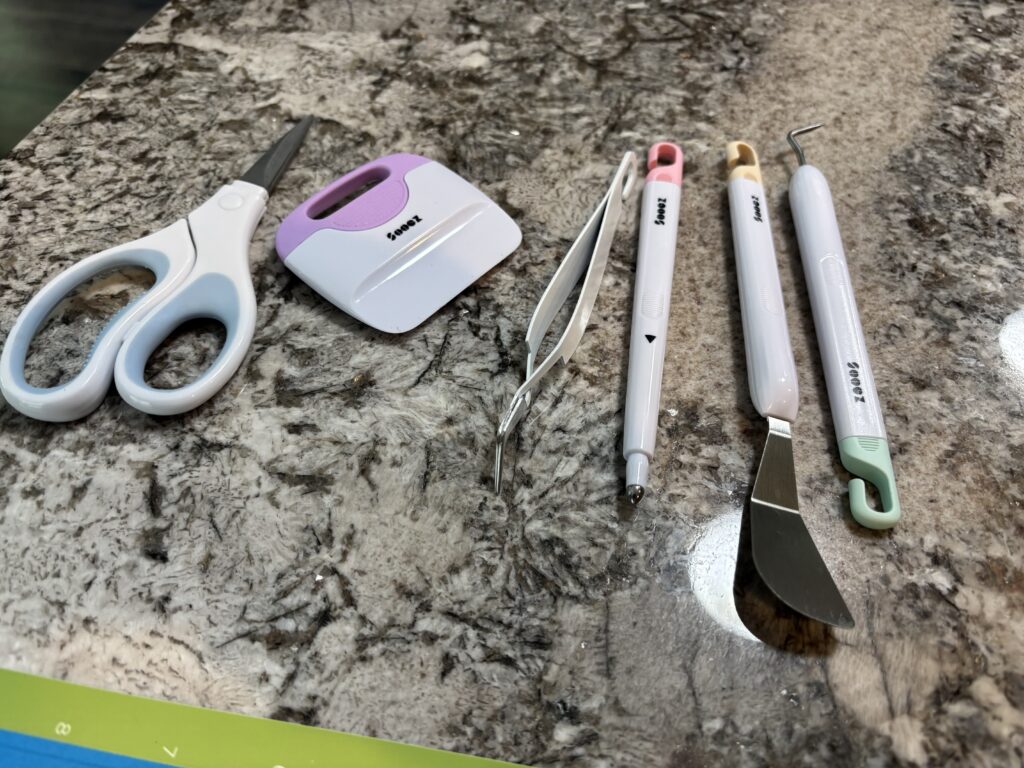
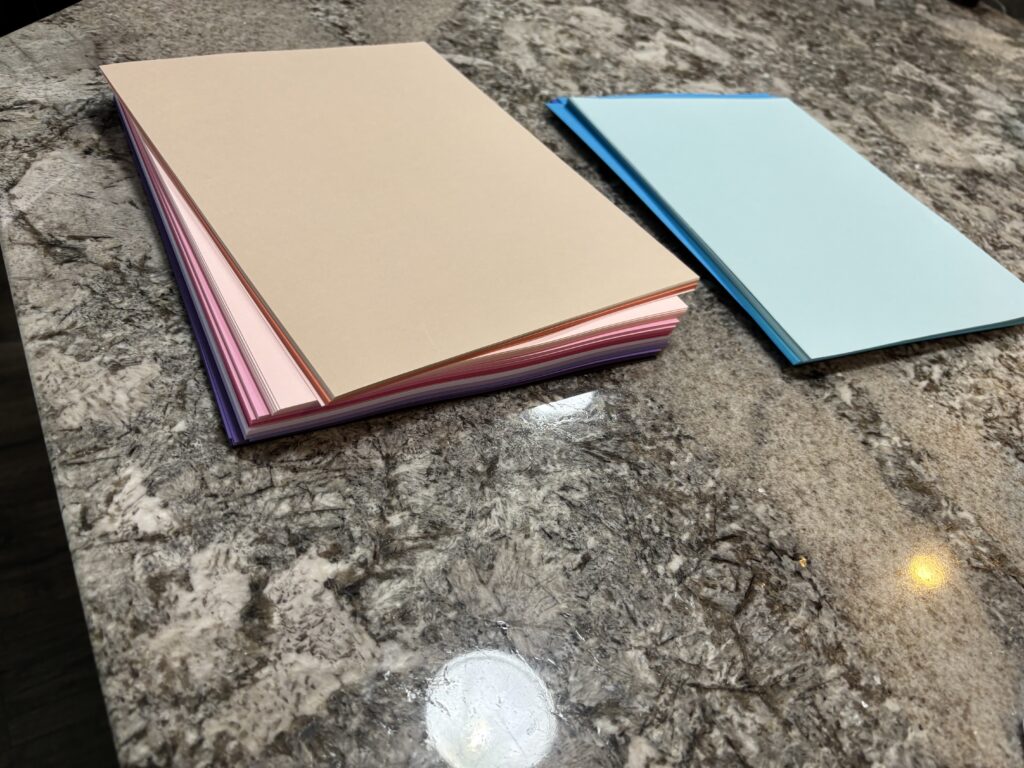
- Tools for removing the scrap pieces (referred to as weeding) of vinyl, cardstock or other material around the cutout pieces.
- Cardstock, vinyl or other materials for creating your projects.
Cutting mats
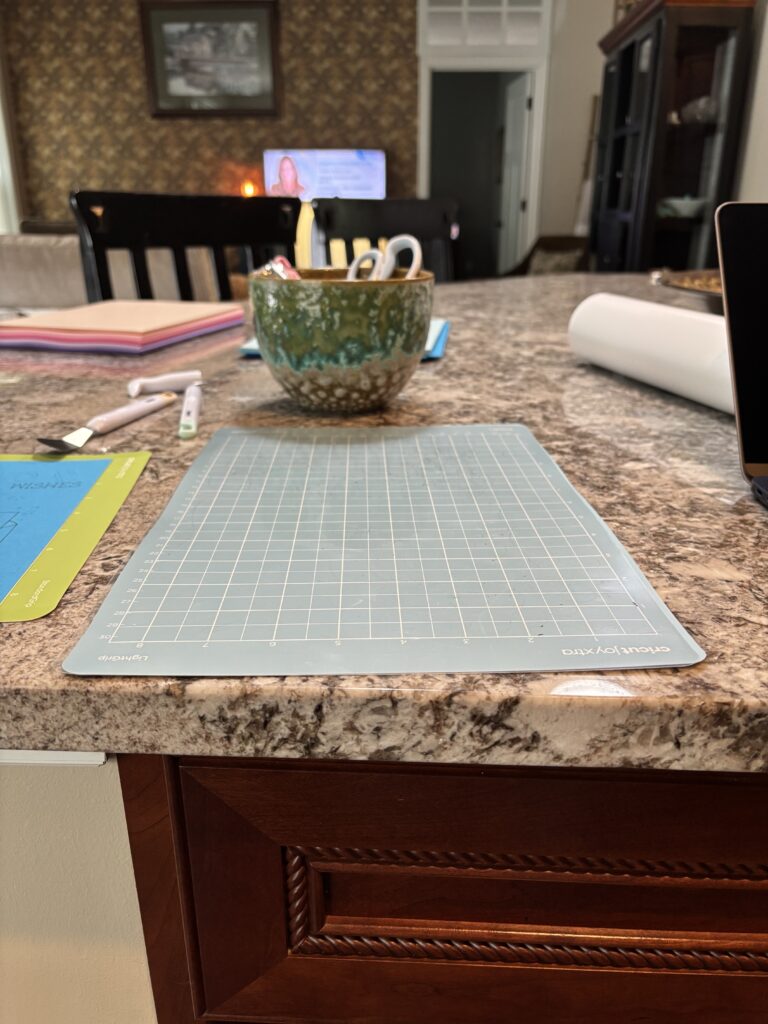
- Cutting mats are needed to hold your materials in place as the machine cuts them. The mats are sticky and come with a clear film to protect the sticky surface.
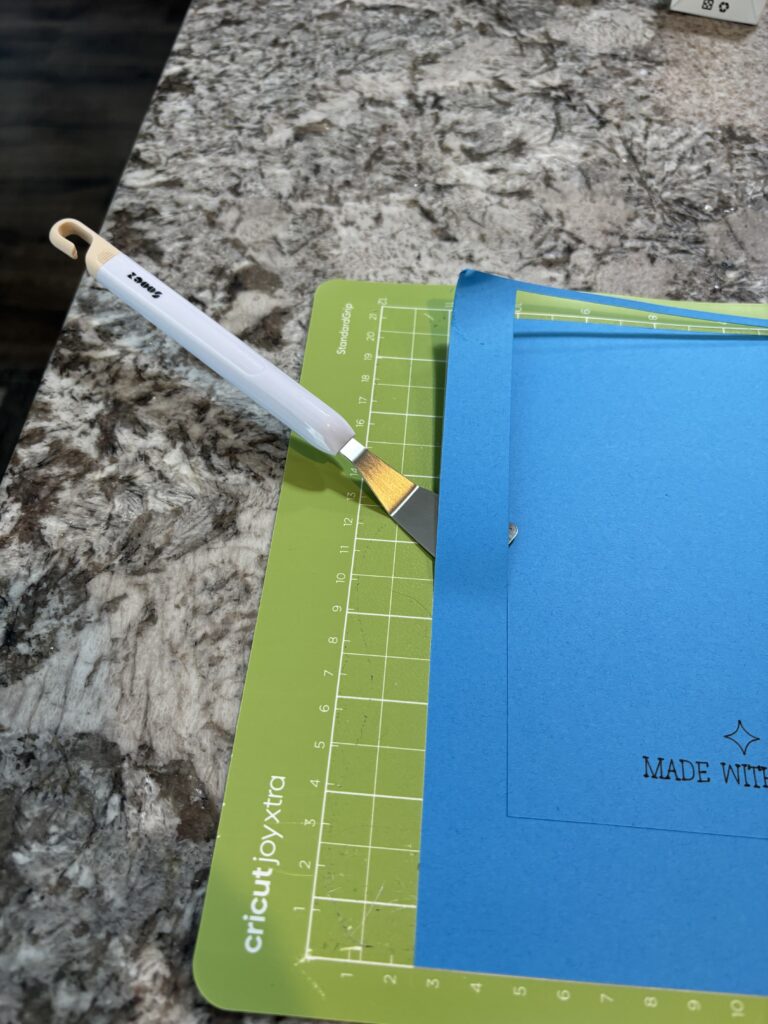
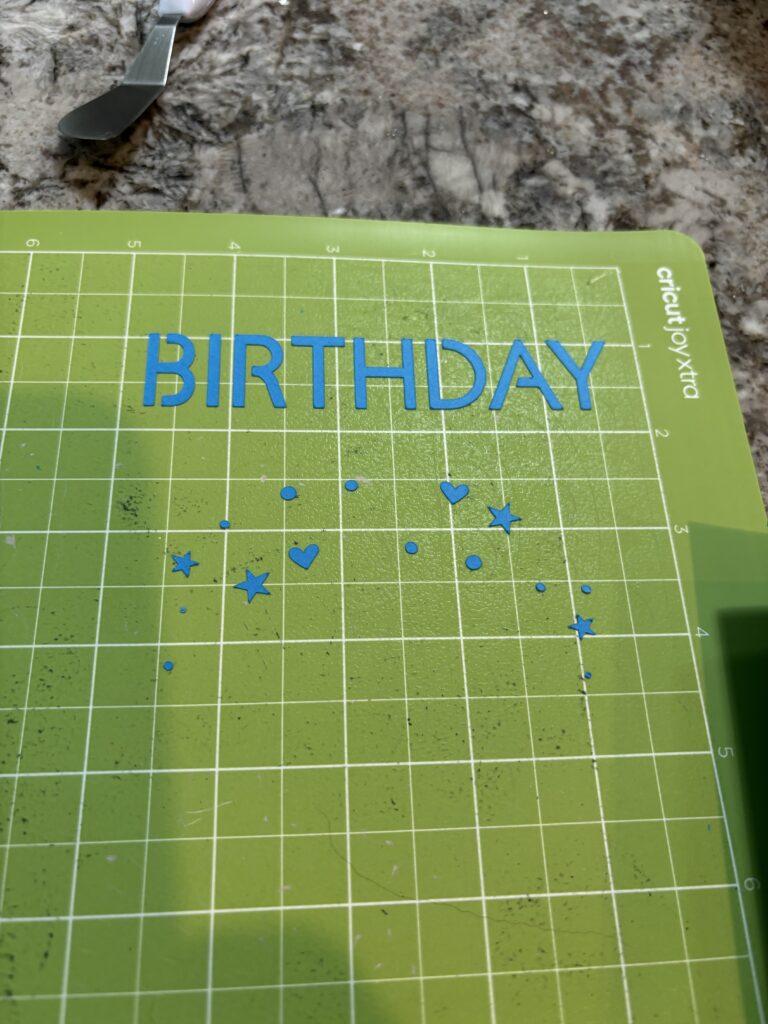
- They come in 3 grips: LightGrip-standard paper, light cardstock and vellum, StandardGrip-heavy paper, iron-ons and vinyl and StrongGrip-specialty cardstock, mat board, backed fabric. Use the scraper or spatula tool to remove excess pieces left from cutting.
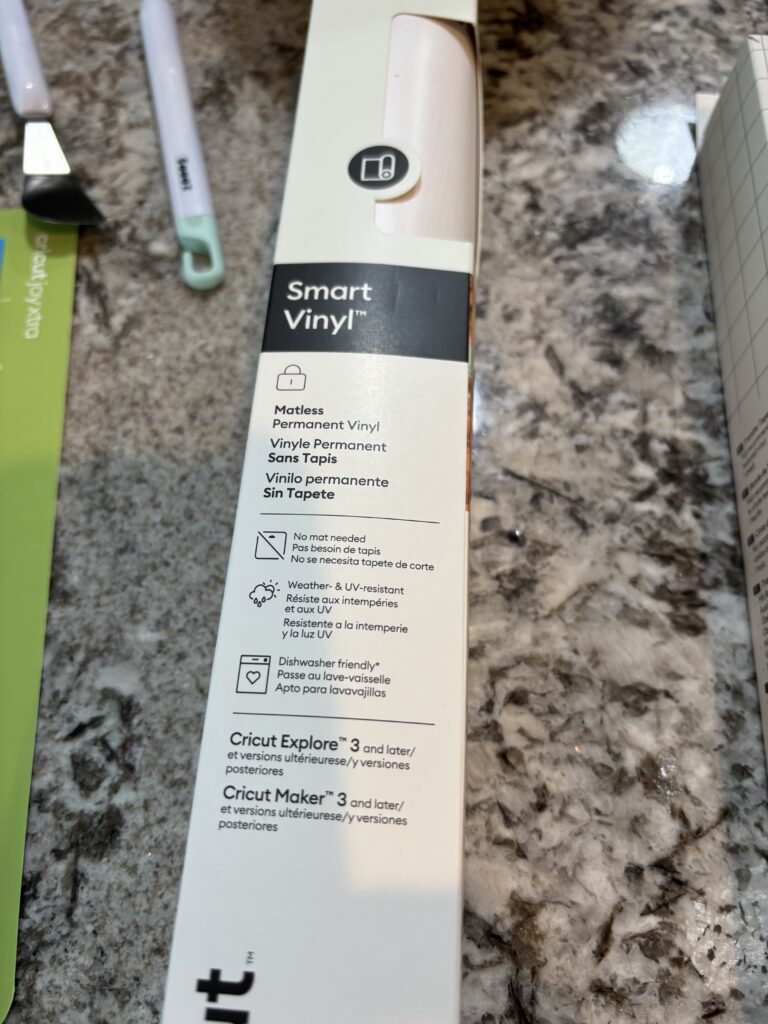
Smart vinyl
- There are vinyls that Cricut calls Smart vinyl. This means these rolls of vinyl do no need a cutting mat.
Transfer tape
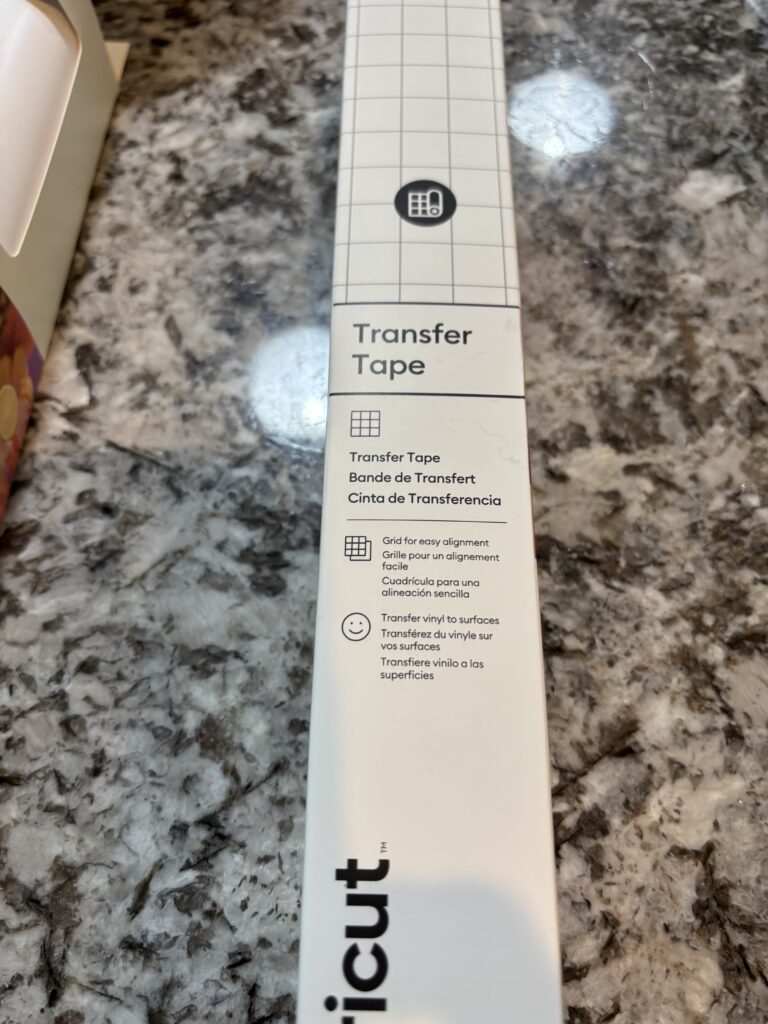
- Transfer tape is used to lay over the top of your vinyl cutout to hold it in place. After getting your vinyl cutout in place on your object, the transfer tape is peeled off leaving your design in perfect place. Be sure to rub the transfer tape over the cutout to make sure that it comes off the backing onto the tape.
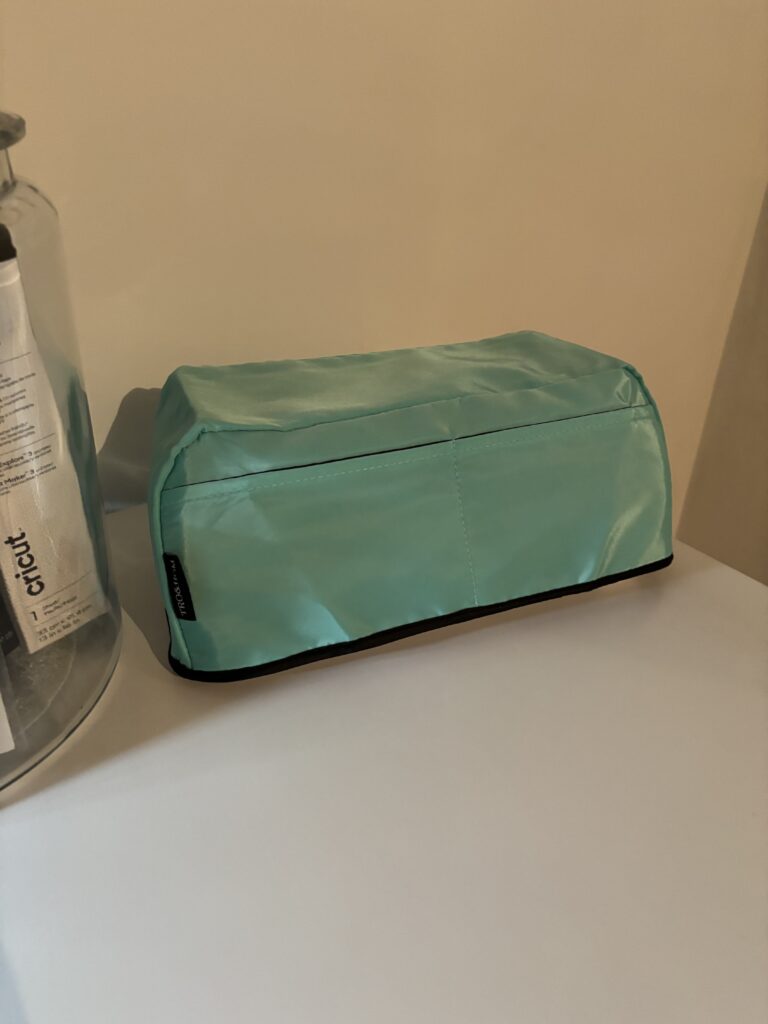
- There are many other accessories available. I did buy a dust cover for my machine. You will need to buy replacement cutting blades, as well as, different blades for different materials. Vellum, as I found out the hard way, needs a fine blade. There is also a tool to use for scoring your paper for doing folds.
Project, print, cut
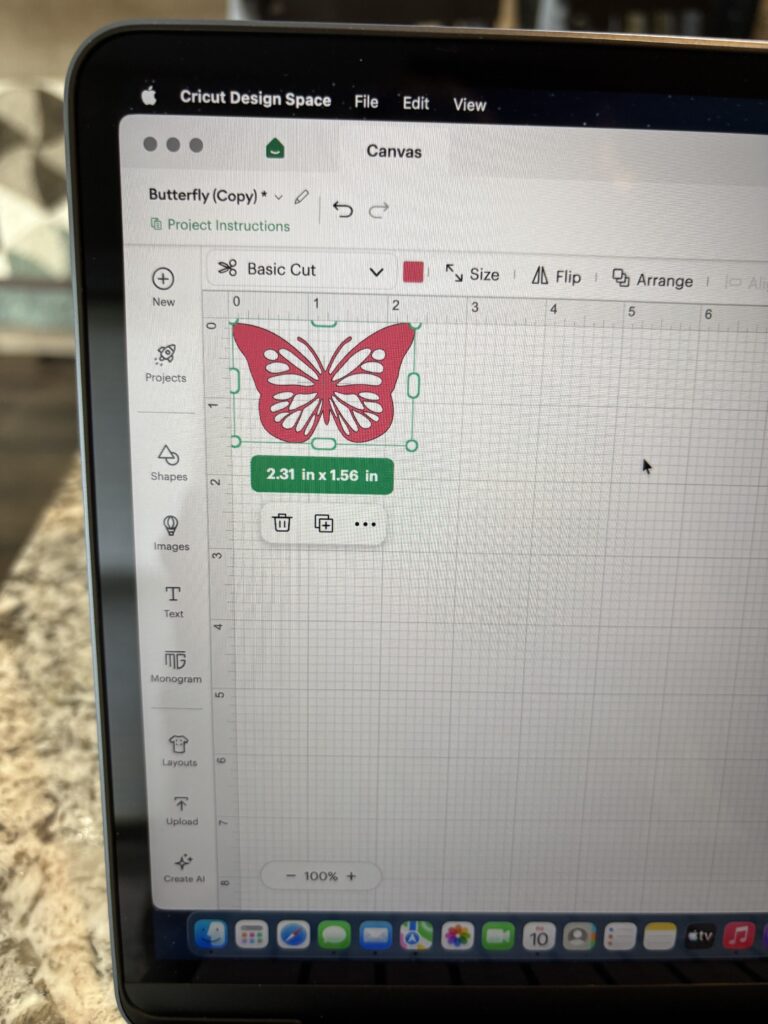
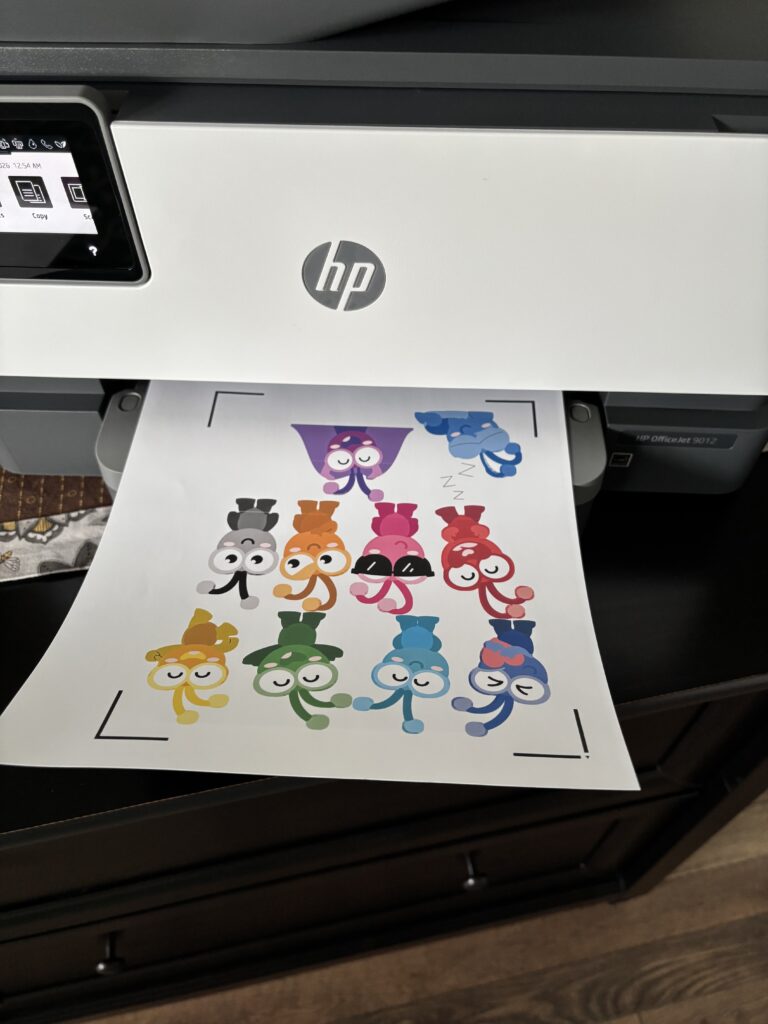
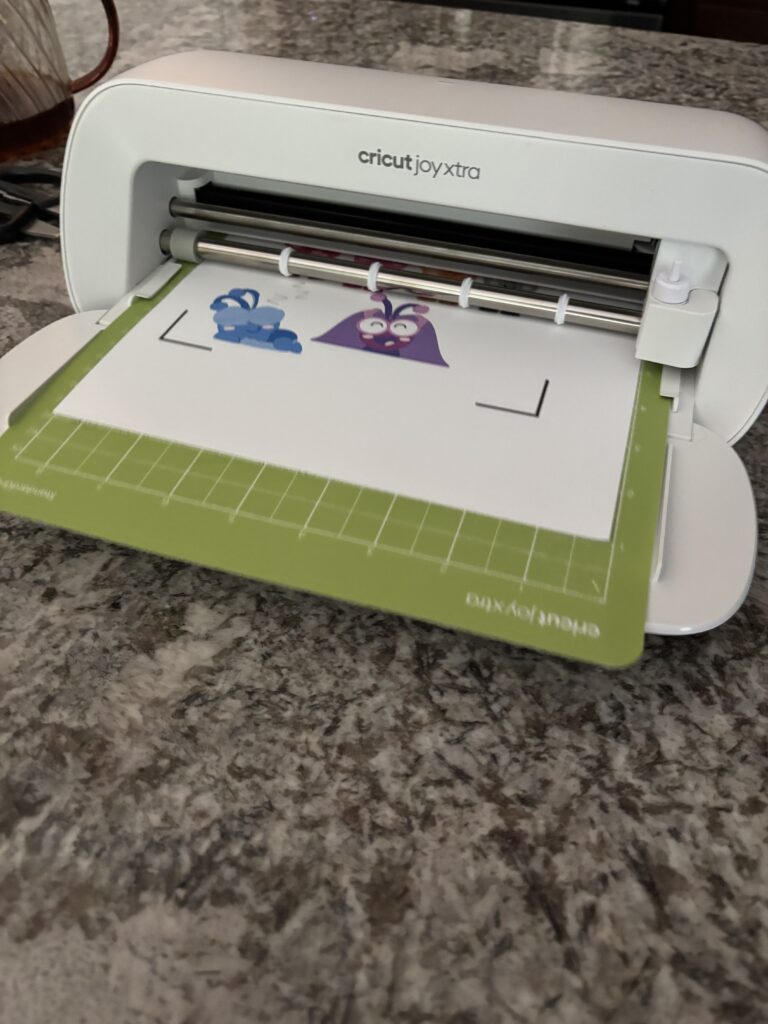
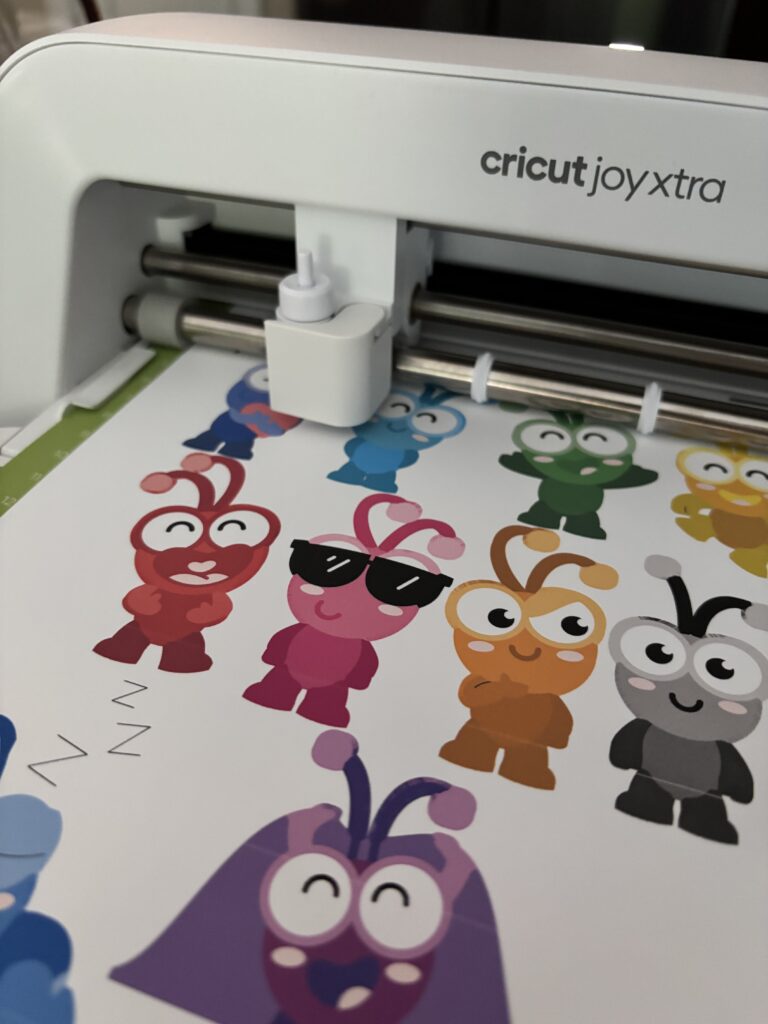
Picking a project also means making sure you have the material to put it on, whether it’s a t-shirt, a wood sign or more cardstock for making a card. There are lots of project ideas to pick from. Many are free, but the cool ones I would find were usually not free.
With the purchase of the machine, you get a 30 day free trial to access their library. I strongly suggest using it to see all the things you can do. The company will automatically renew your subscription for one year if you don’t cancel. Kuddos to them, they do let you know when your 30 days is running out. They also have a monthly option for those of us who won’t possibly be able to work on projects enough to justify the price.
Tips and tricks
- With having the smaller Cricut, some of the projects need to be edited to be smaller before they print out. Just the same as, sometimes you want a smaller object to fit on your project. There is a grid with a ruler to show you how big it will be in the app. A few clicks and you can adjust the size.
- Projects like stickers or greeting cards may need the design to be printed on your material first. The Cricut will prompt you to do this.
- When using a cutting mat, place the material at the top of the mat within the grid lines. You can use either end of the mat. Gently press the material to the mat to secure it.
- The white light on top of the Cricut will blink to let you know it is ready for the mat to be inserted. Gently place it under the 2 guideline bars on each side. The machine will grab it and then look at a couple things. Do you have enough material, is it inserted straight, where are the guideline marks to cut inside of?
- Like magic, it starts cutting around the objects. If it doesn’t give you crisp cuts, is the blade dull? Maybe the blade isn’t the right one for the job. The app will tell you what tool you need to use, but the blade is up to you to make sure it is right for what you are trying to cut.
- When it is done, you will see a message on the screen to unload the mat.
A project in action
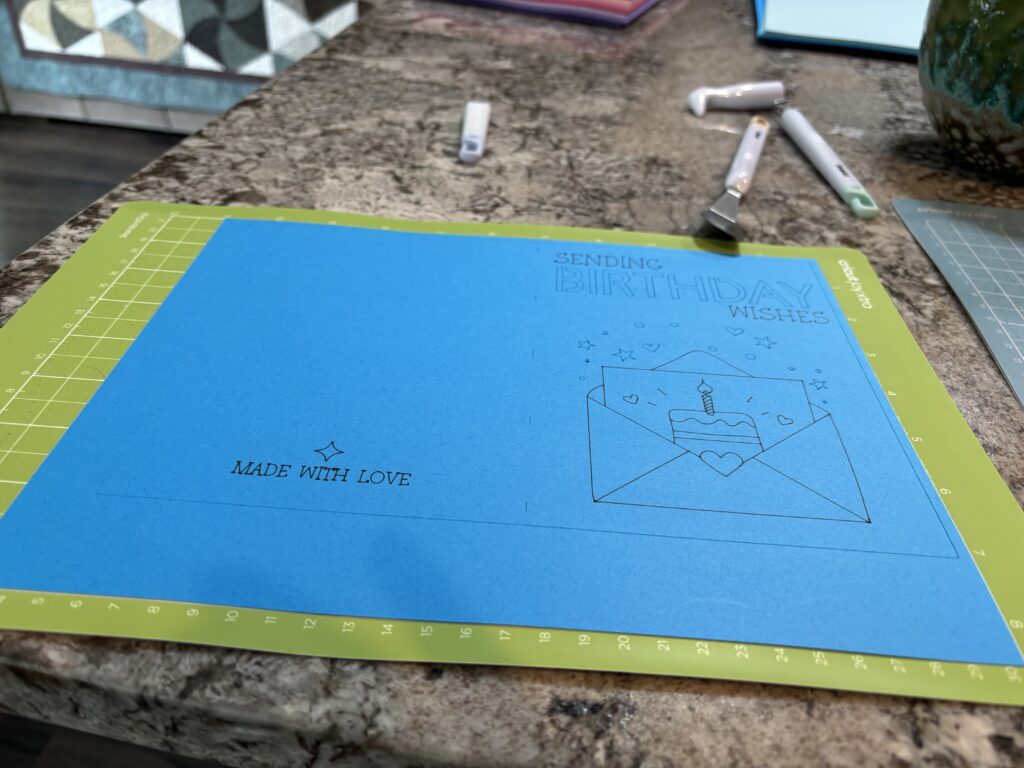
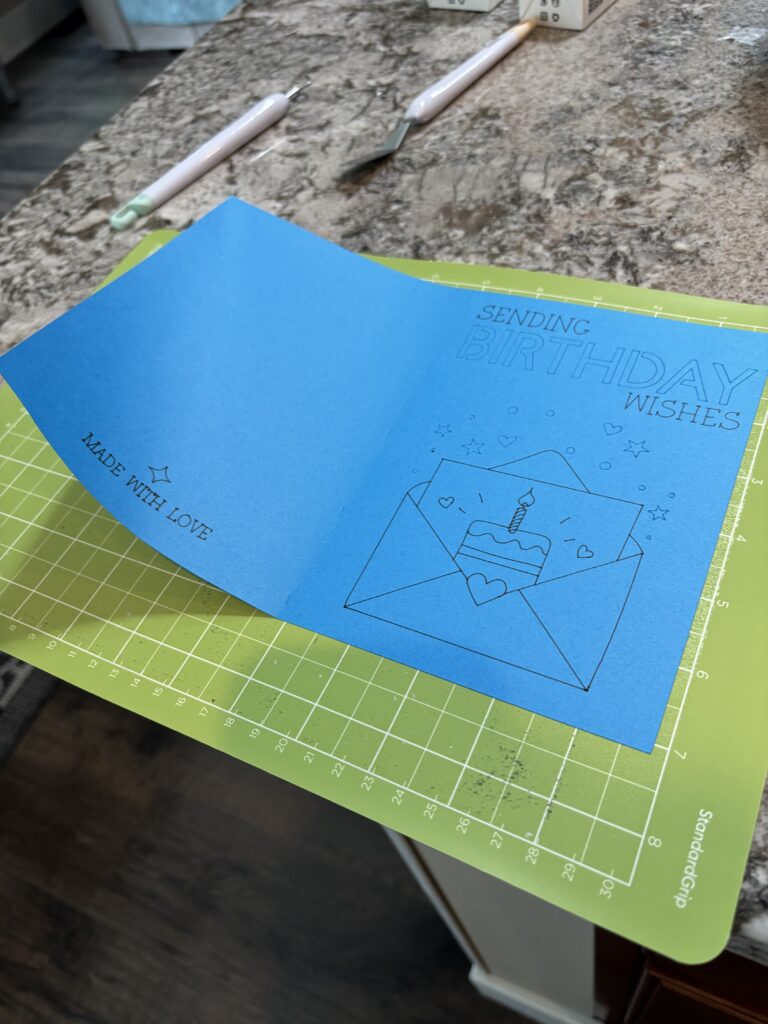
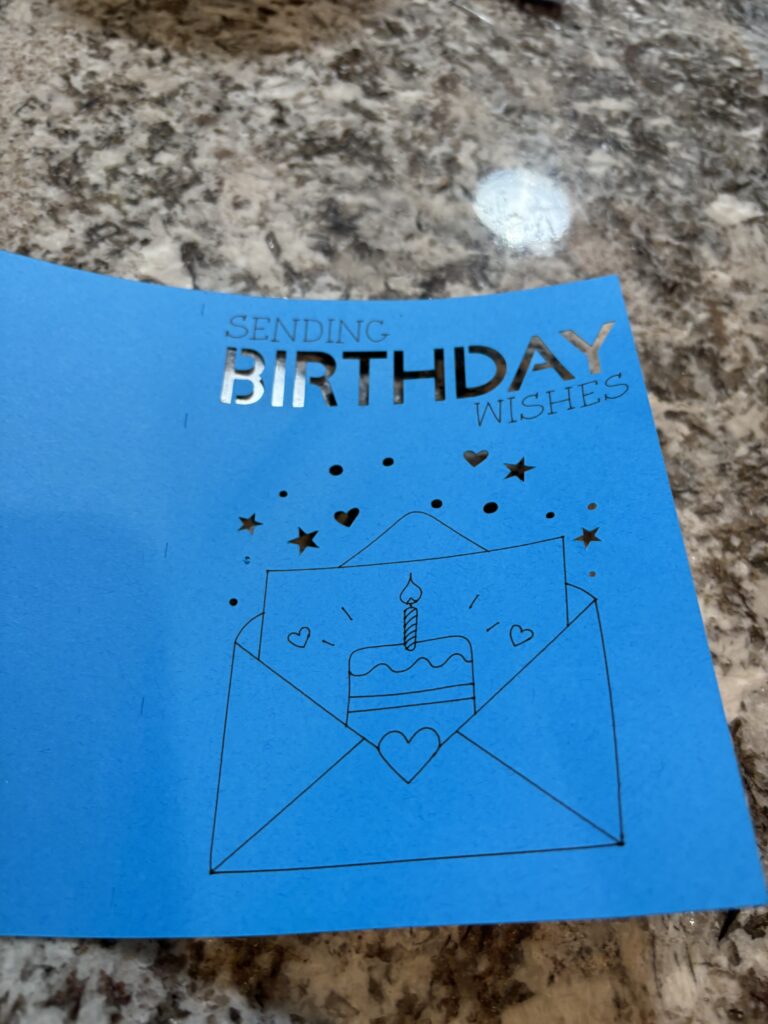
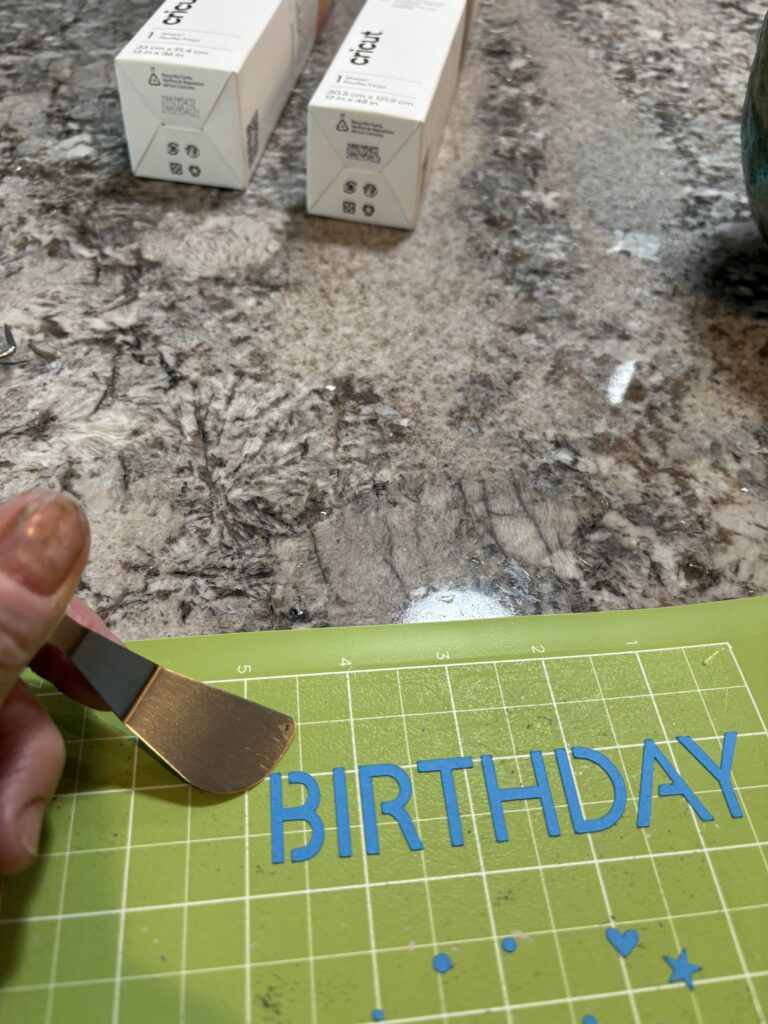
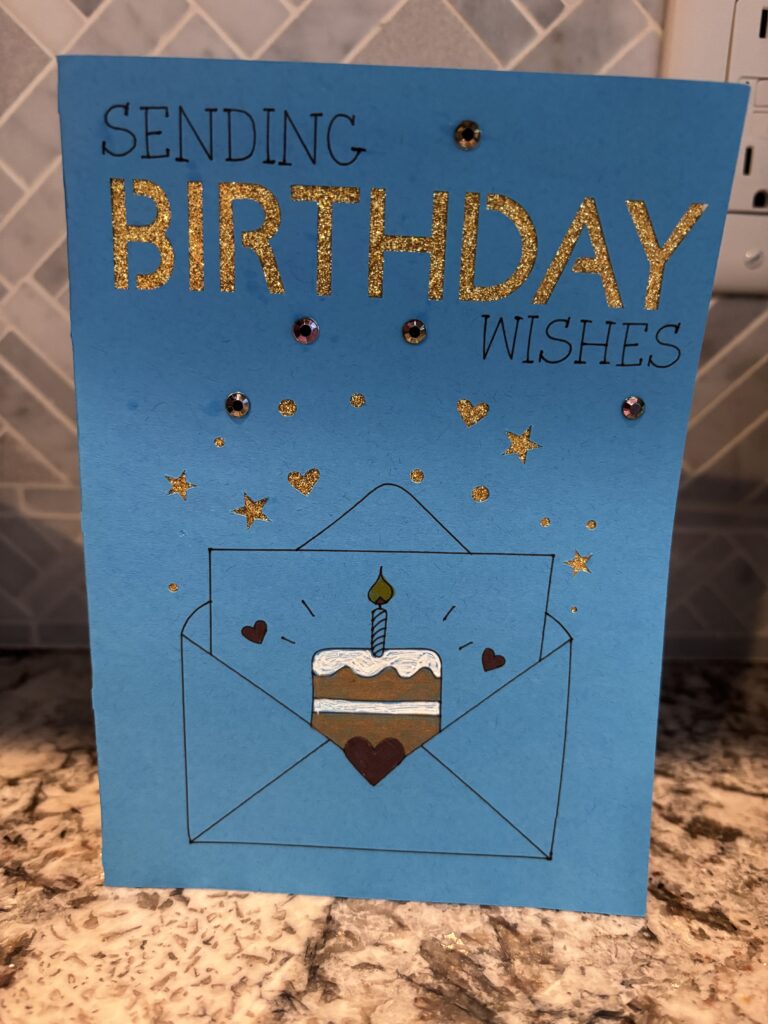
In this example, I chose a birthday card to make. First, it had me put the marker in the tool clamp. Then, I secured the cardstock to a cutting mat. Next, it was ready to be cut in the machine. I changed out the marker for the cutting tool. Then, I carefully removed the card from the mat to reveal the cutouts. I cleaned the scrap paper off the cutting mat. Always replace the clear cover to protect the mat. I added glitter paper and embellishments. Finally, I used markers to color in some of the design.
What else can I make?
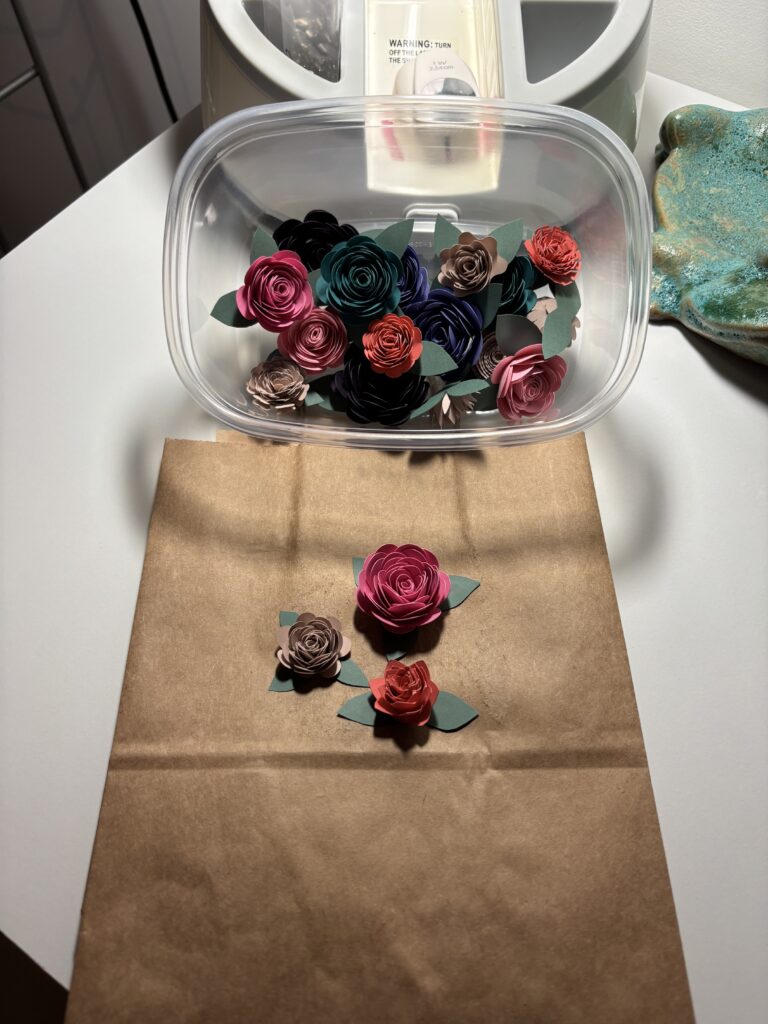
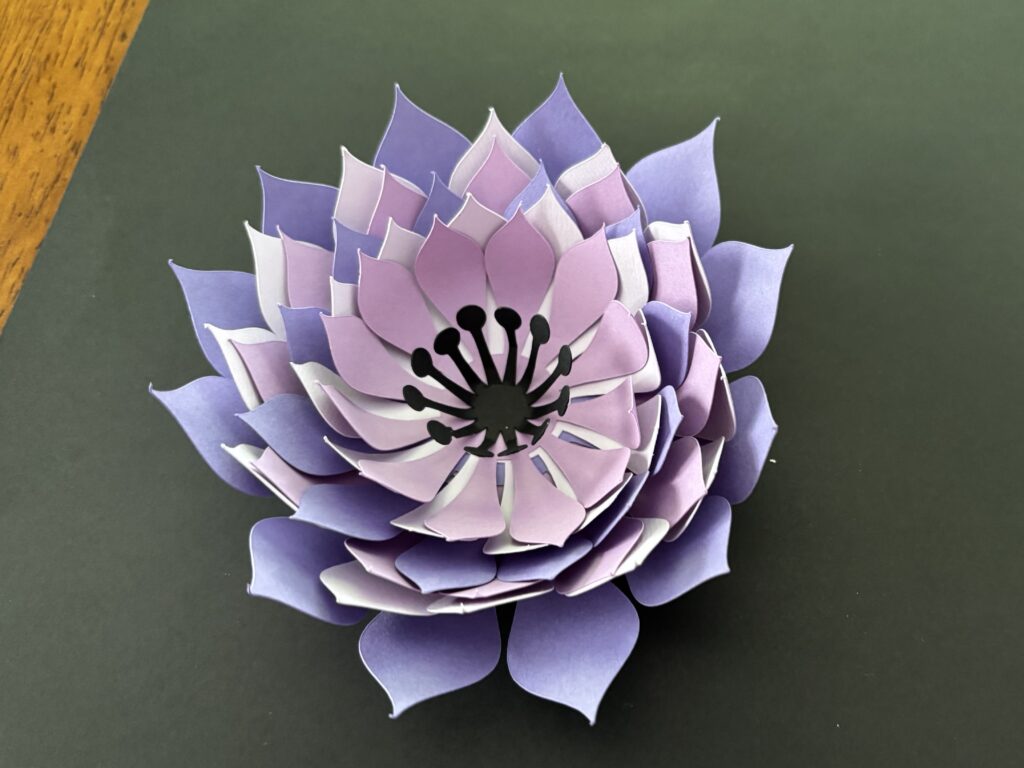
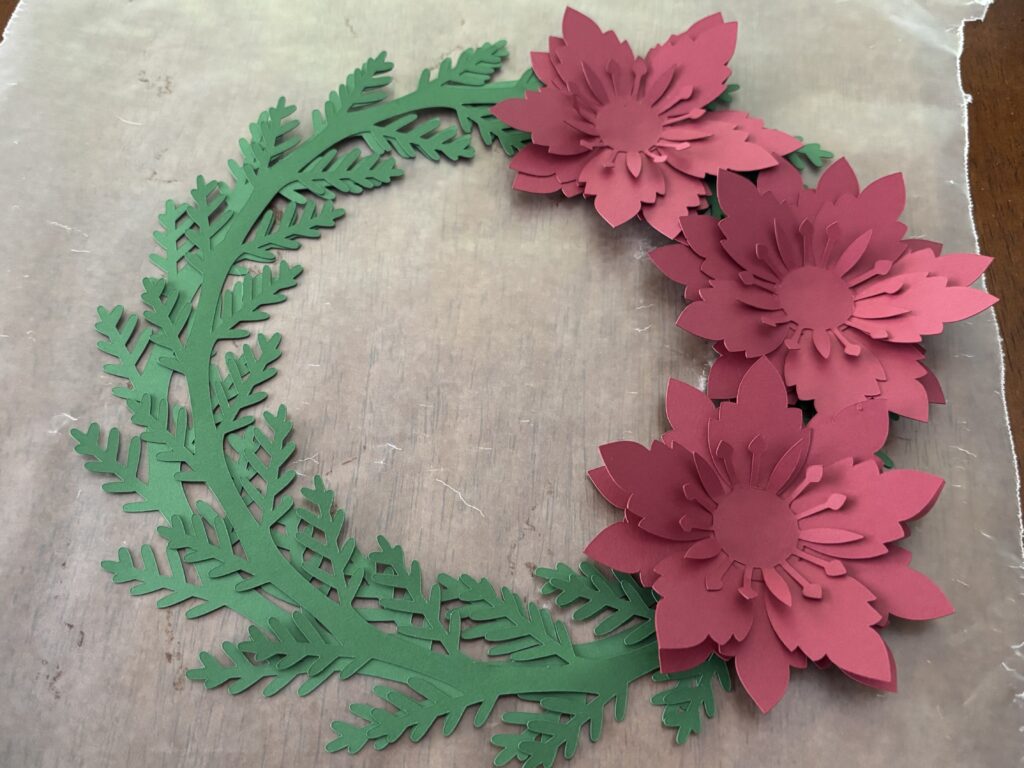
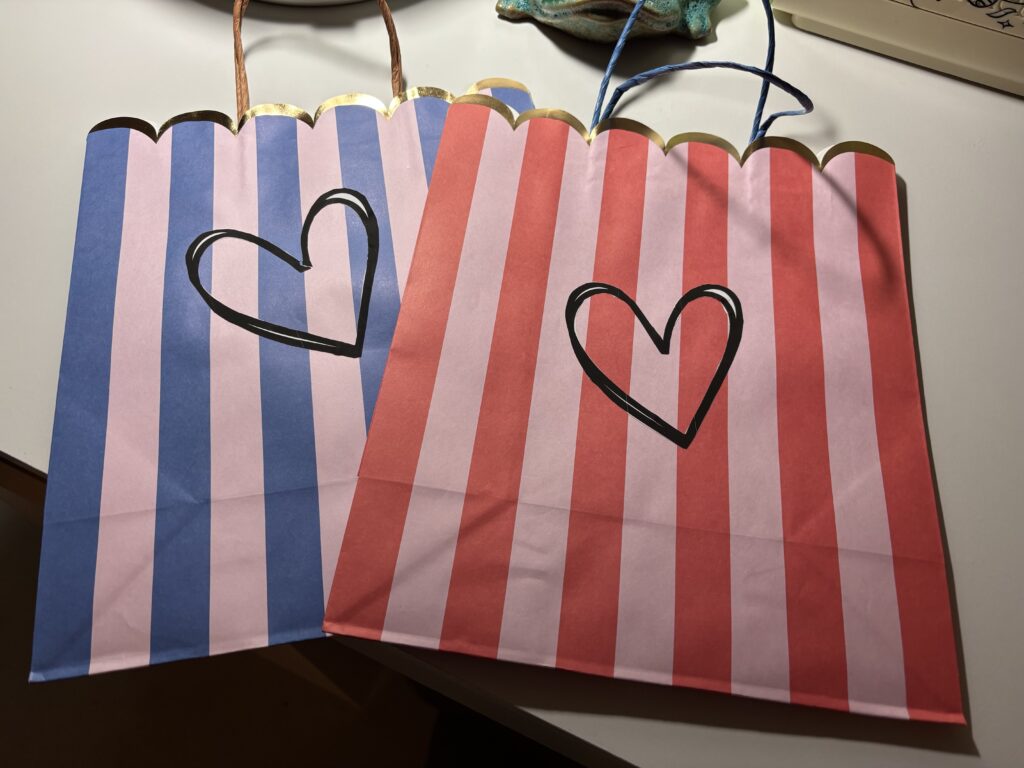
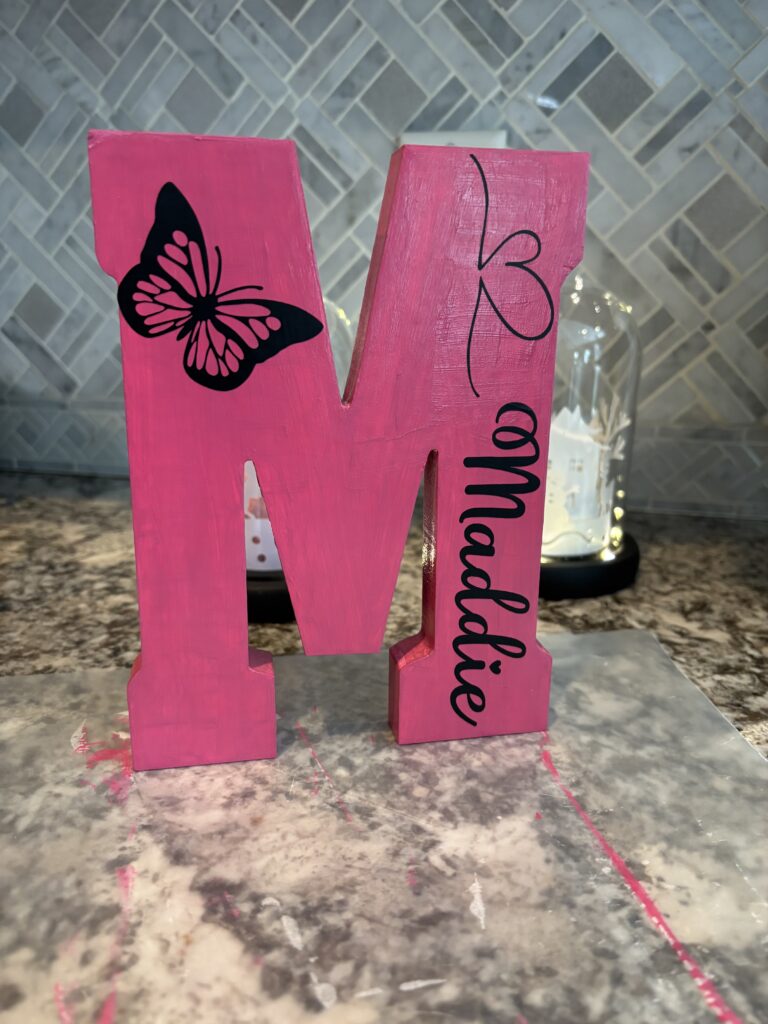
The possibilities are actually mind-blowing!
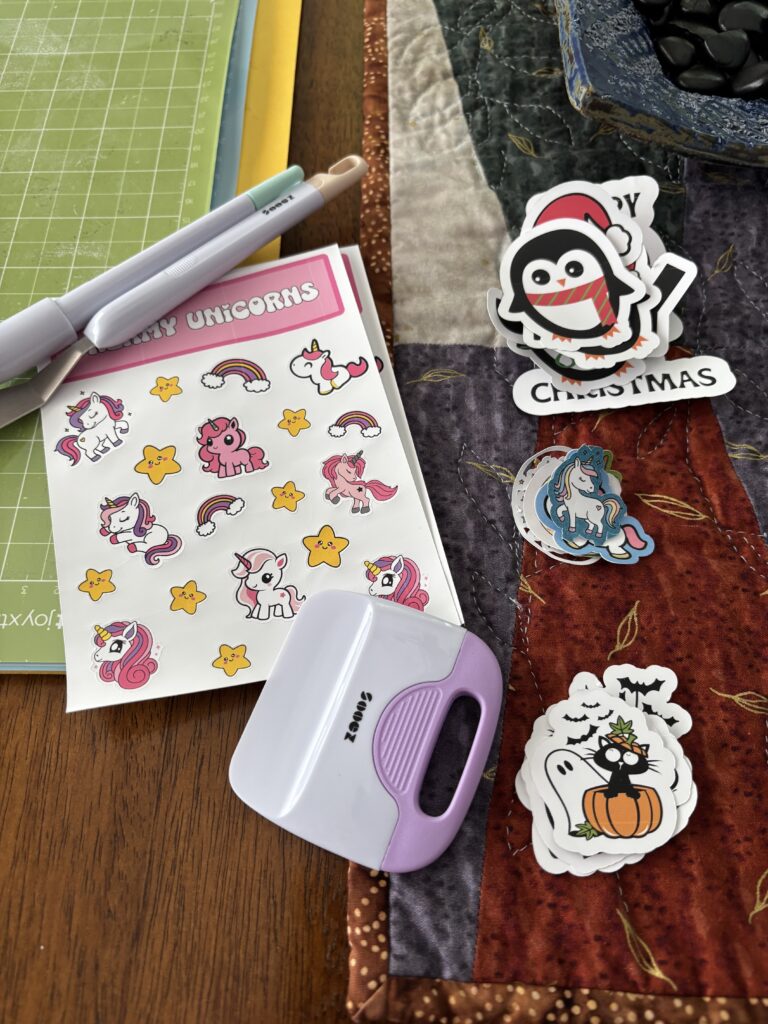
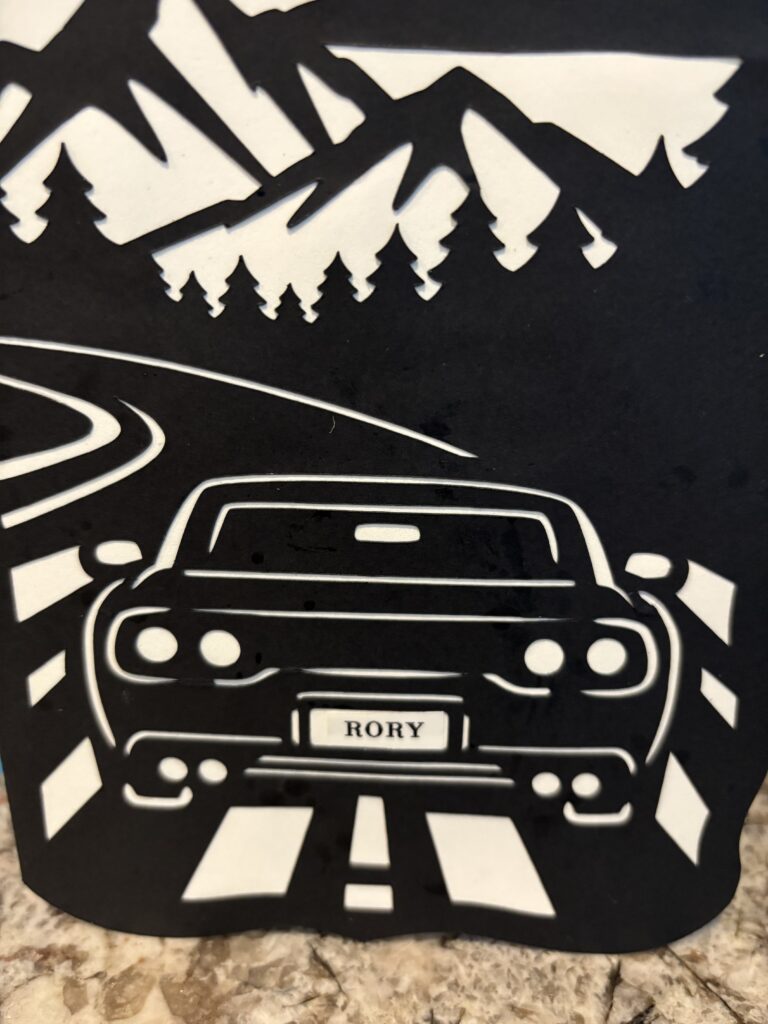
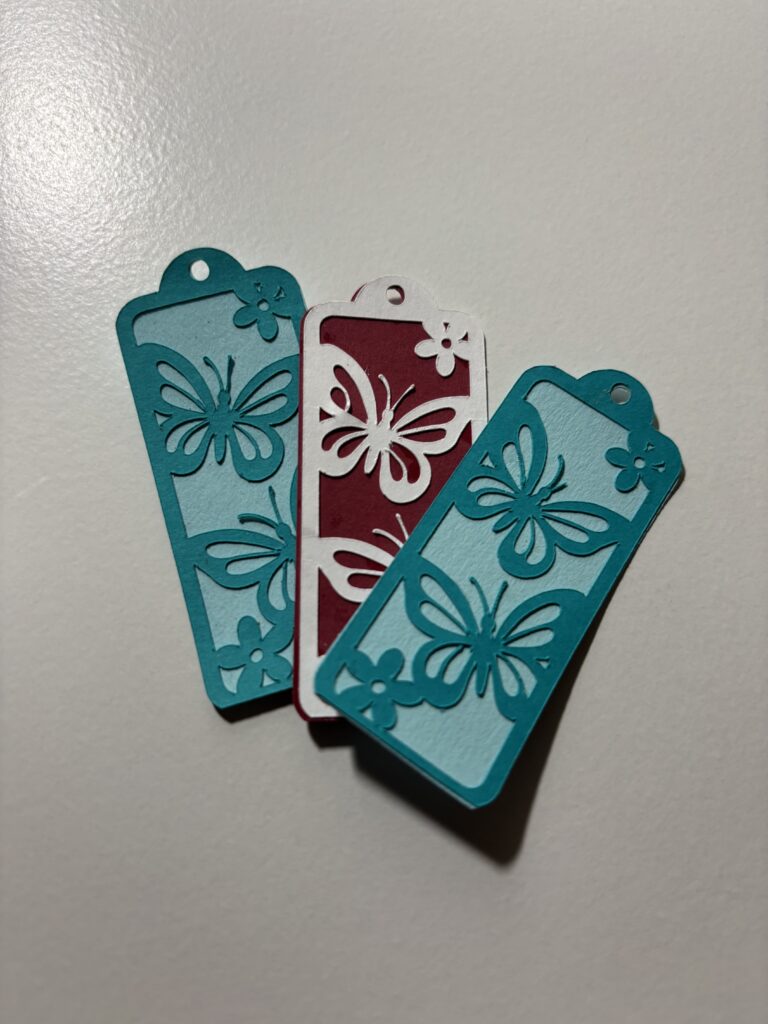
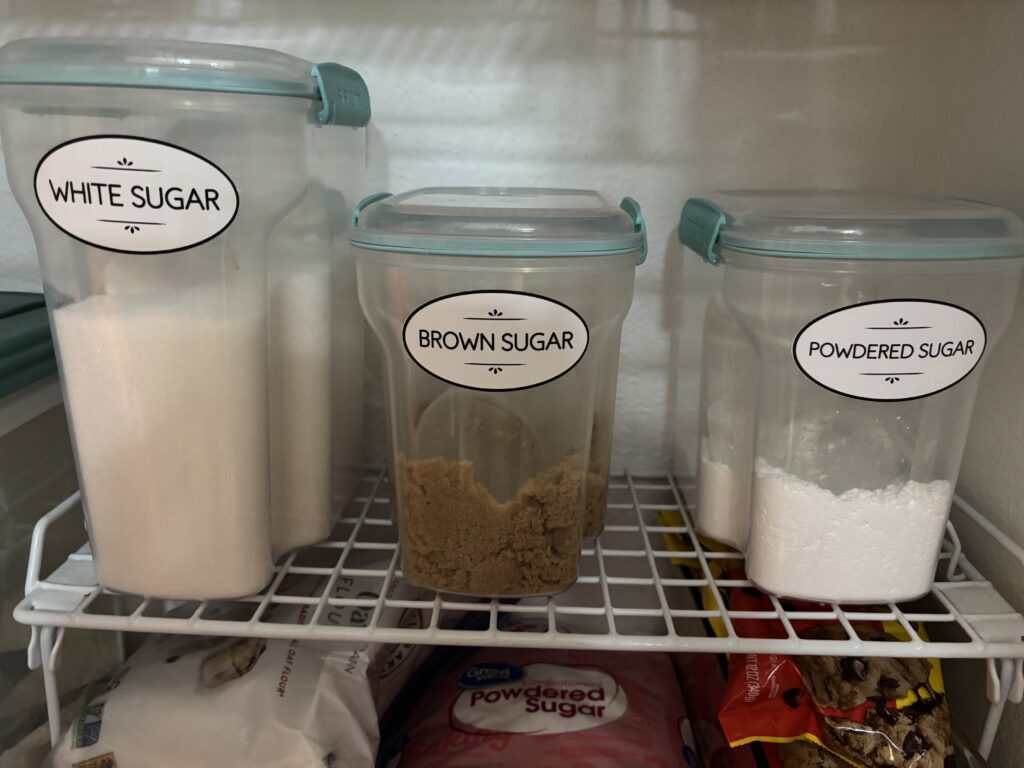
Labels for your kitchen, bathroom or CRAFT ROOM!
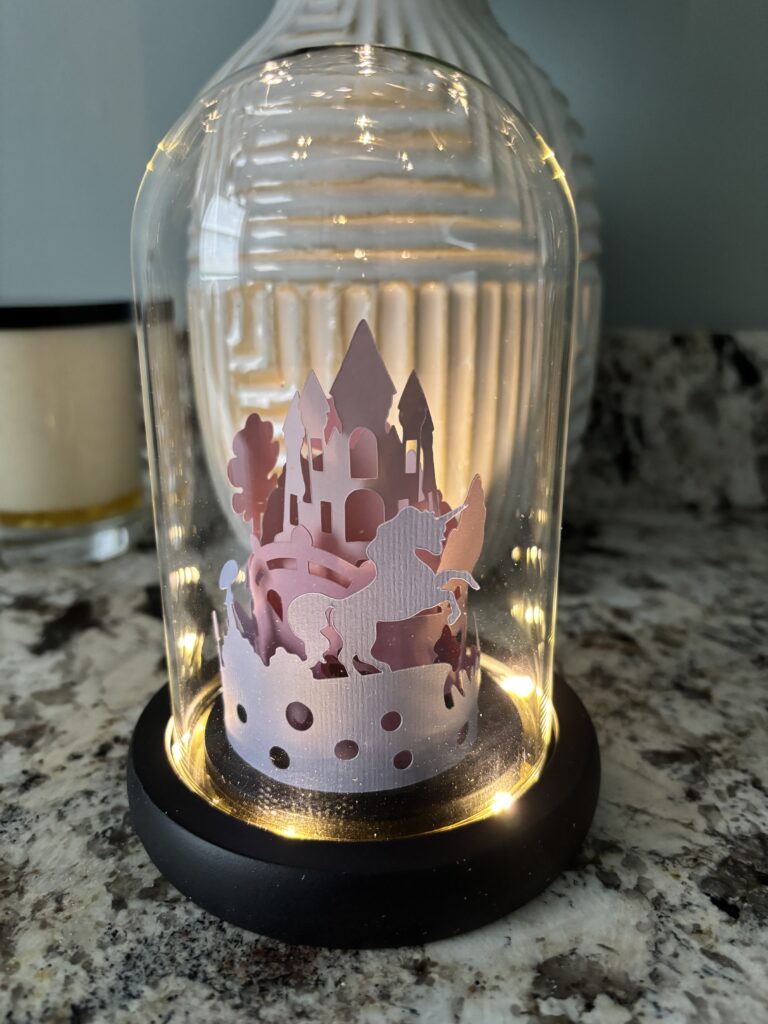
Lighted dome with layered cardstock scene
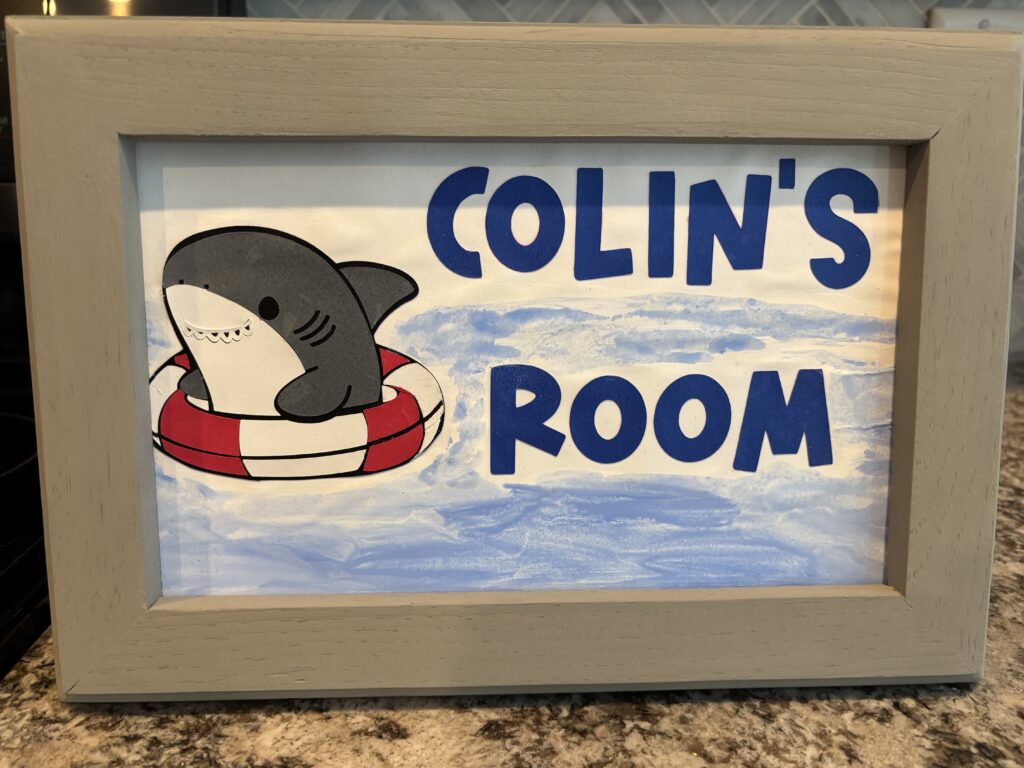
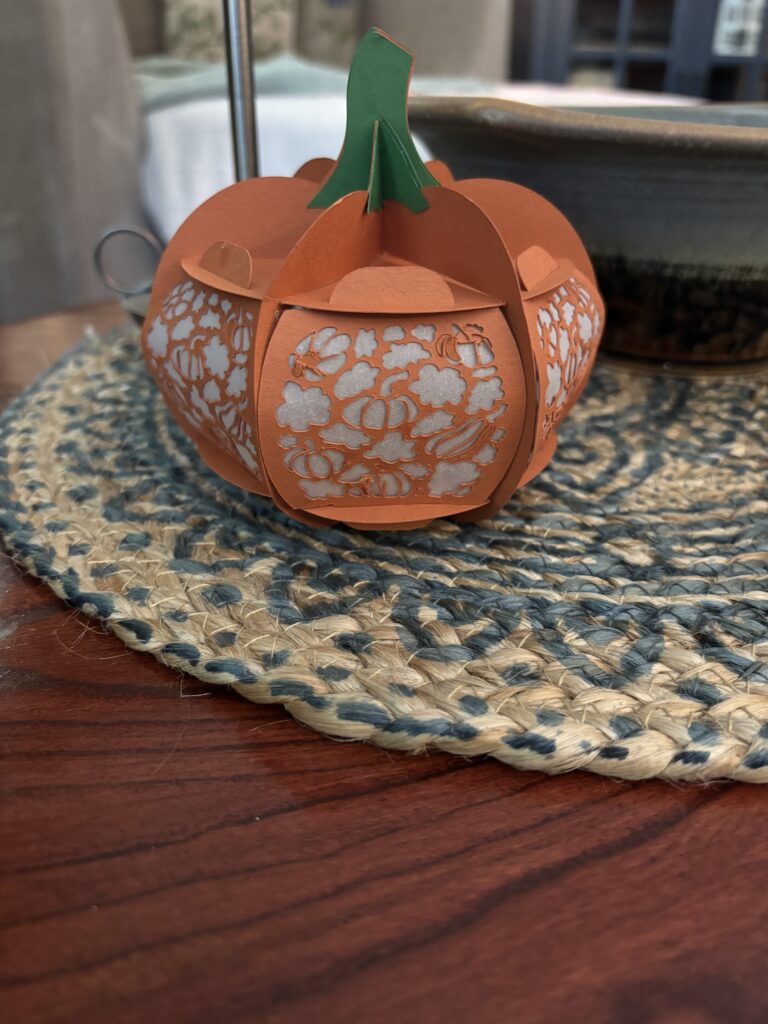
Seasonal decorations
If you were thinking about getting a Cricut, I hope this has been helpful. I have been having a lot of fun, with only a couple times that I felt frustrated. The pumpkin above has vellum glued inside. I didn’t have a fine blade to cut it. I used the one that came with the machine. Two out of four of them ripped by cutting them with that blade. My enthusiasm to do the project got ahead of me. Not having the right tool made me feel disappointed. I ordered the right blade for going forward and cut the vellum out with a scissors!
Kelly