March 17, 2026
Wood burning or pyrography is the technique of burning a design into a wood or leather surface. Adding paint to the design can elevate the results.
I started out with an inexpensive wood burner, got comfortable and decided I wanted to pursue the tools to make my projects better.
To see my post about getting started, click on the link Pyrography
What do I need to further my skills?
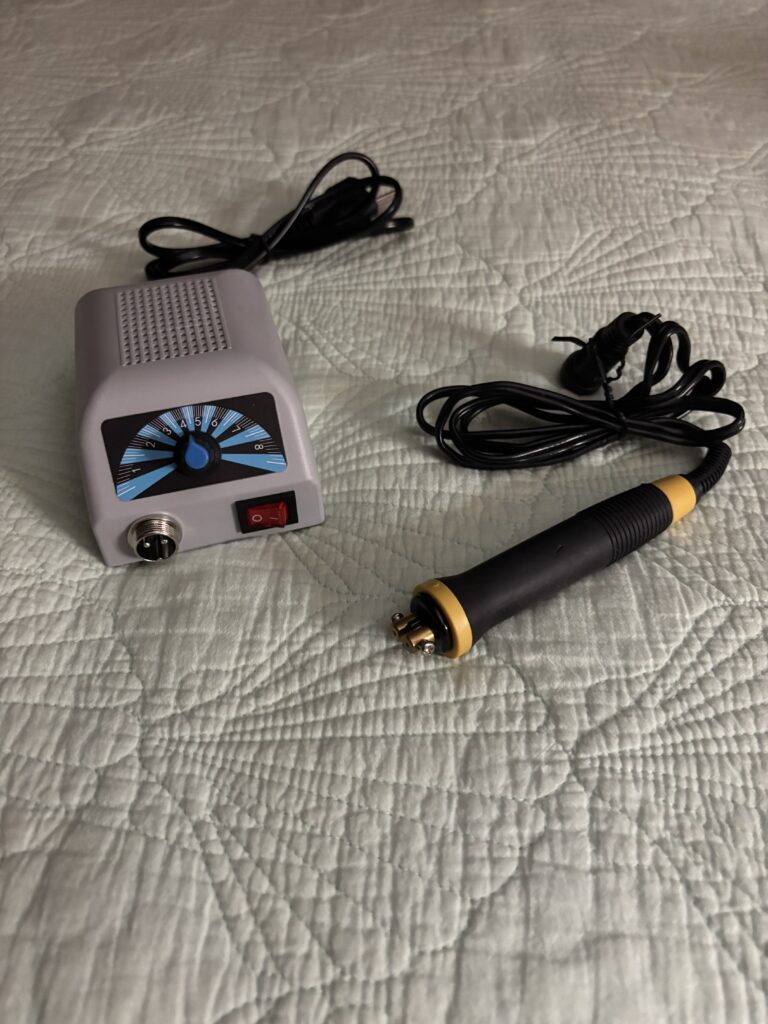
A good wood burner doesn’t have to be expensive. The ability to control the temperature is important to honing your skills. In order to do shading and fine lines, you need a variety of wire burning tips called nibs.
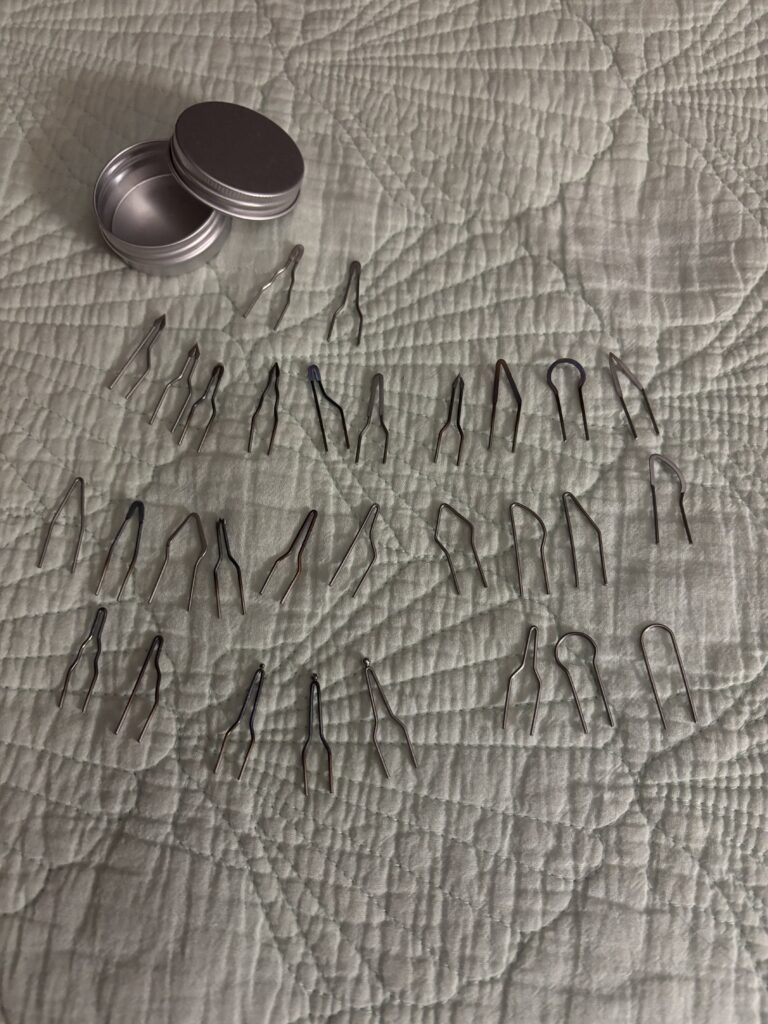
Nibs
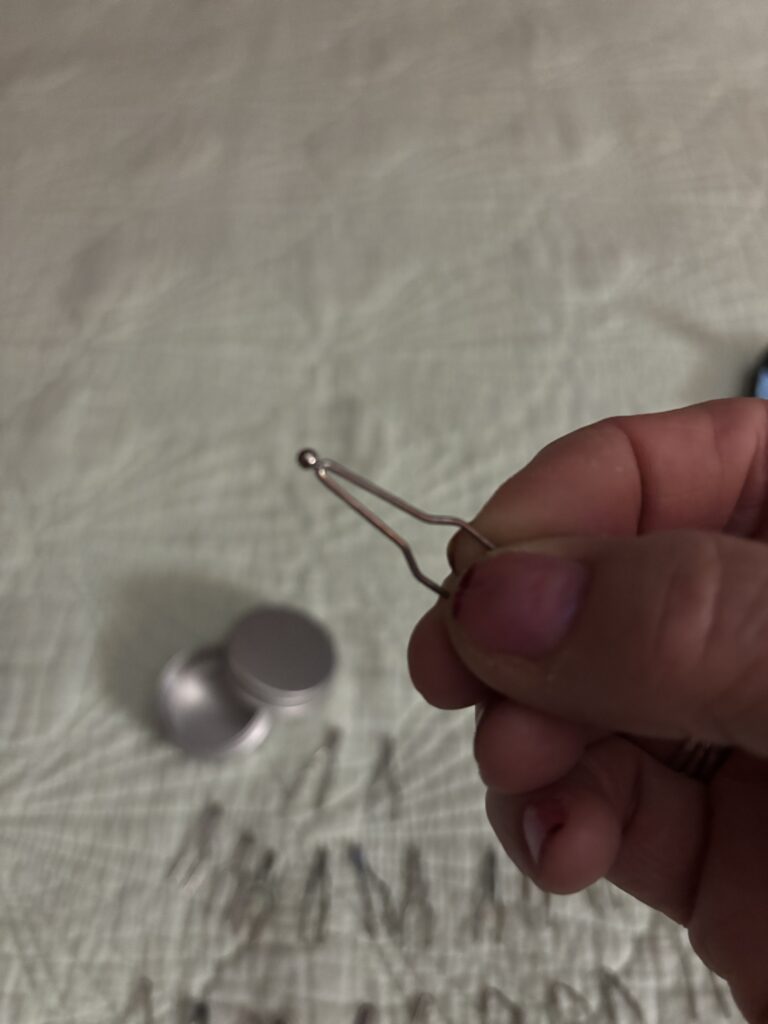
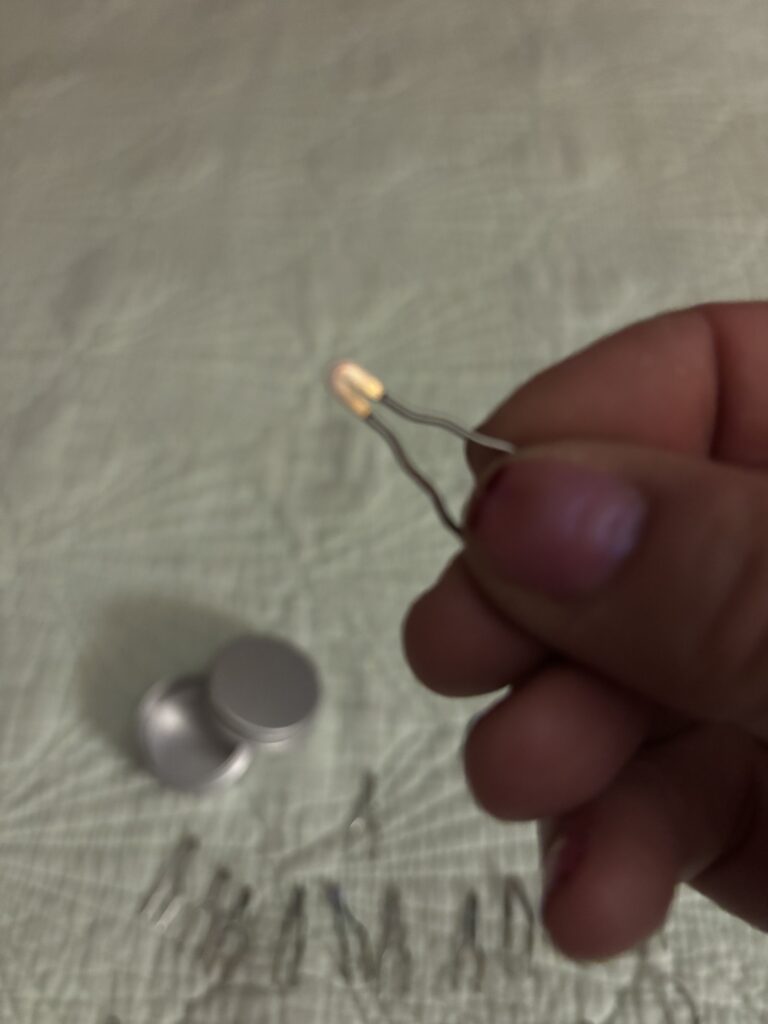
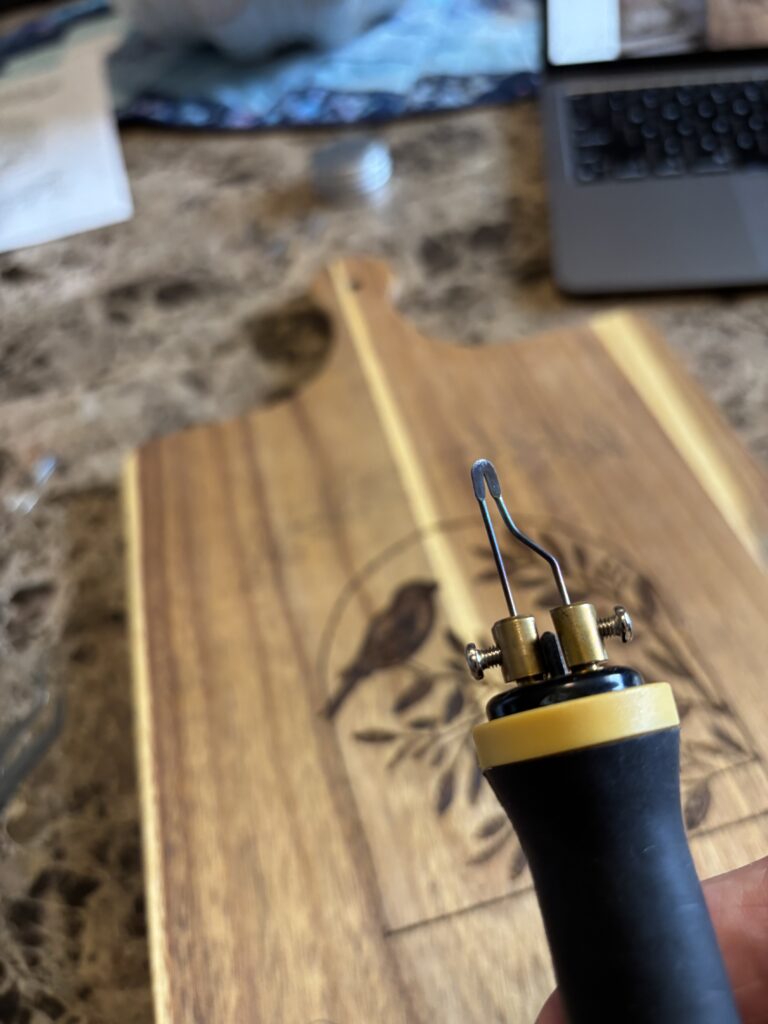
There is an assortment of nibs included when you buy a wood burner. The simple wire or wire with a small ball on the end are for drawing fine lines. The wires with flat metal are for shading. The nibs screw into the handle.
Nibs heat up and cool off faster than solid tips. Nonetheless, always take caution so you don’t burn yourself.
Wood
I strongly recommend practicing on a scrap board. Some boards burn better than others, so keep that in mind when you are selecting for this art.
Light colored wood gives a good contrast to the dark design made by wood burning. The top choices are: Basswood, Maple, Birch, Poplar, Beech and Pine. Avoid wood with high resin content or very dark colors. These can produce uneven burns as well as less contrast. Also called pitch wood, this is wood that has become saturated with natural resin, most commonly found in pine. So, be choosy if using pine for your project.
Craft and hobby stores carry wood that you can use for your projects as well.
Design ideas
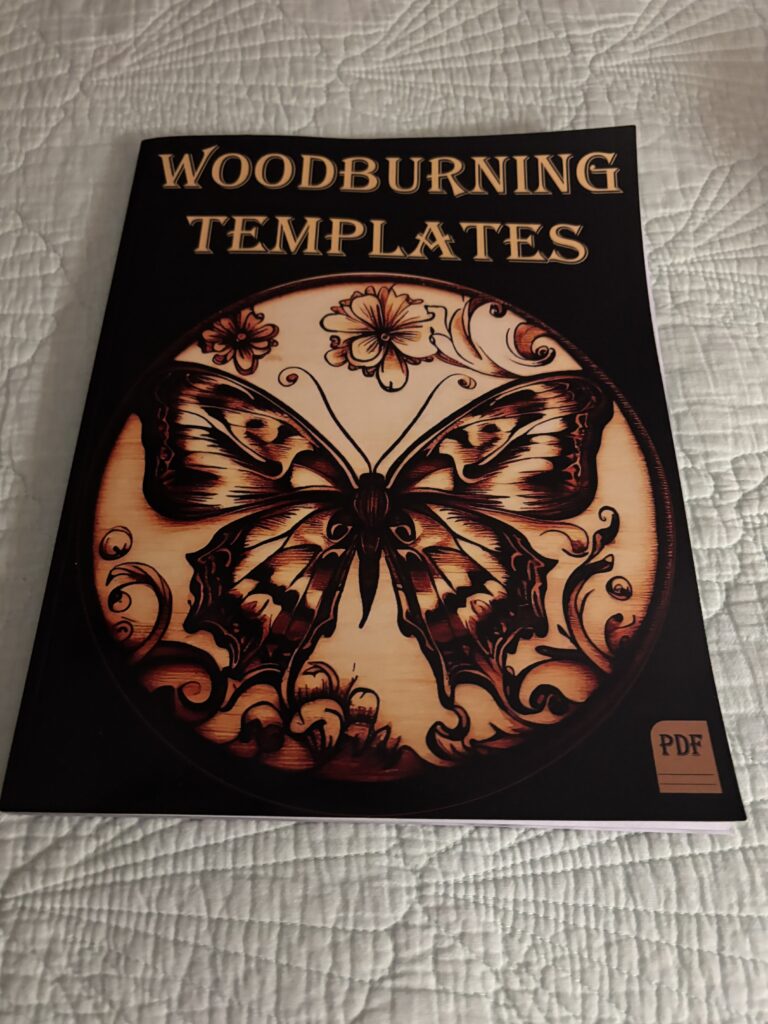
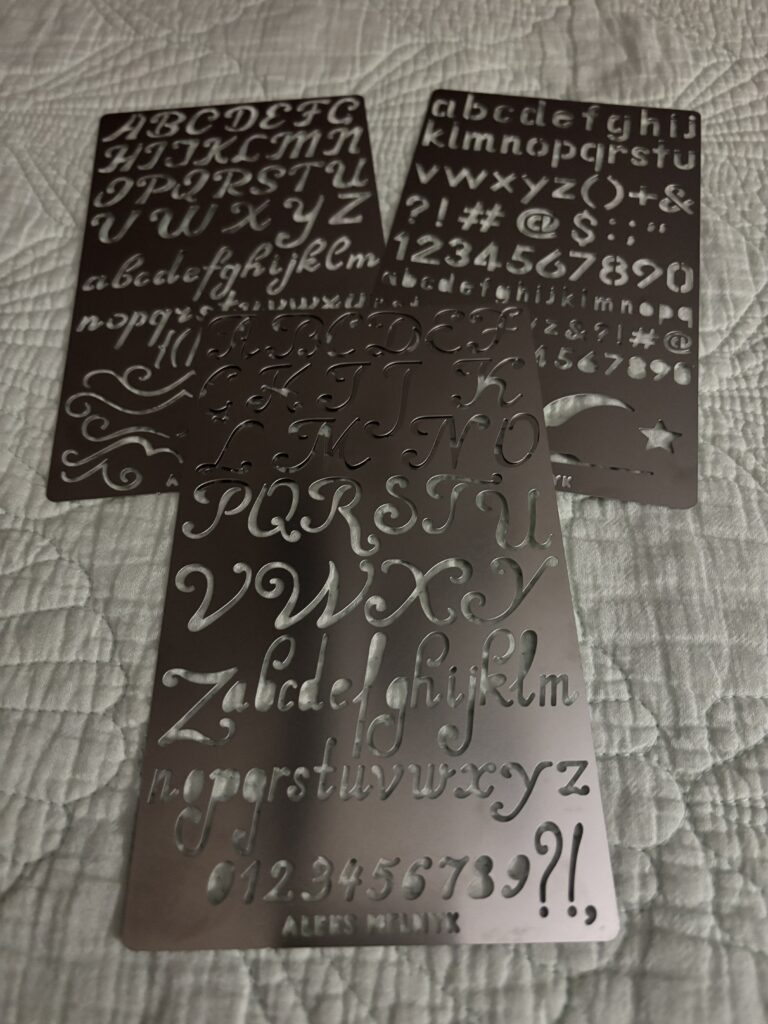
There are endless possibilities for what you can use as your design. They sell books, you can trace out letters from stencils, or free hand draw anything!
Tracing a pattern
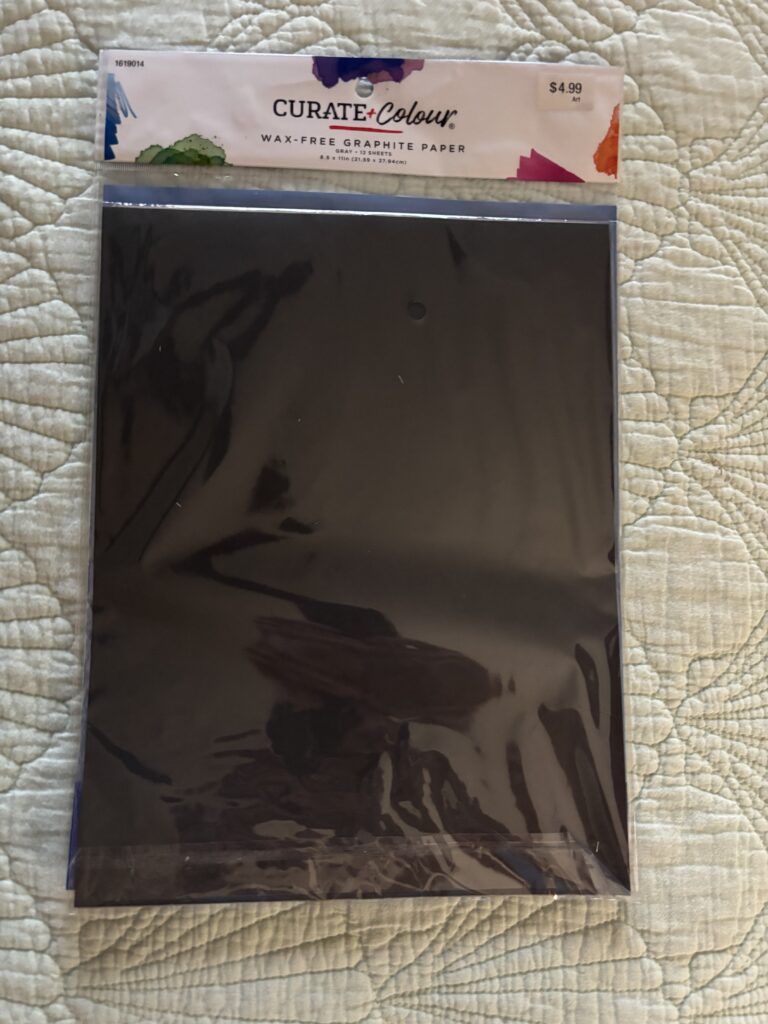
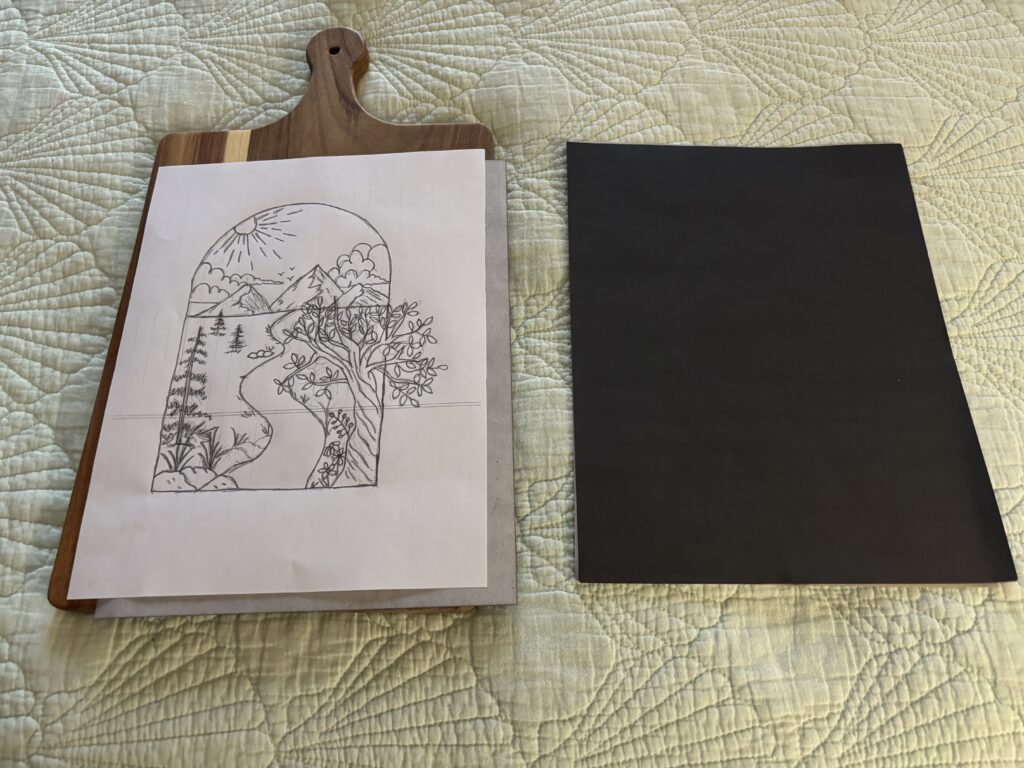
- Buy carbon or graphite paper at the hobby store.
- Place the tracing paper black shiny side down on the wood.
- Place the pattern to be traced over the top.
- Tape your pattern at the top of your board so it can’t move.
- Trace out the design.
- Because the pattern is taped to the wood, you can lift it up to make sure you have copied all the lines on to the board.
Now for the fun part!
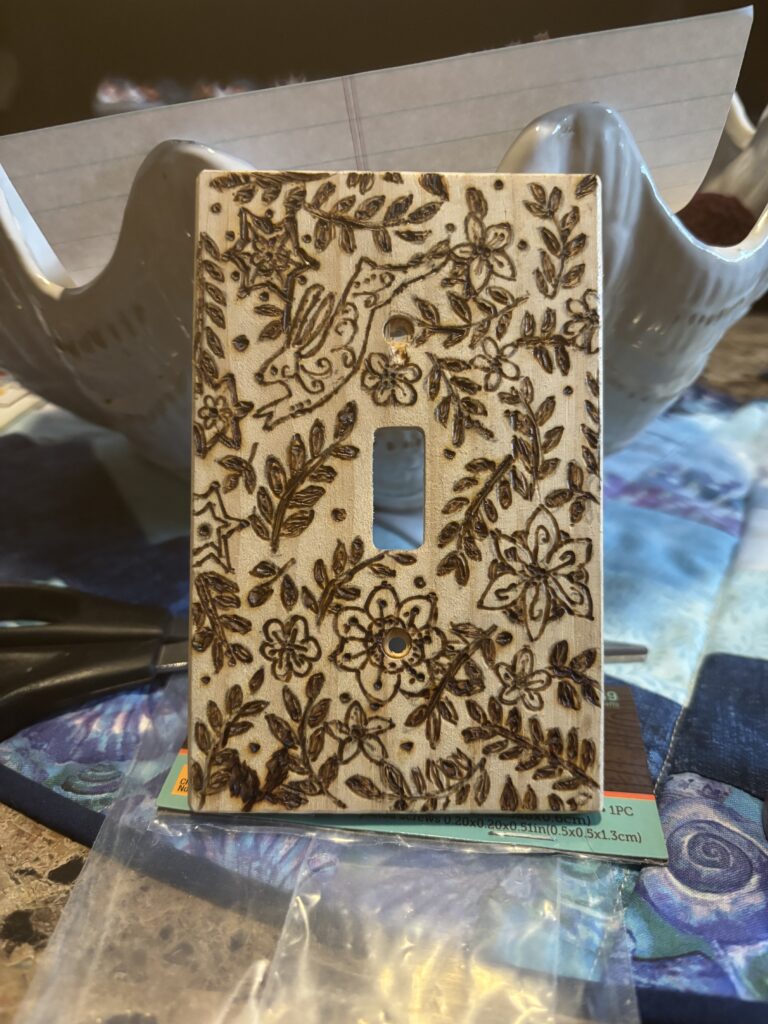
I made this switch plate. I took a small paint brush and painted acrylic paint into the background. You can see how it made the design stand out.


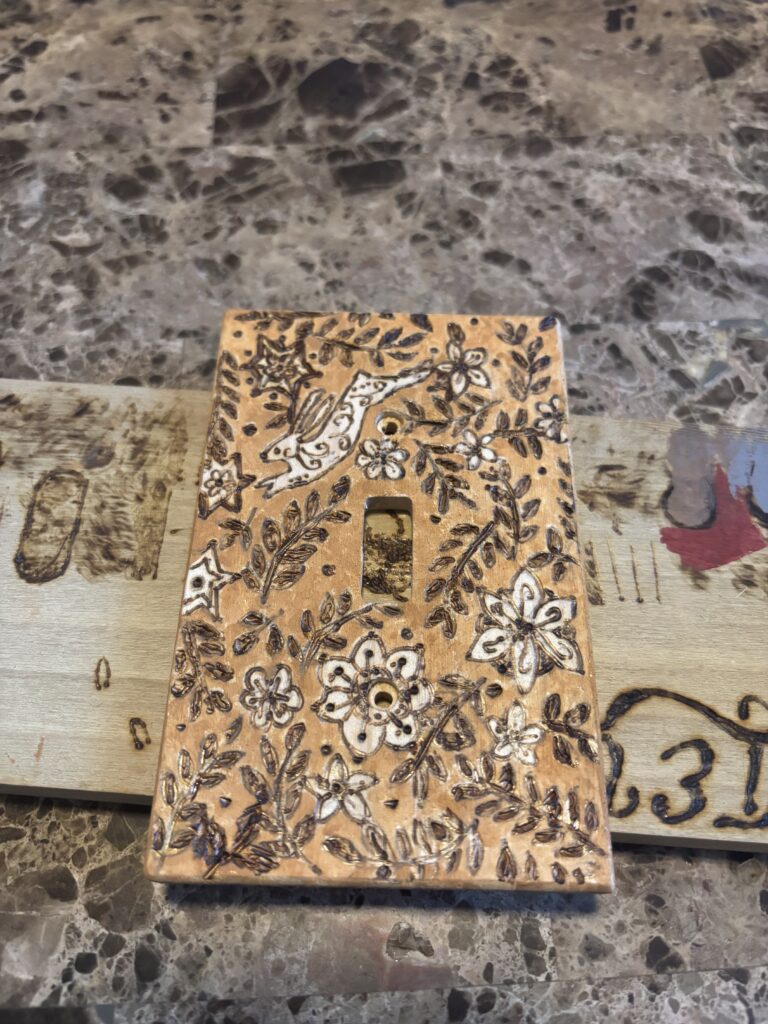
- This switch plate above is another example of painting the background to pull the design out.
- The old man in the tree is highlighted with some soft white painting to show contrast.
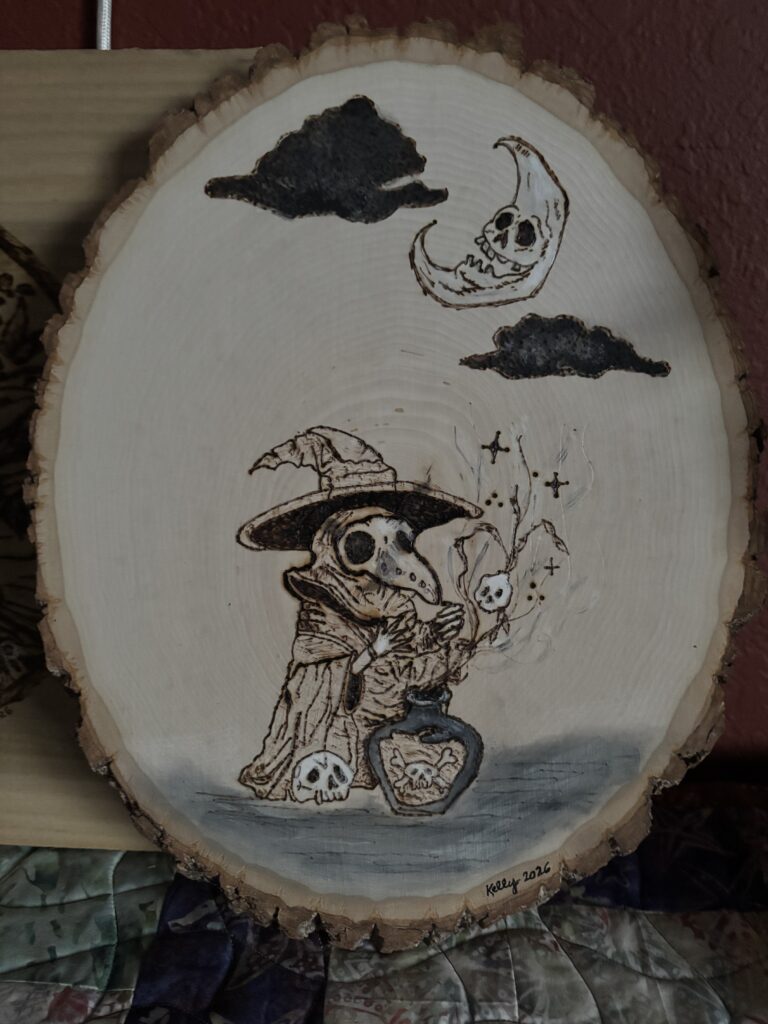
- The Plague Doctor Halloween plaque uses black and white paint to bring out features that make it more dimensional.
Decorative cutting boards
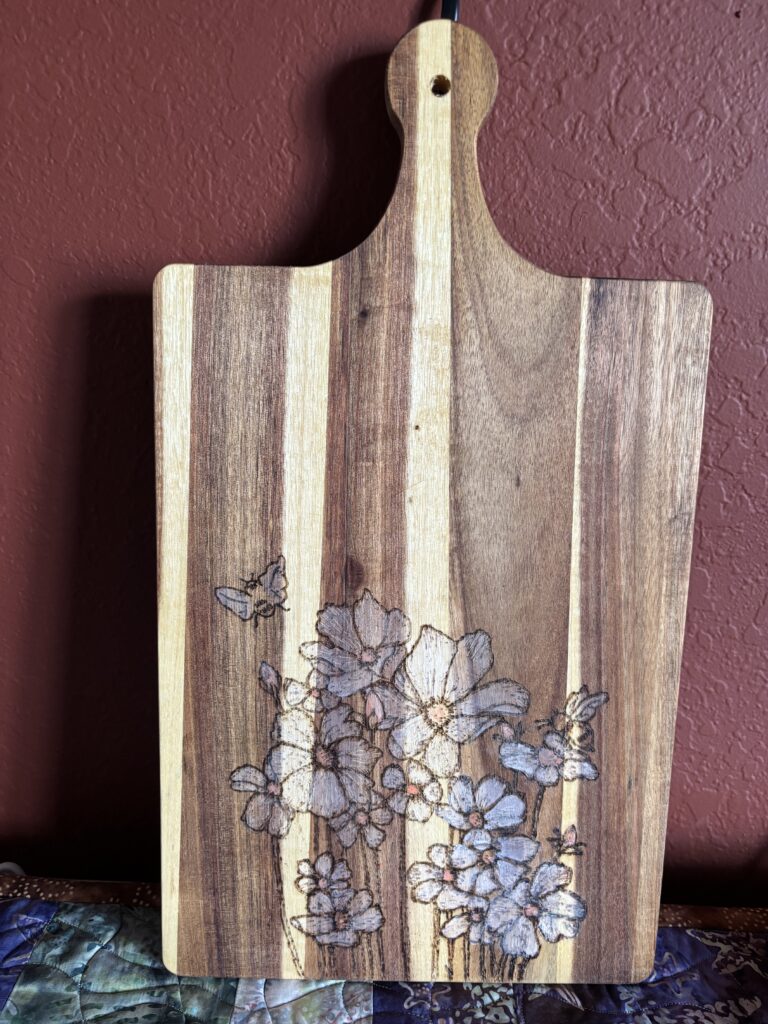
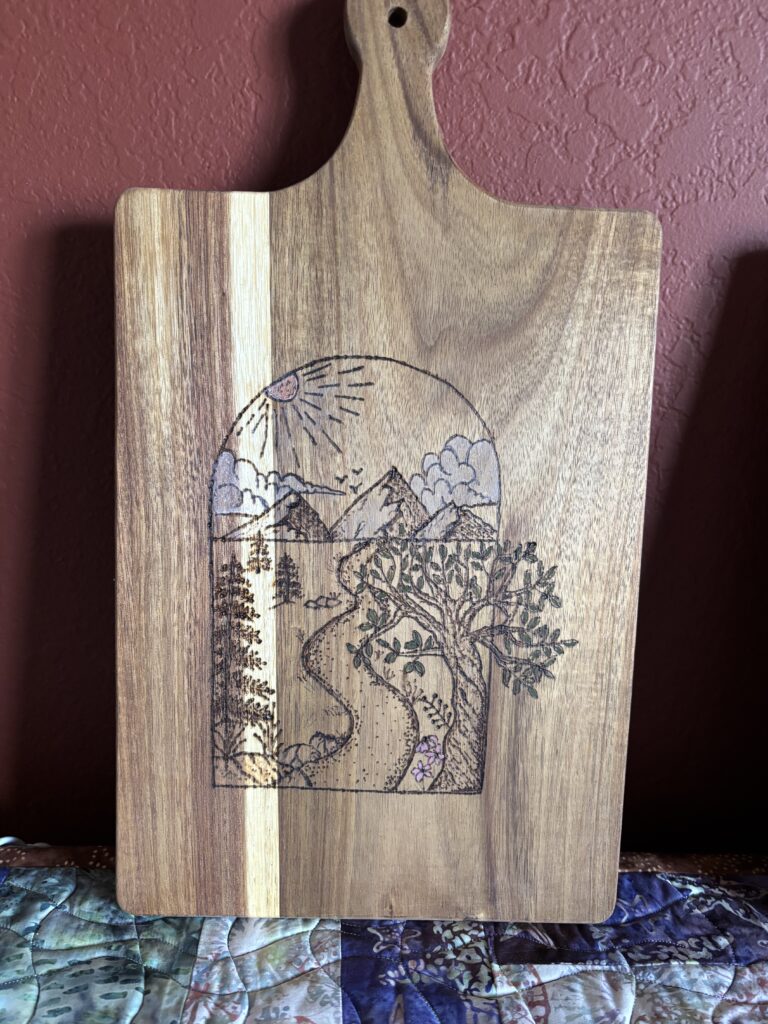
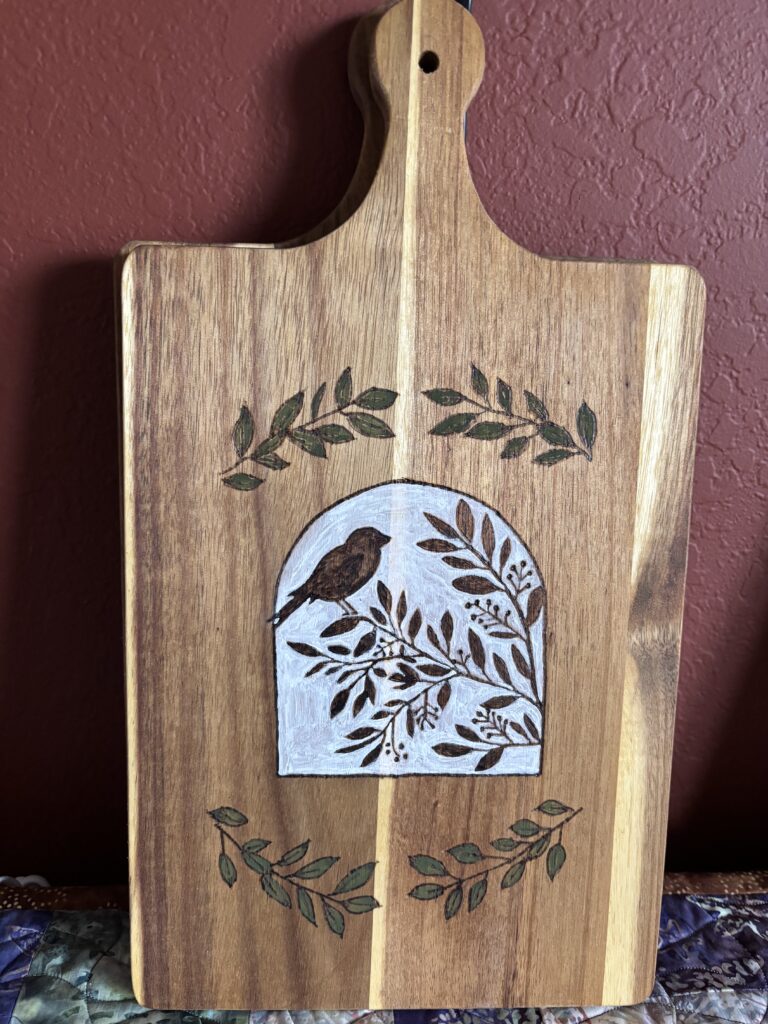
I went down that road! I used wood that had darker elements. Decorative cutting boards are very popular right now. My plan was to use paint to bring contrast to the designs. I was pleased with the results.
Cutting boards that have been decorated on are NOT food safe. Do not use them to cut or serve food on.
Finishing
Wood burning will fade over time. How much depends on where you are displaying the piece. Using a polycrylic finish (like Minwax) on the piece will protect the art work and make it look finished. Plan to apply 2-3 coats of finish. Let it dry between coats. Sand lightly before reapplying the second and third coats.
Does this spark your interest?
I found this gal that does a great job of walking you through using a wood burner and the techniques to have great looking results! https://youtube.com/shorts/9ah1GOpseus?si=4QCgkVcouBIAYJYH
Have fun! Kelly