February 24, 2026
These houses are air dry clay that is painted with craft acrylic paint. This was such a fun project! They get a lot of money for these little houses! The key is to do as Martha Stewart has always said, “You need the right tool for the job.”
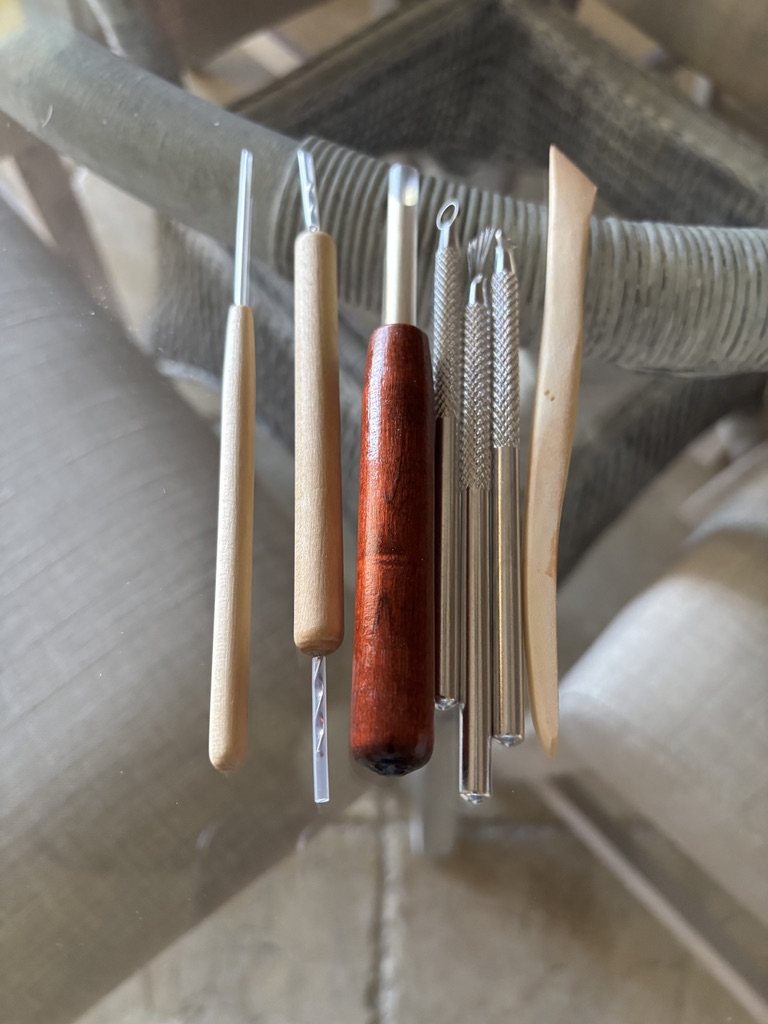
Supplies
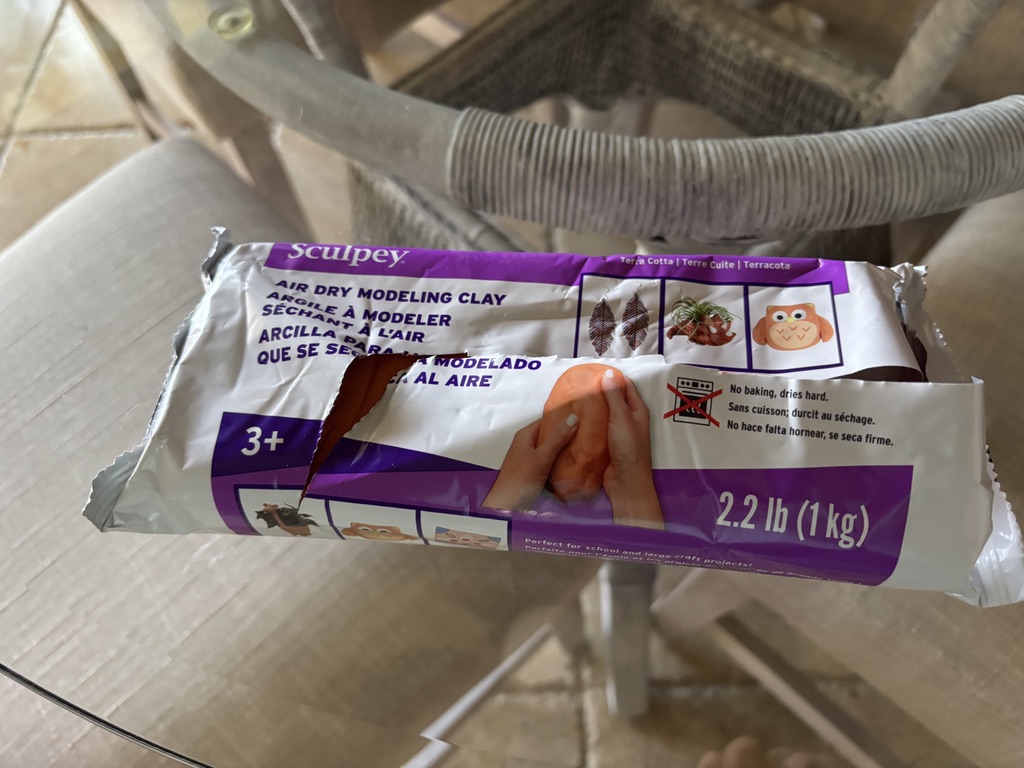

- Air dry clay ( I got the terra cotta colored clay)
- Clay tools~ I bought just an inexpensive set, as well as, I used a knife to cut the clay.
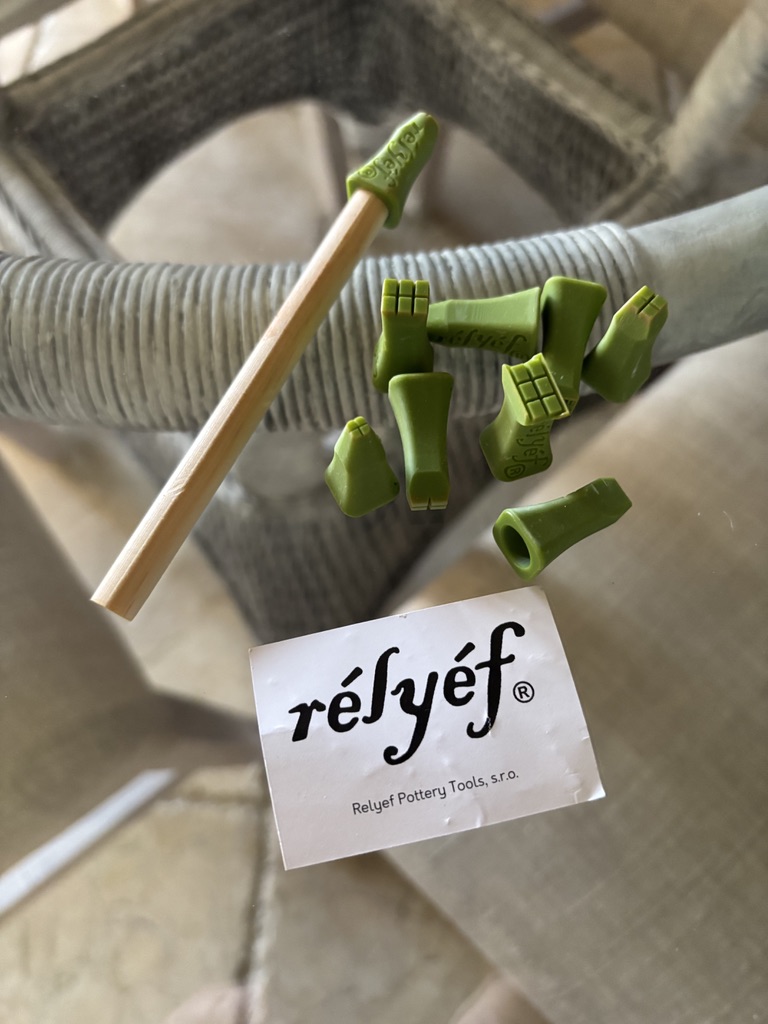
- Game Changer! I bought these window and door stamps for clay on Etsy.
- These come in sets. Order the miniature size.
- Acrylic craft paint in the colors you want for your houses.
- Sealer- I chose Waverly wax.
Note: All supplies except the stamps were purchased at a craft store. To buy the window and door stamps here is the link:
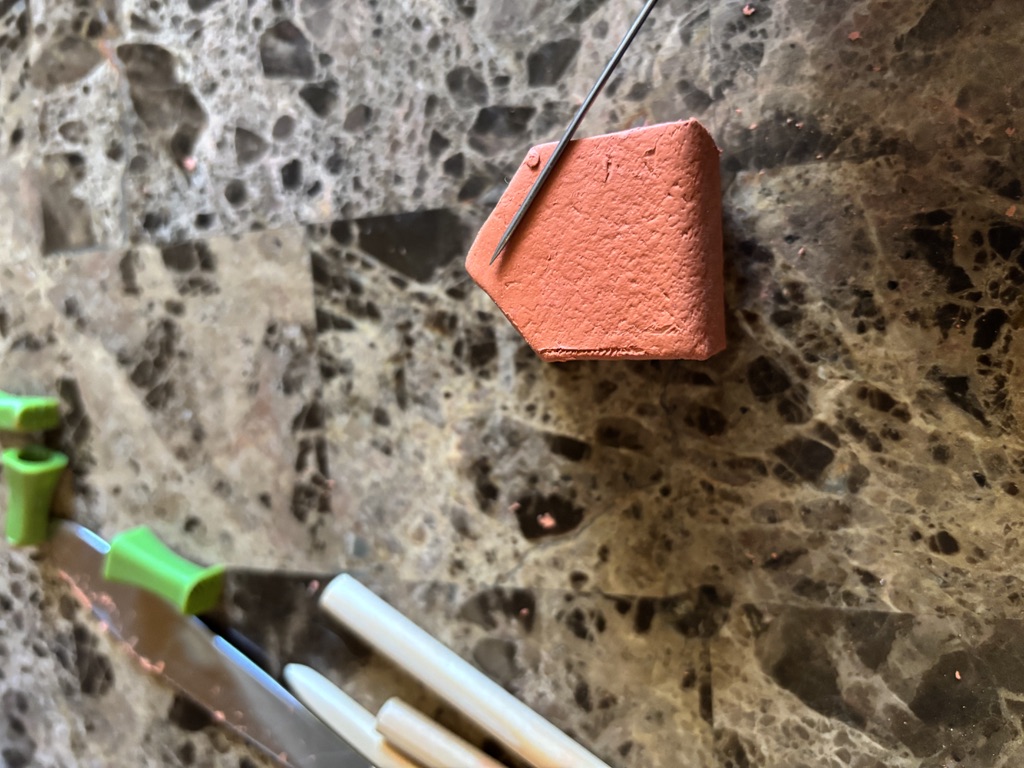
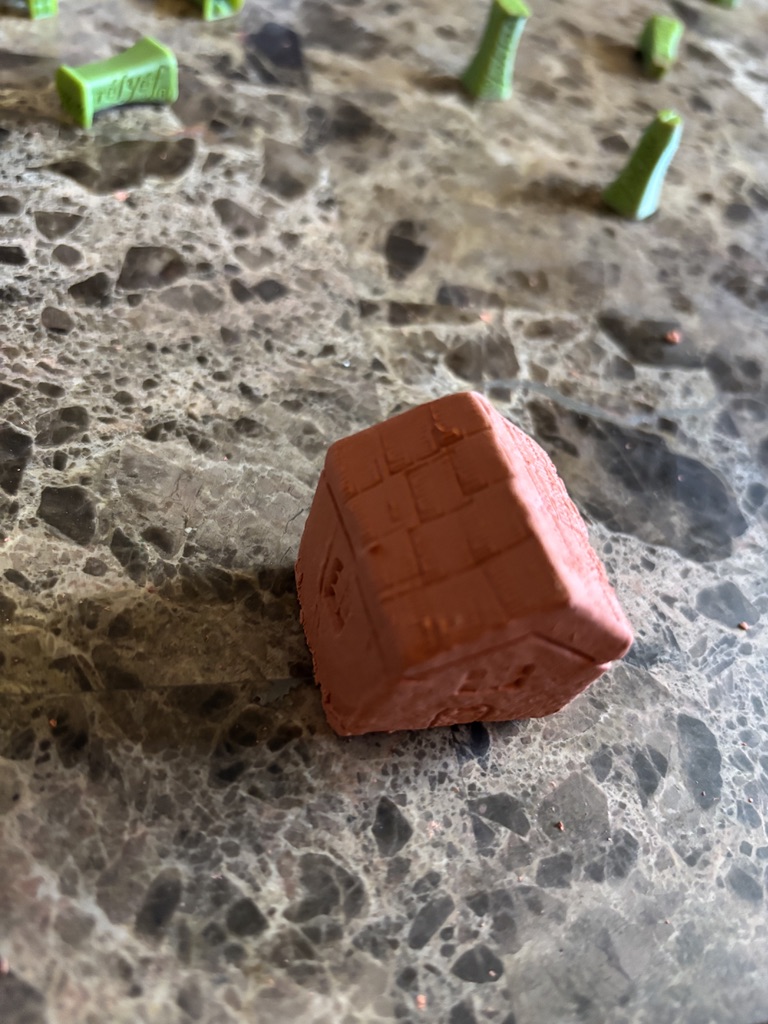
Cutting out the house shape
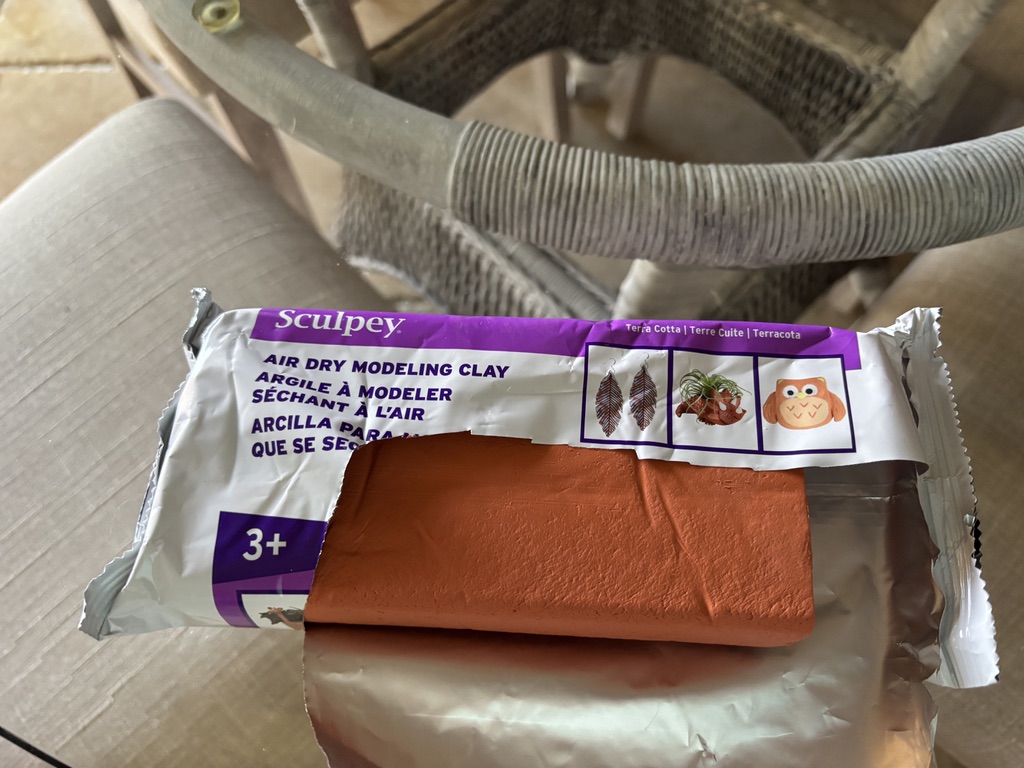
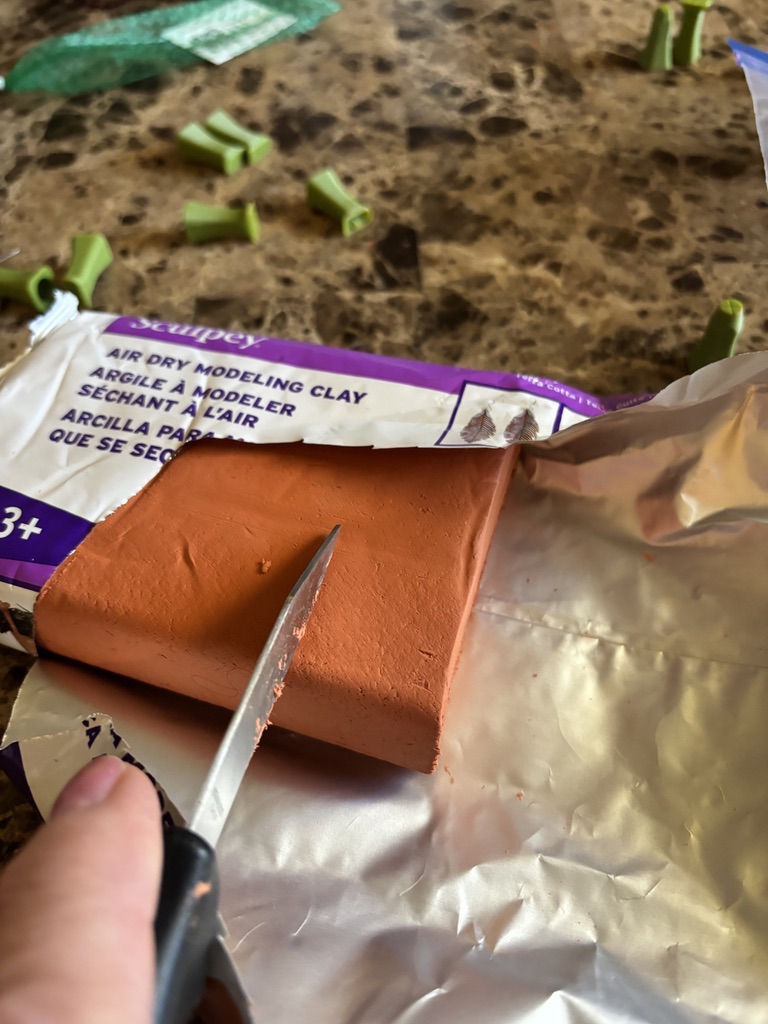
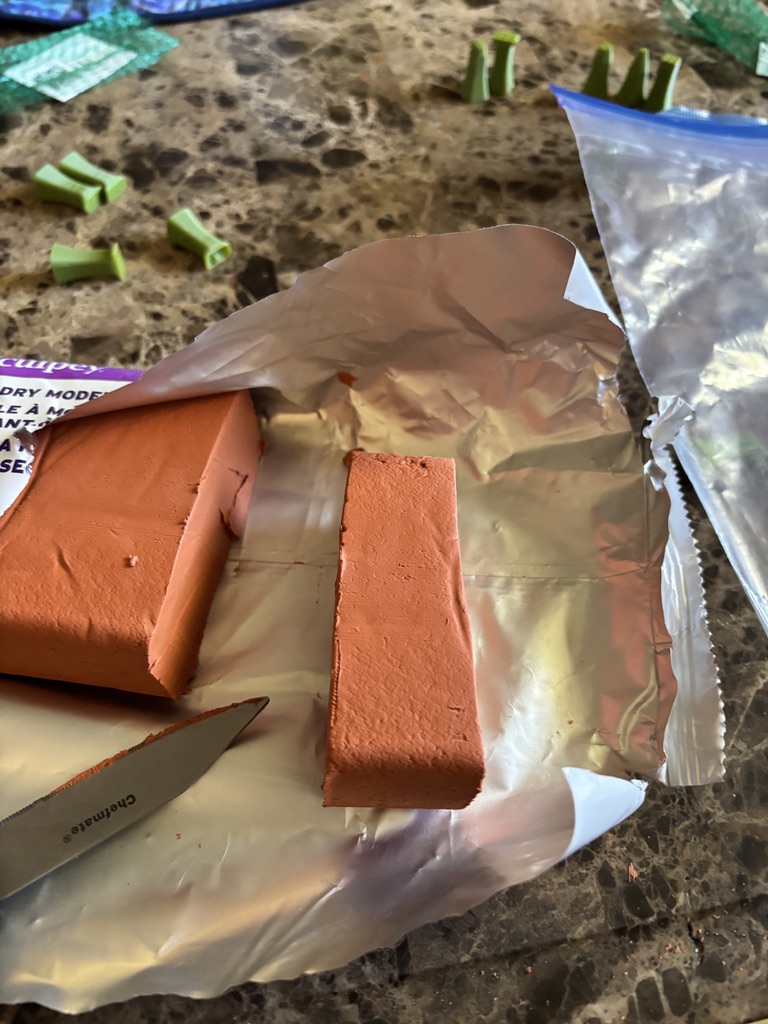
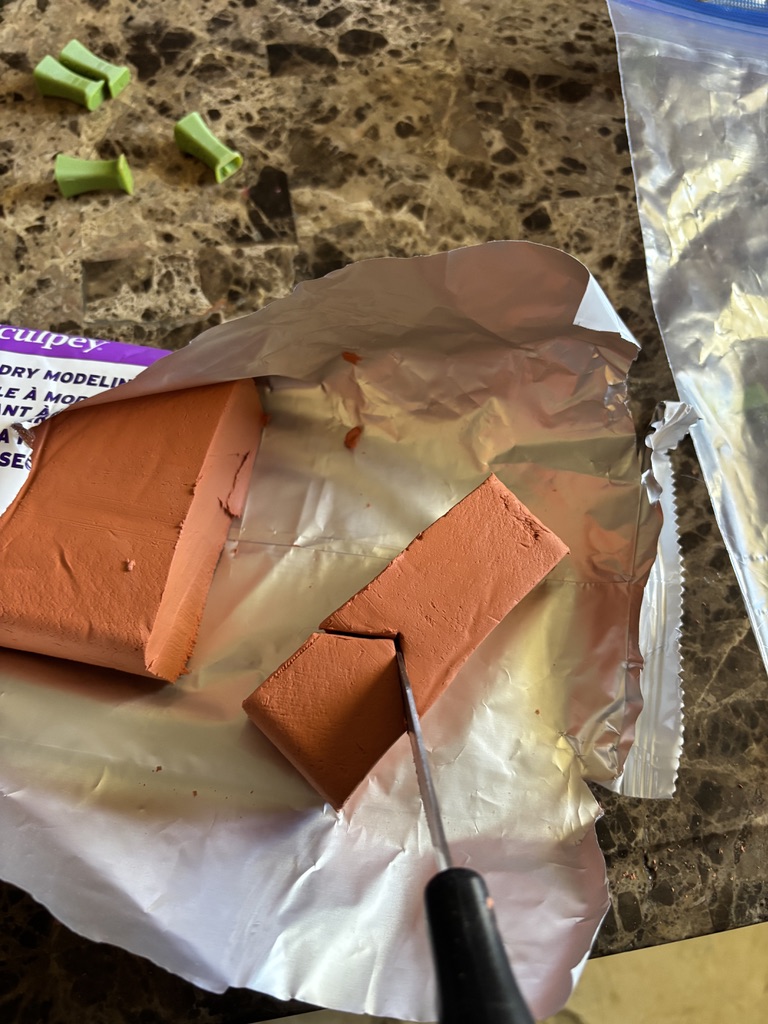
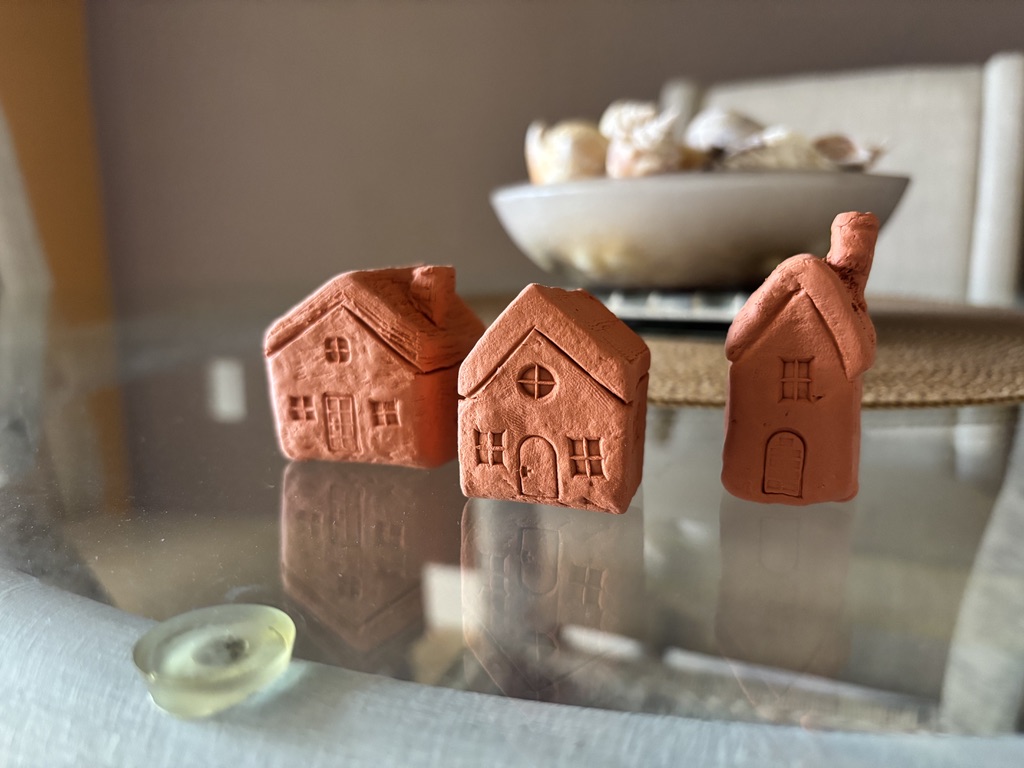
I loved the terra cotta colored clay. It seemed like a great choice for the roof, window and door color. It is hard to shape the clay on your own. Cutting it from the clay brick helps you get sharper corners and a smoother surface.
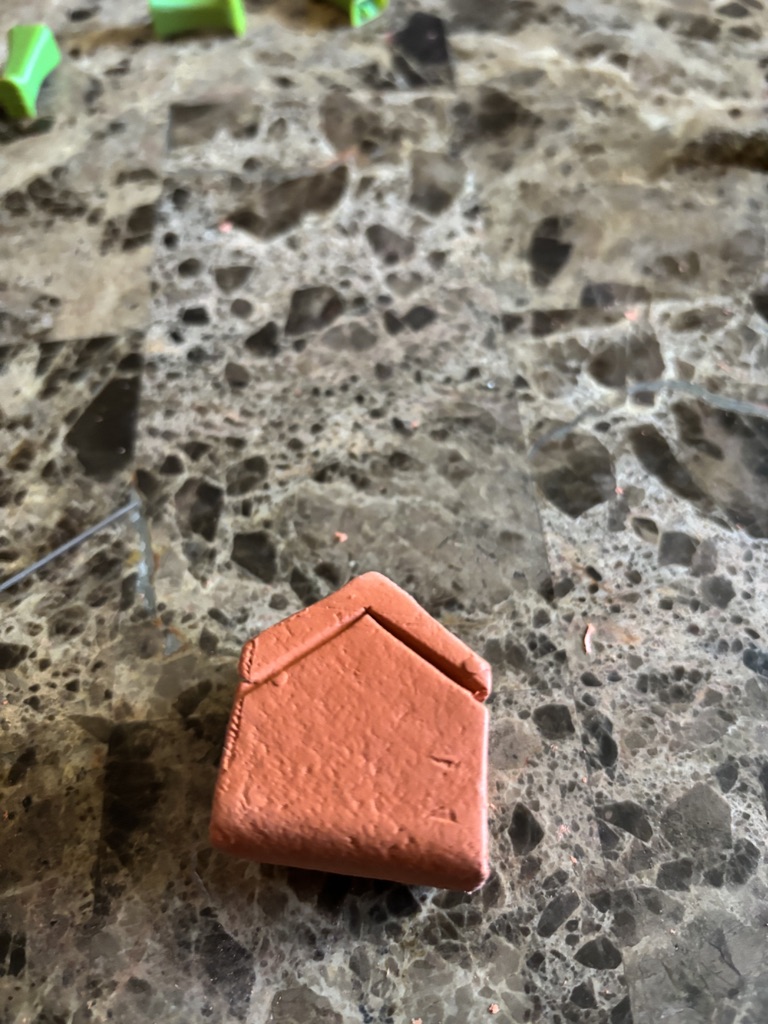
Roof lines
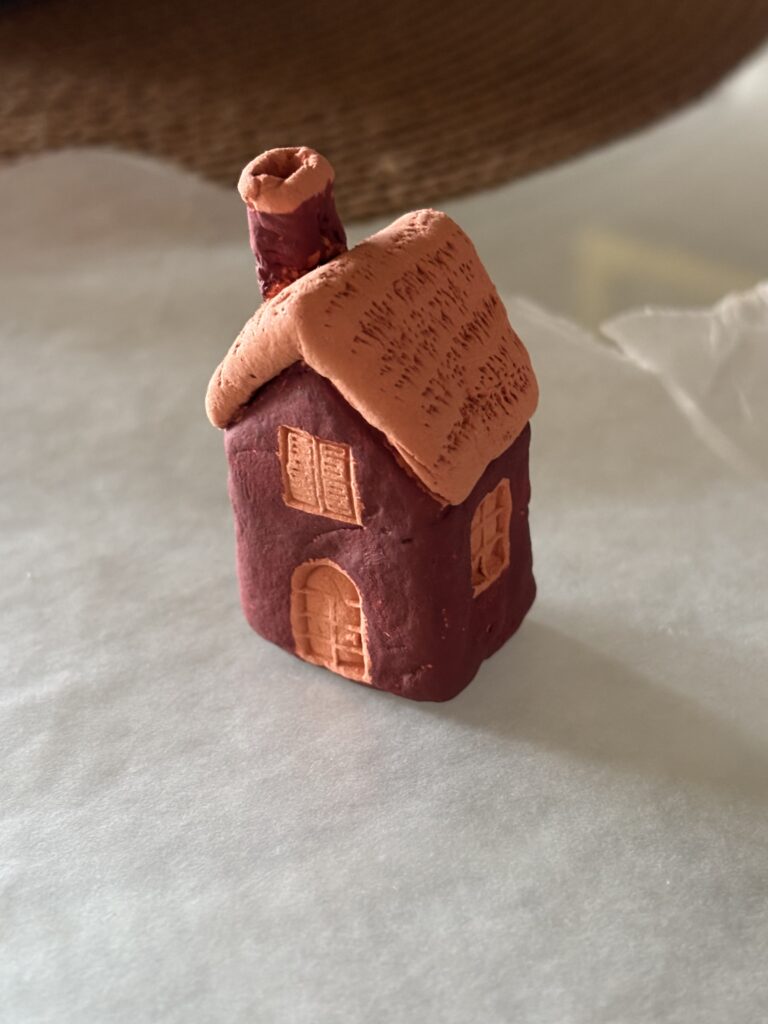
Using the thin wire style tool in the kit, I was able to make the roof line.
Make the roof line with the wire tool all the way around the house.
Adding the windows & doors
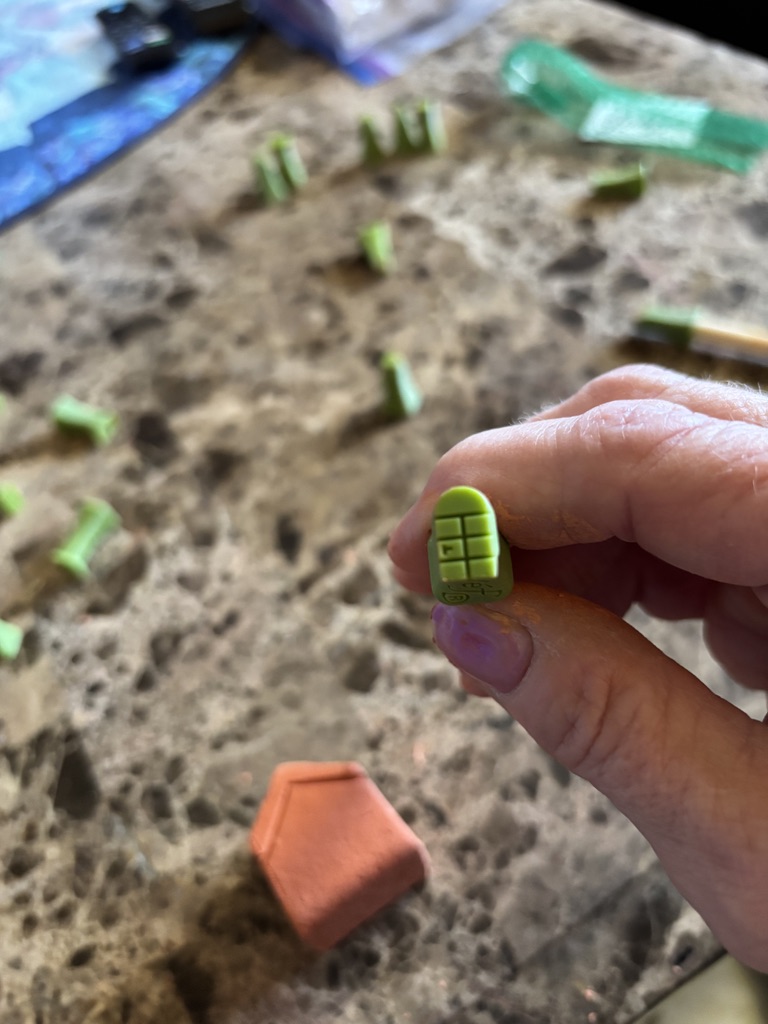
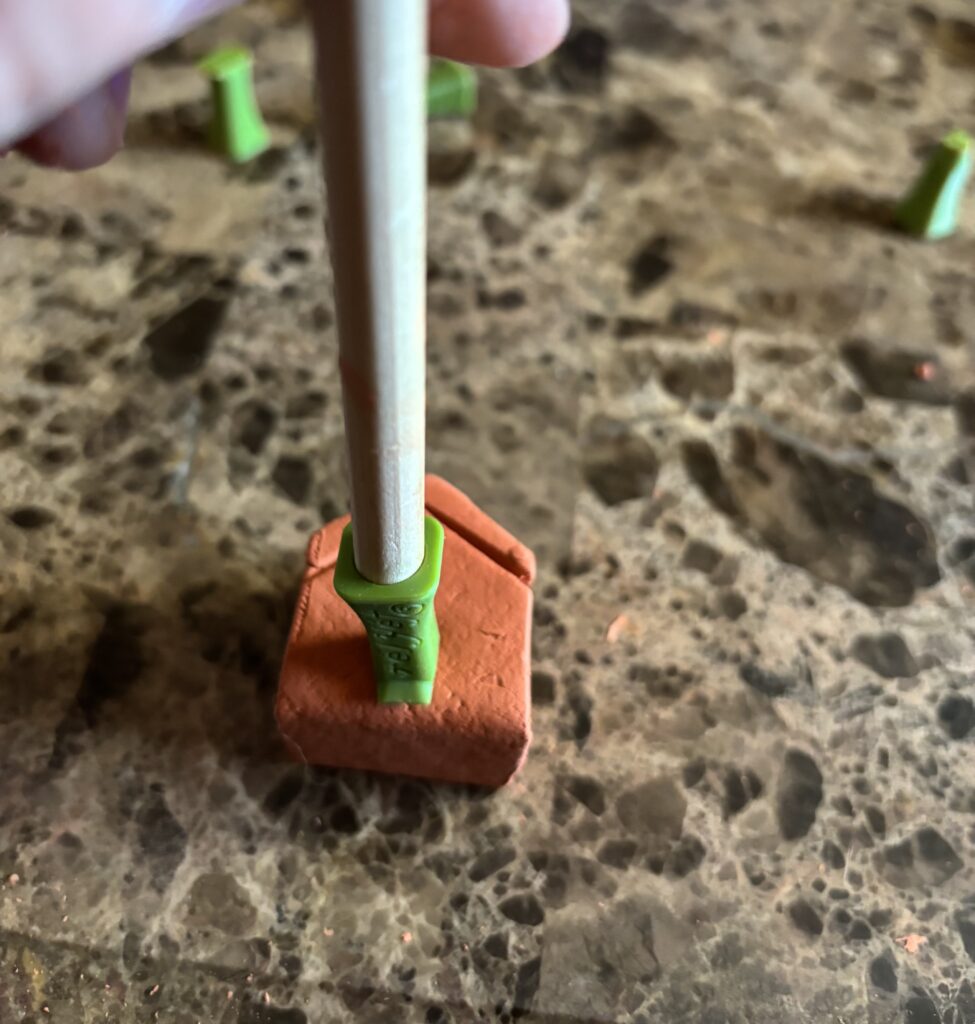
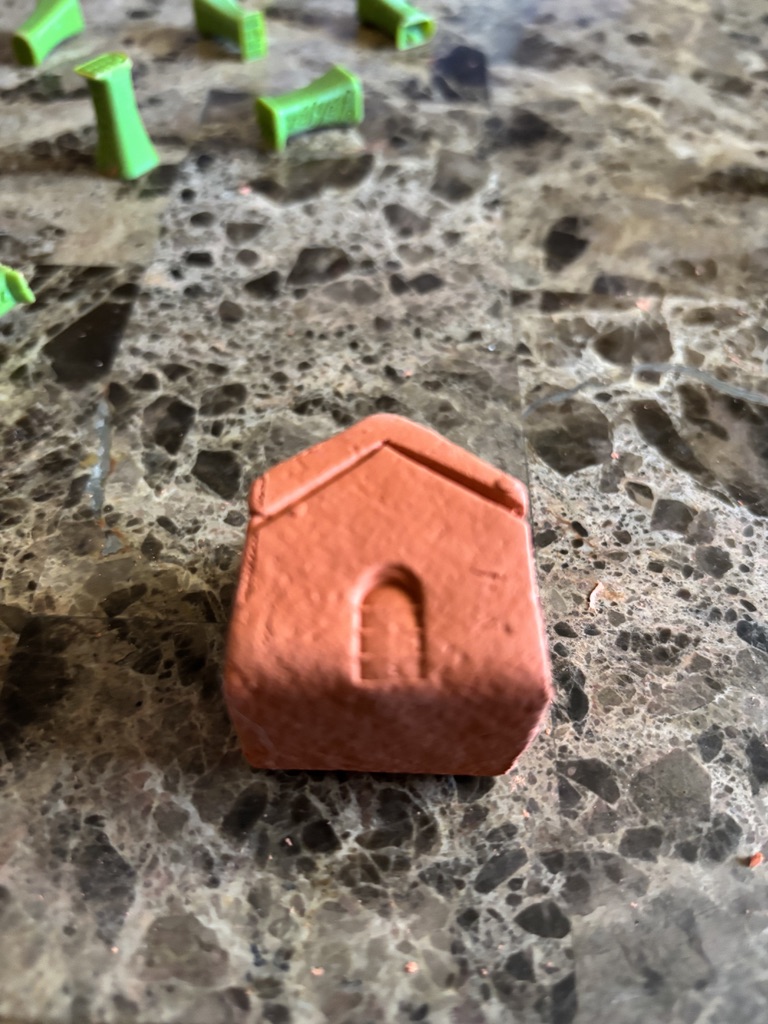
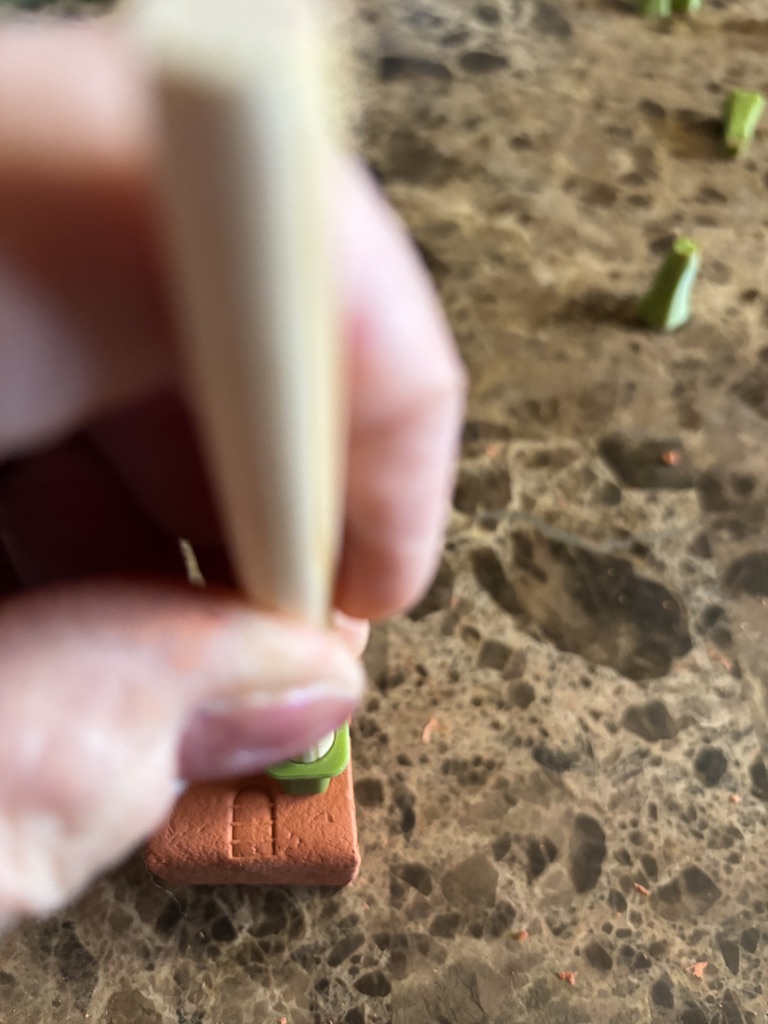
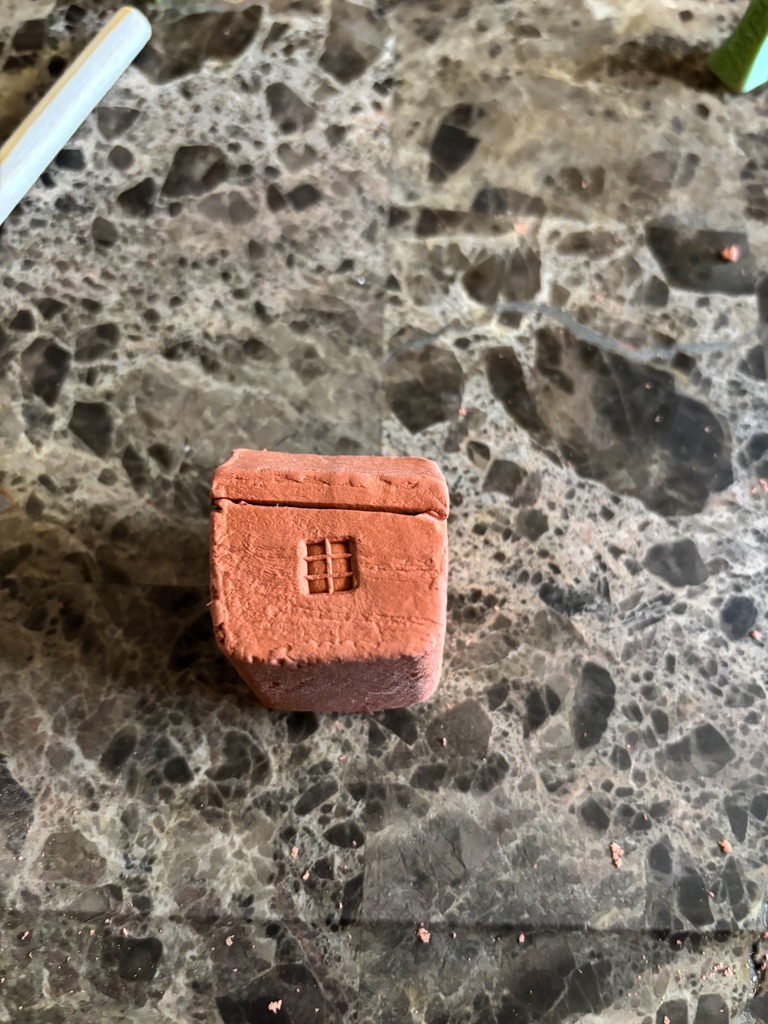
This is the fun part. Choose what door style you want and the windows. These stamps come with a wood handle to put the stamp on. Firm pressure will give a clean crisp stamp imprint. Getting a good slightly deeper impression will keep the image clear when the clay is drying.
Don’t forget the roof
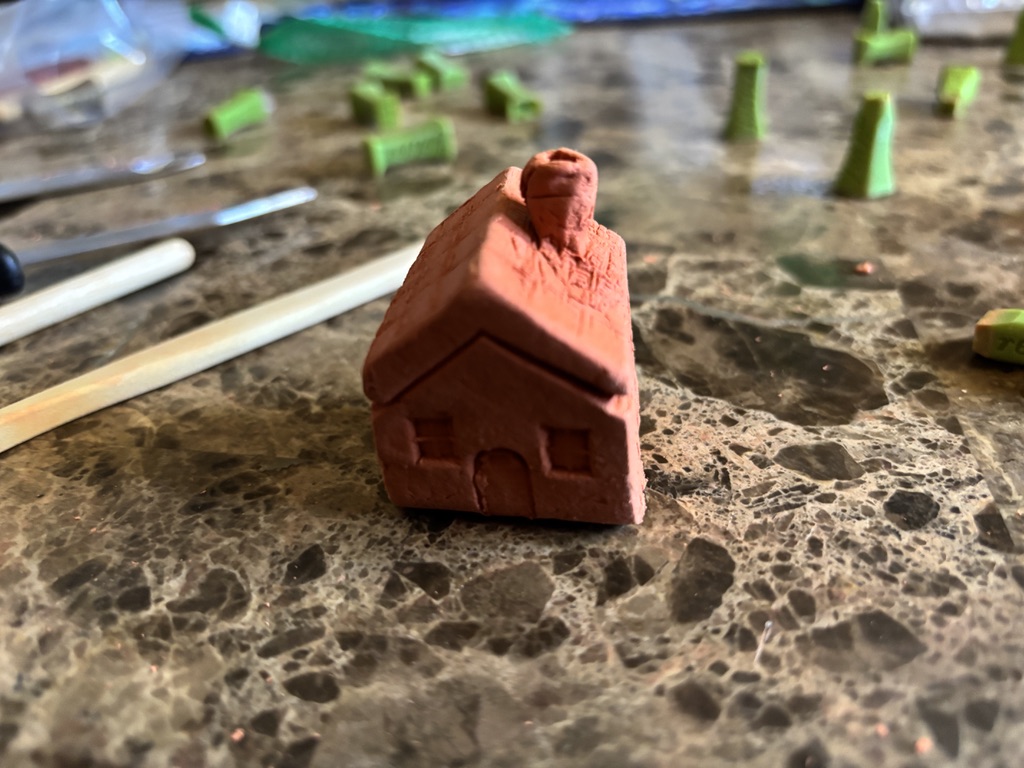
You can use a door or window stamp to make shingle imprints or the wire tool.
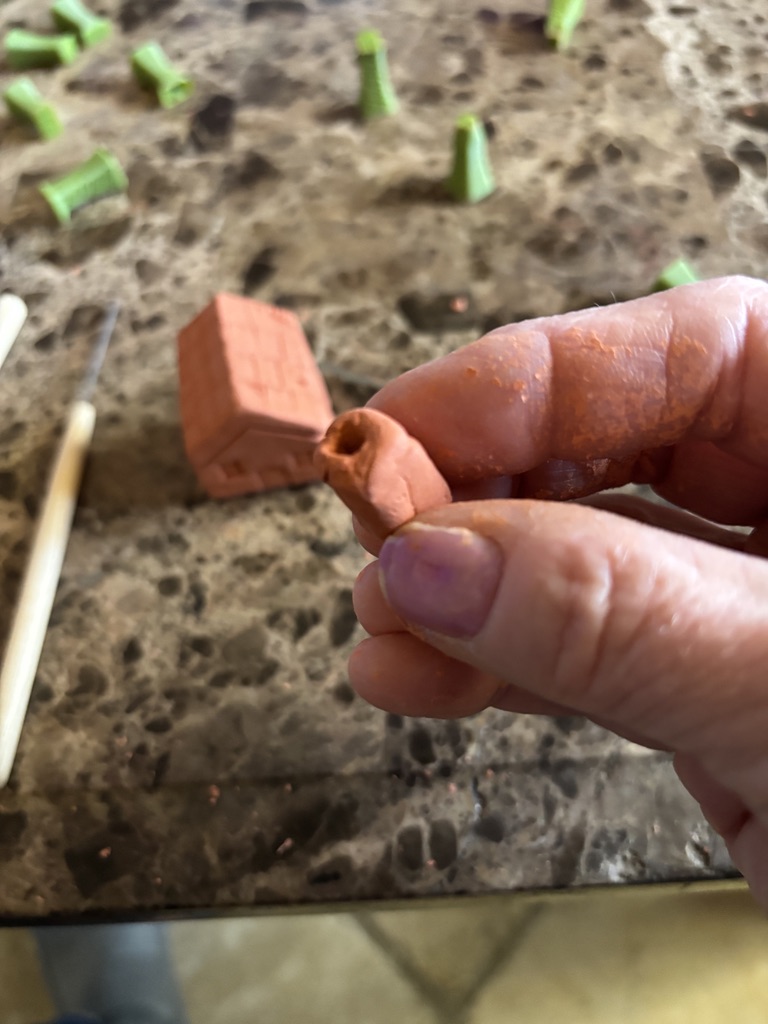
Chimney
I wanted to add a chimney to some of my houses. I made an oversized one so you could see what I did. I made a cylinder, used the wire tool to make an opening in the chimney. I used just a tiny bit of water and the wire tool to hold the chimney in place.
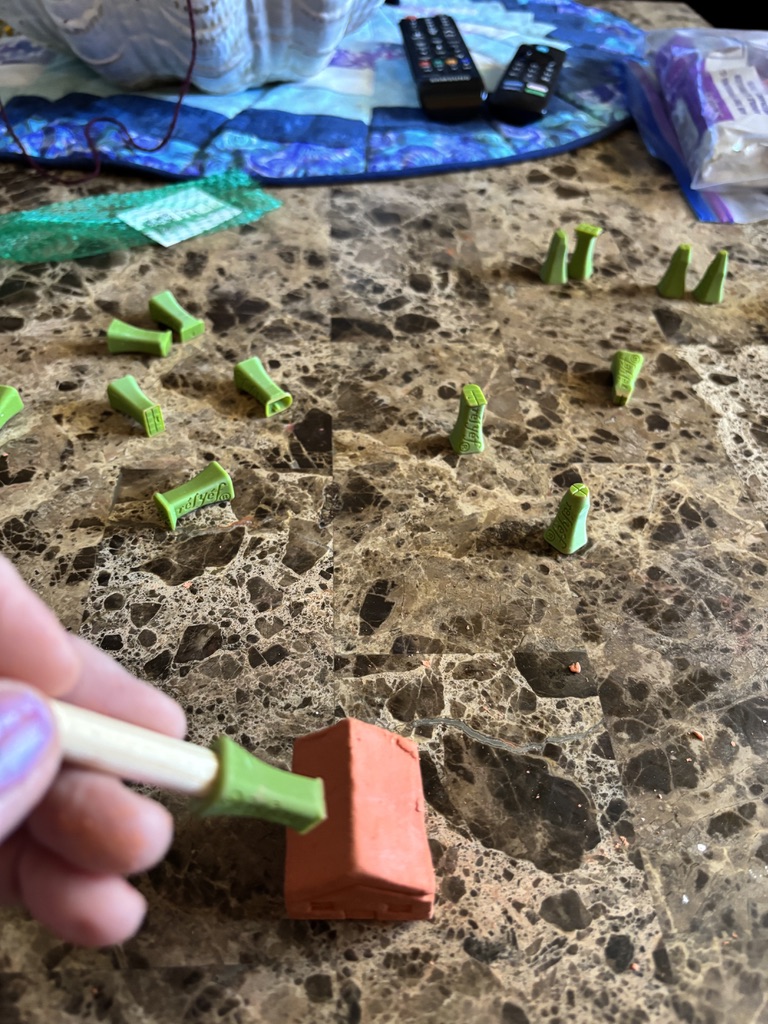
Trees
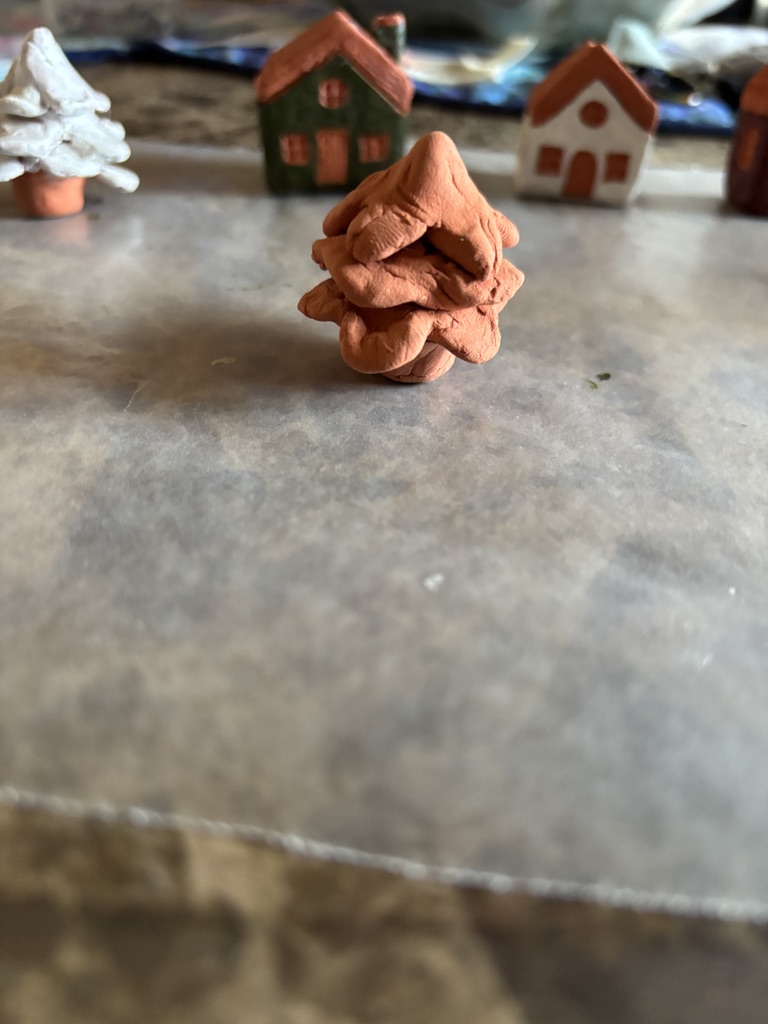
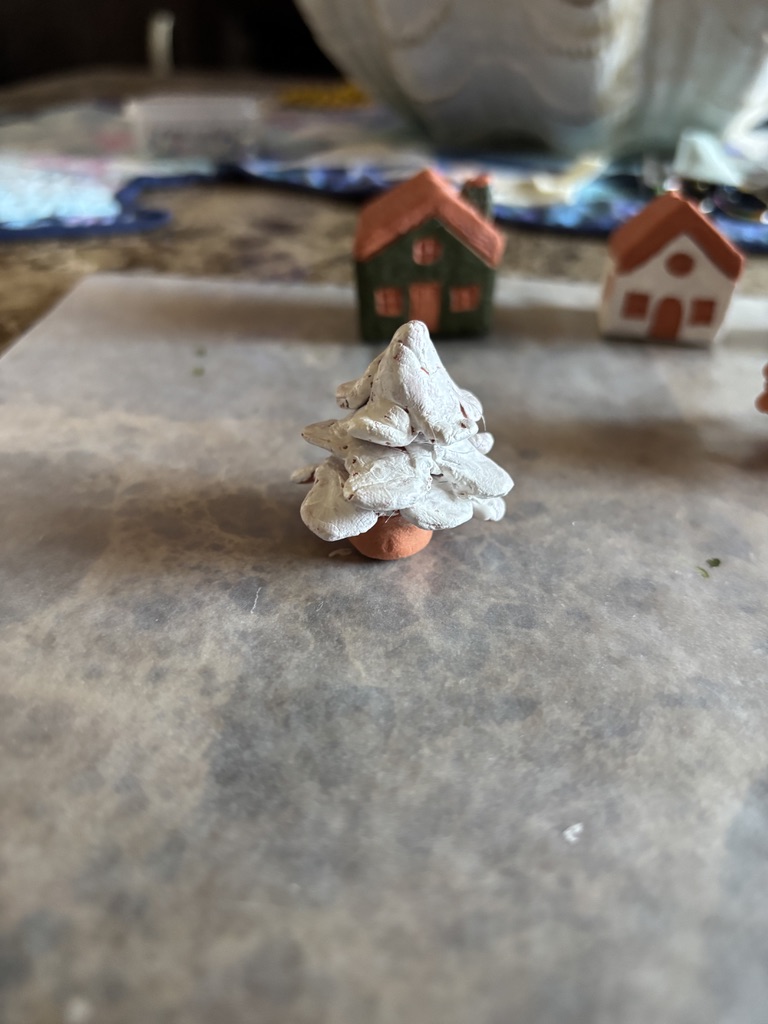
I wanted to make some trees to go with the houses. I made a short little cone for the trunk. Then I cut out some scallops from rolled out clay. I placed them around the cone, smoothing the clay to hold it against the trunk. The top of the trees are one piece gently pressed on top.
Dry time

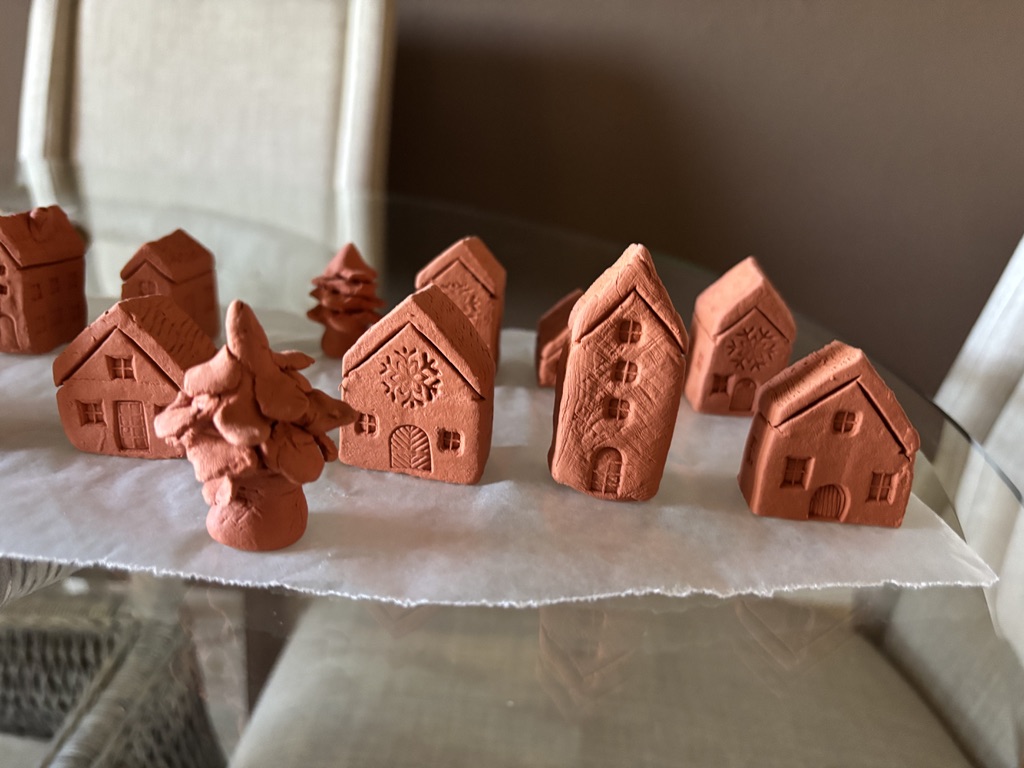
I was able to make 18 mini houses and 7 trees. They need a couple days to dry.
Painting
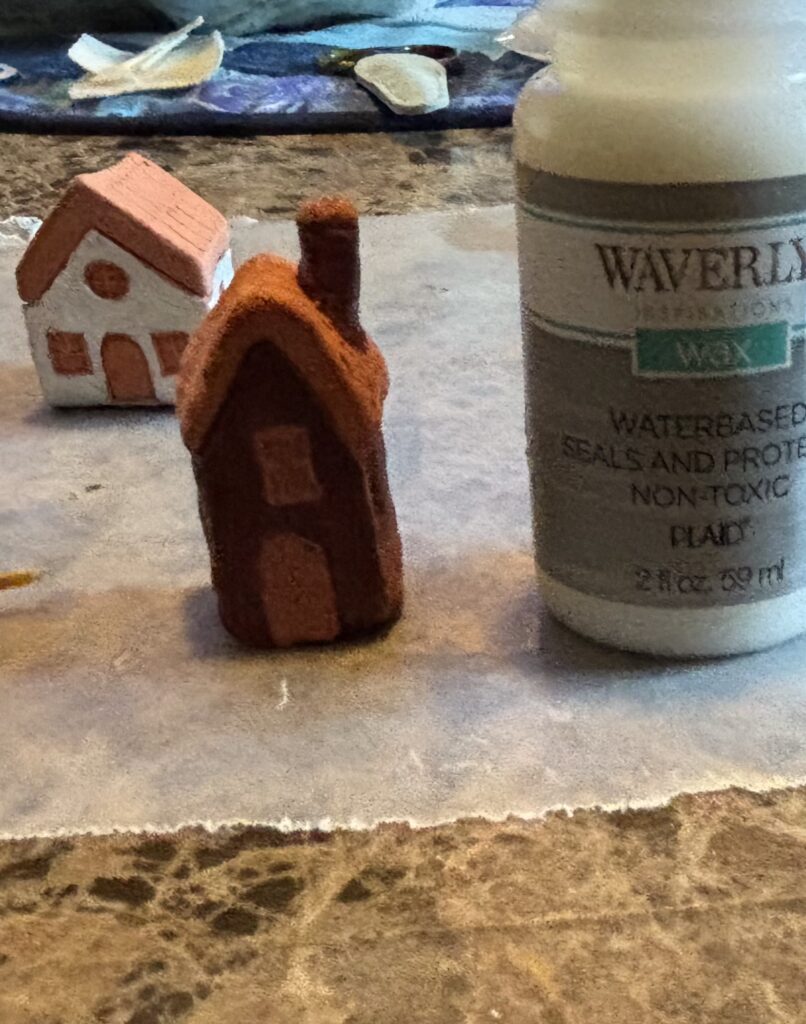
Paint the houses. Allow them to dry for a couple hours, then paint a second coat. Let the second coat dry overnight.
Apply a coat of water base wax sealer. Take time to let the sealer dry as directed, then repeat. After the wax is good and dry, buff with a soft cloth. This will polish the house up giving it a glazed appearance.
Finished houses
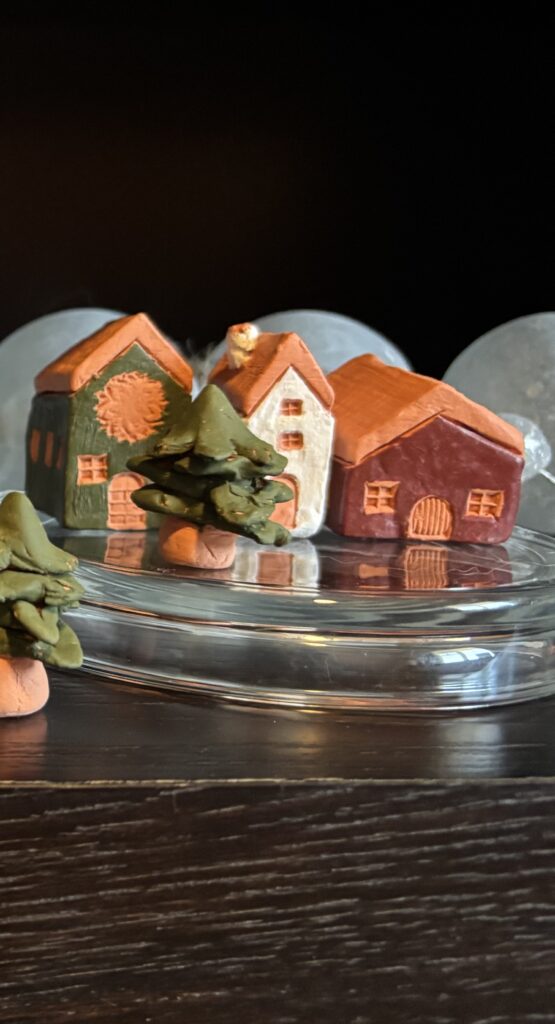
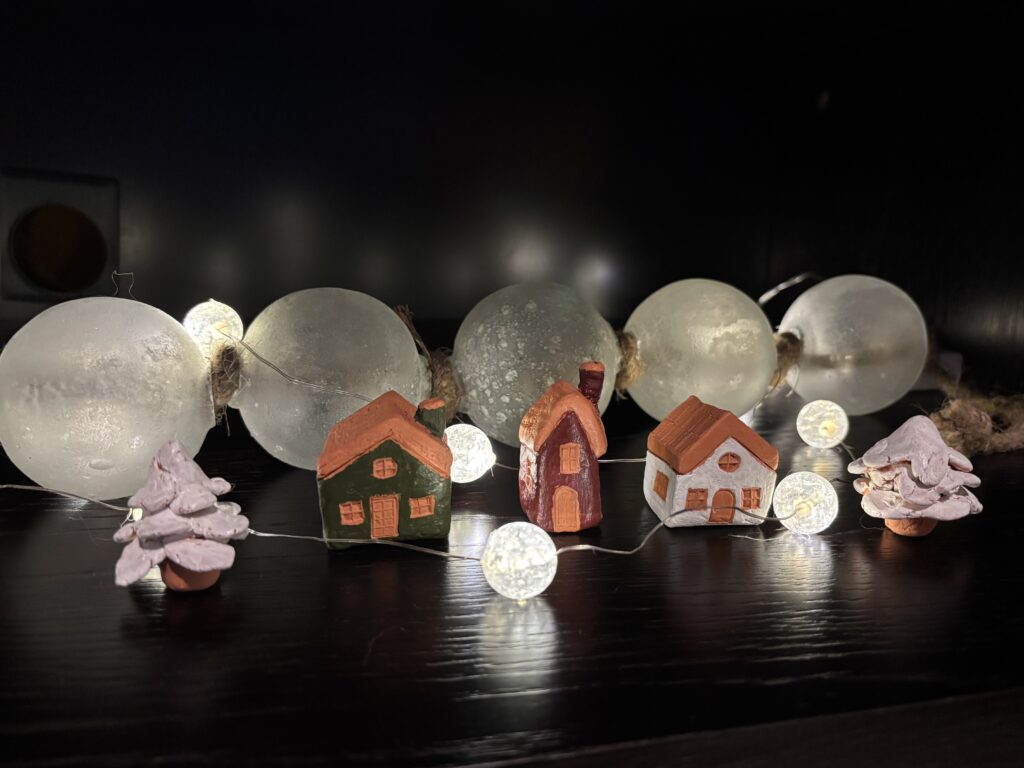
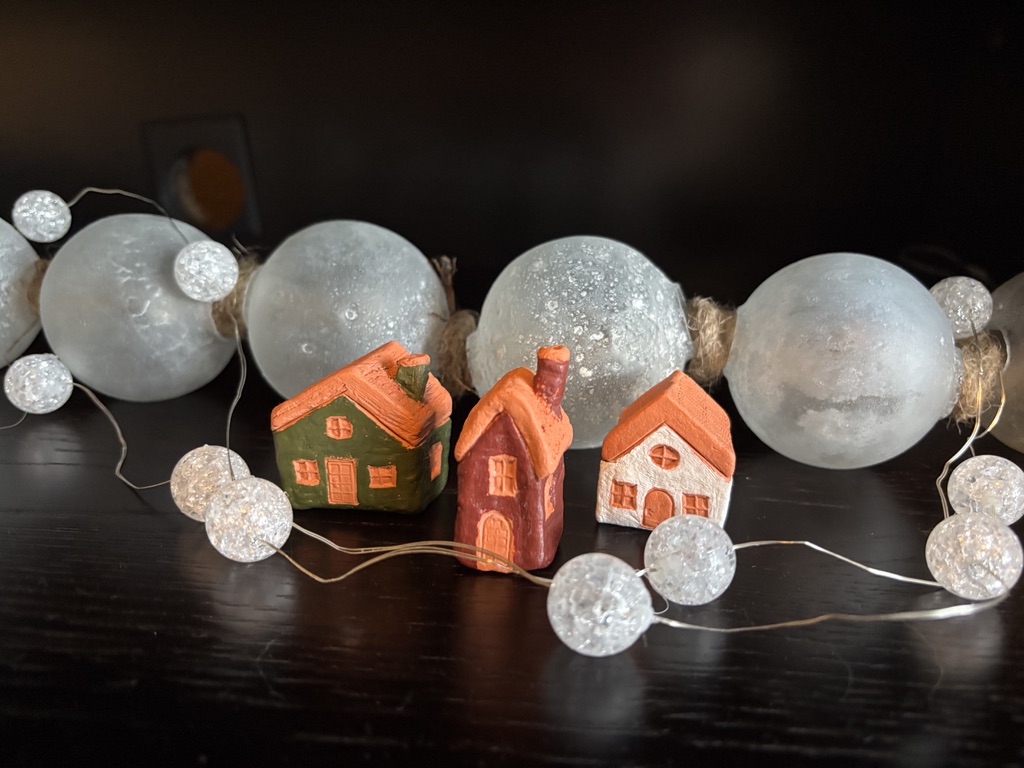
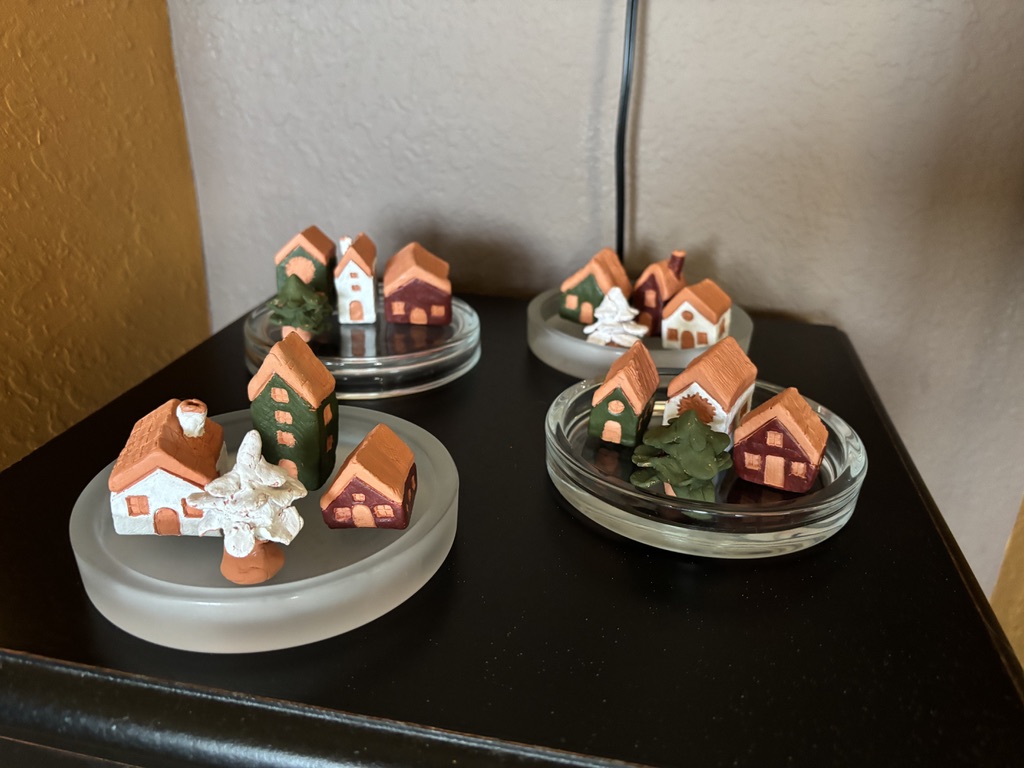

I bought flat glass candle plates to put mini scapes together. I am going to give them as gifts. The candle base could be filled with sand or imitation snow. So many possibilities! I had so much fun making these!
Kelly