June 23, 2026
Whether you are buying fresh flowers, everlasting flowers or flower pots for outside, it can be intimidating to arrange them yourself. It definitely is more expensive to buy ready made arrangements. With a few guidelines and tips you can save some money and enjoy flowers that you have put together yourself.
Fresh flowers
When arranging your own flowers, always start with a clean vase and recut the stems. Remove the leaves that will sit in the water. This will keep your water cleaner and from smelling from rotting leaves.

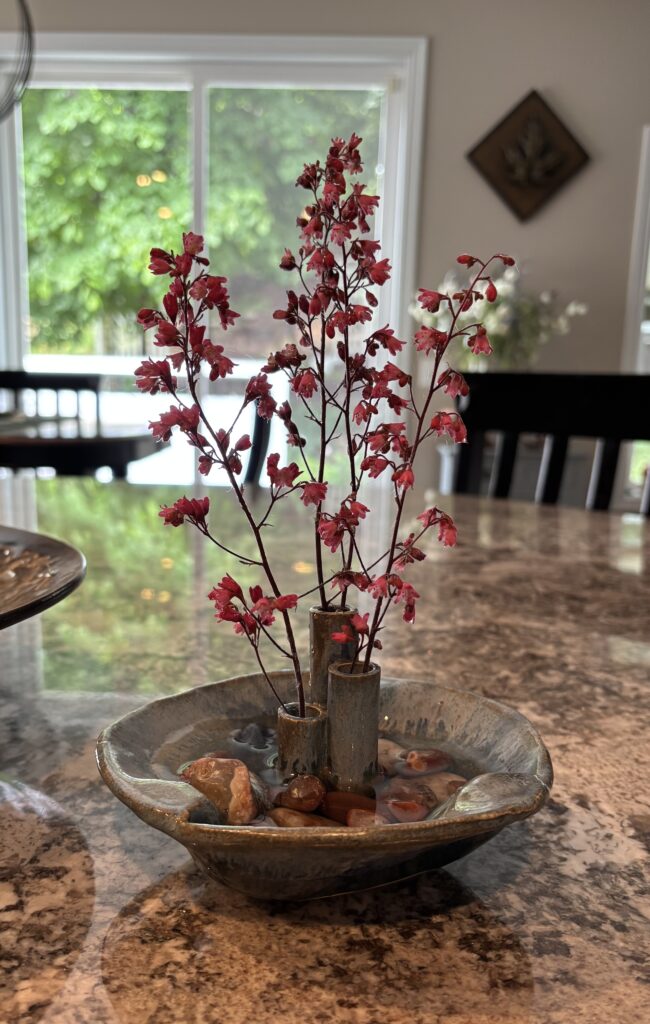
If using a clear vase for either fresh or artificial flowers, you will want to add decorative rock or glass beads to cover the stems, and help anchor them in place.
Fill the vase about 2/3 full with cool water and mix the packet of flower food, if it came with your bouquet. You can add 1 tablespoon of sugar to the water if you don’t have any flower food.
Cut all the ends of your bouquet at a 45 degree angle. This will increase the absorption of water.
Use floral foam or create a grid across the top of your vase using clear waterproof tape to help the stems stand up.
Add the greenery first, then add the flowers.
Keep your arrangement in a cool area, out of direct sunlight. Add water daily to the vase. Replace the water if it becomes cloudy.
With just a few steps you can have beautiful floral arrangements that will last. Most fresh-cut flower bouquets last 5-12 days, but it also depends on their care.
Up your game with this Florist Secrets video: https://youtu.be/ZSBKsFIBqLQ?si=4Mn9ZC77r33ngQCj
Artificial flowers
To start arranging everlasting flowers, use floral foam or clear tape to create that grid to hold the stems in place.
Next, fluff and bend your stems, leaves and flowers to give them a natural shape.
Your arrangement should generally be 1-1/2 times taller than the height of your vase.
Use a good pair of wire cutters to cut the stems.
Begin with the greenery or branches, then layer in the flowers.
Group stems in odd numbers to keep your arrangement looking natural and not the same height on each side.
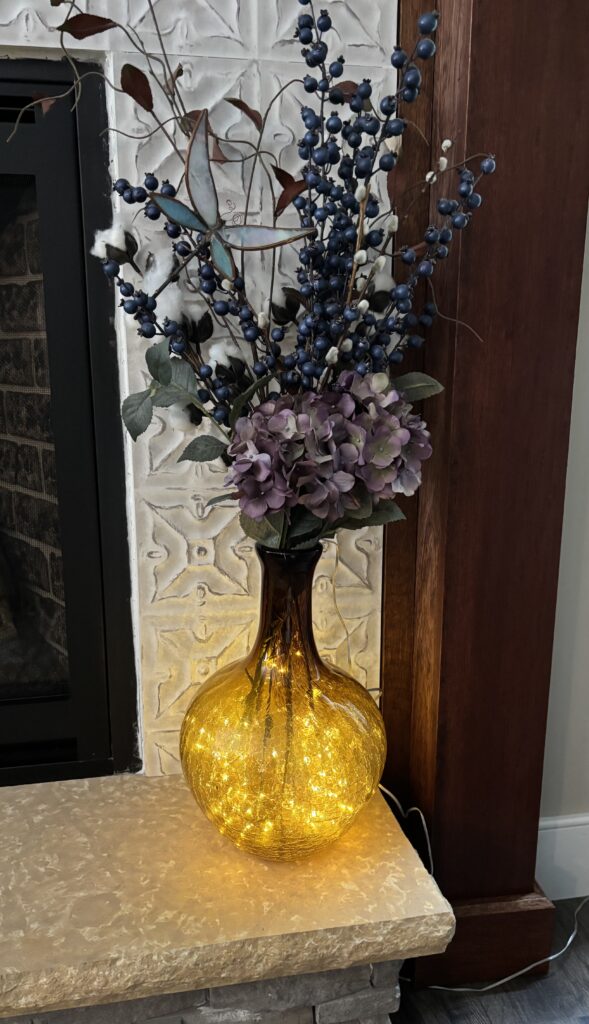
This example features blueberry stems, pussy willows and cotton stems. The vase has plug-in fairy lights. A stained glass firefly adorns the top.
Intertwine and weave the stems together. Fill the gaps with smaller flowers and delicate greenery.
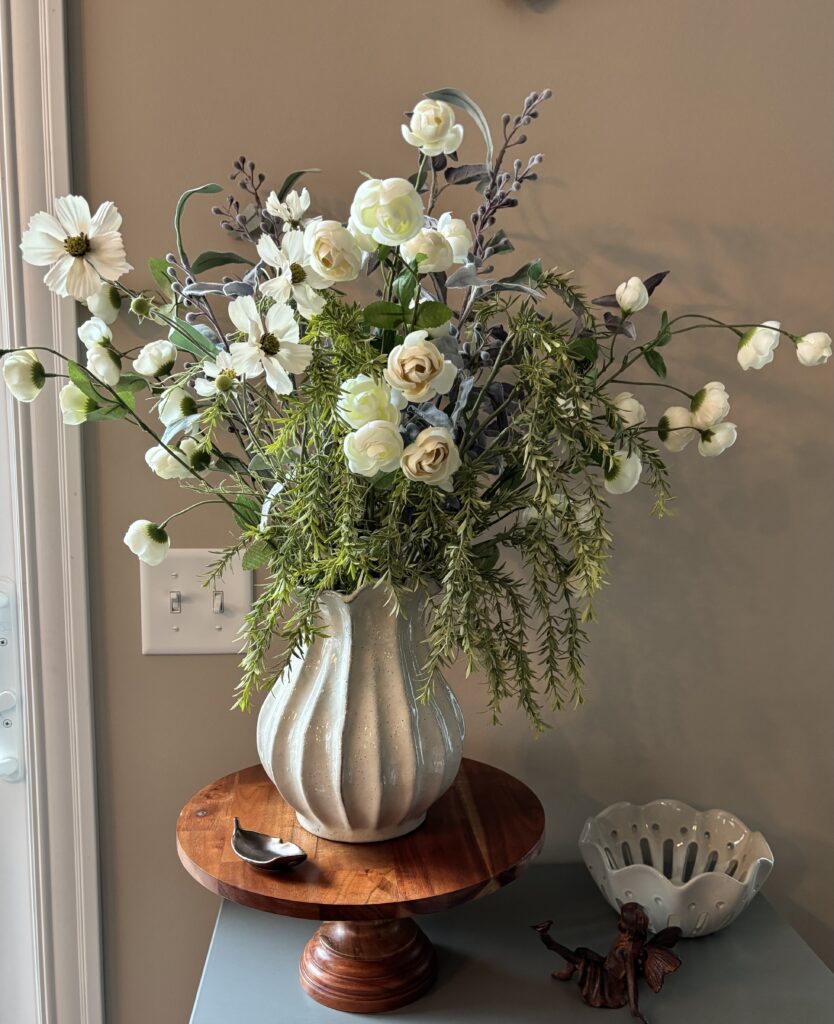

You can do all one color of flowers or colors that compliment each other.
I like to add texture with different items, such as the sticks and cup shaped stems in this example.
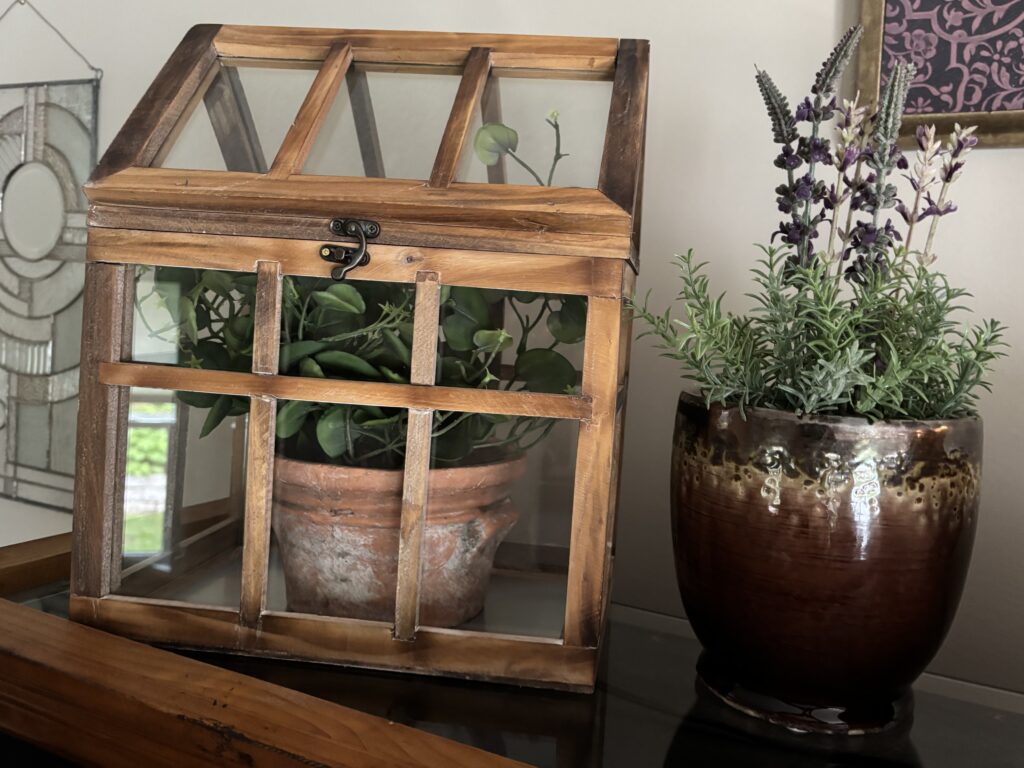
In example A: A wood and glass greenhouse style piece is used to house a forever plant in a pot.
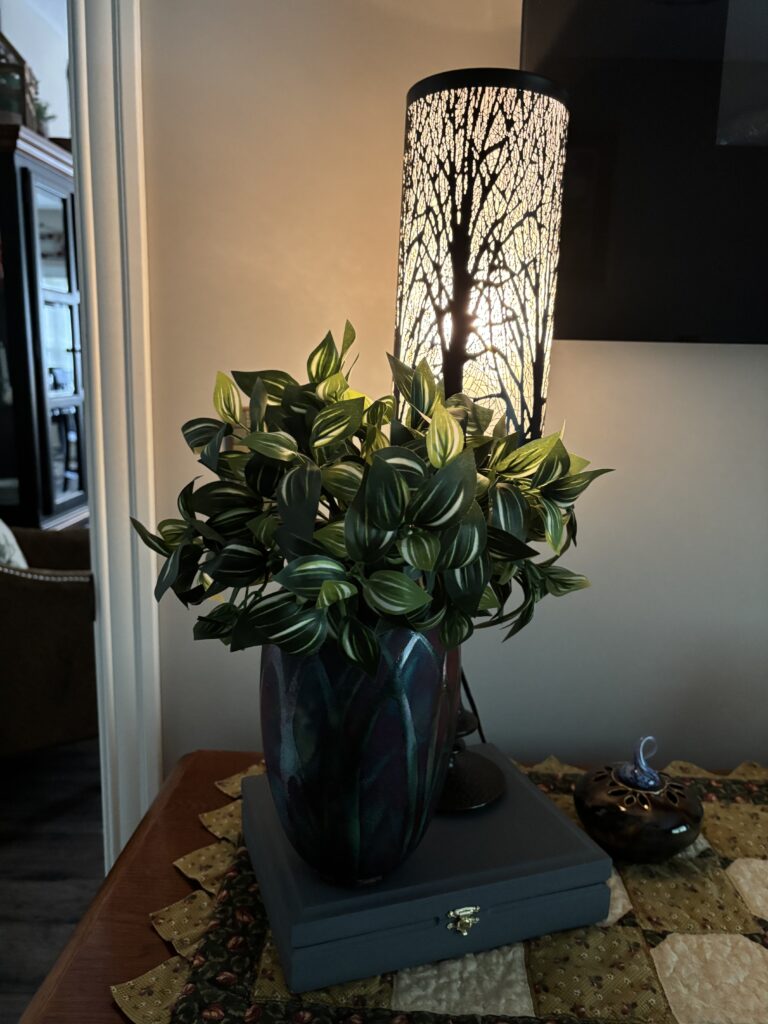
In example B: This is an example of a time when I did not use the recommended height of the greenery in the vase. The touch lamp was the tall accent in this case.
For more tips on arranging artifical flowers:https://youtu.be/iWfGETbse_4?si=tSO7qyWj-_MxmeKU
Outdoor flower pot arranging
You can have beautiful outdoor pots. The focus on these plantings is visual balance, proper plant pairing and good plant placement.
The design:
Use the three design method which is used by most greenhouse designers.
- Thriller- This is a tall dramatic centerpiece. (Spikes, ornamental grass, lavender and salvia)
- Filler- Mounded plants that add volume and cover the dirt in the pot. (Geraniums, begonias, petunias and million bells)
- Spiller- Trailing plants that grow over the edge of the pot. (Sweet potato vines are not recommended due to crowding other plants)
Pair pots in groups of three or five. Repeat a color or color pattern to tie the pots together.
Use plants that require similar amounts of sunlight and water. Make sure pots have adequate drain holes in the bottom to prevent the roots from rotting.

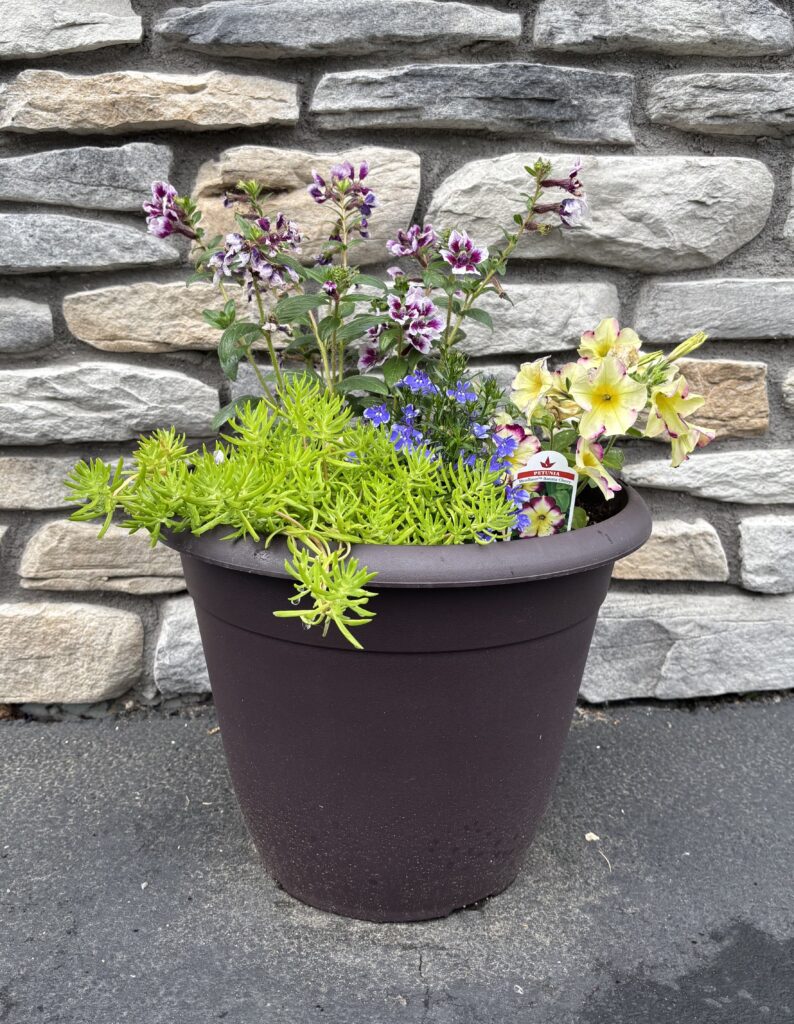
Example A: Shows the thriller, filler and spiller.
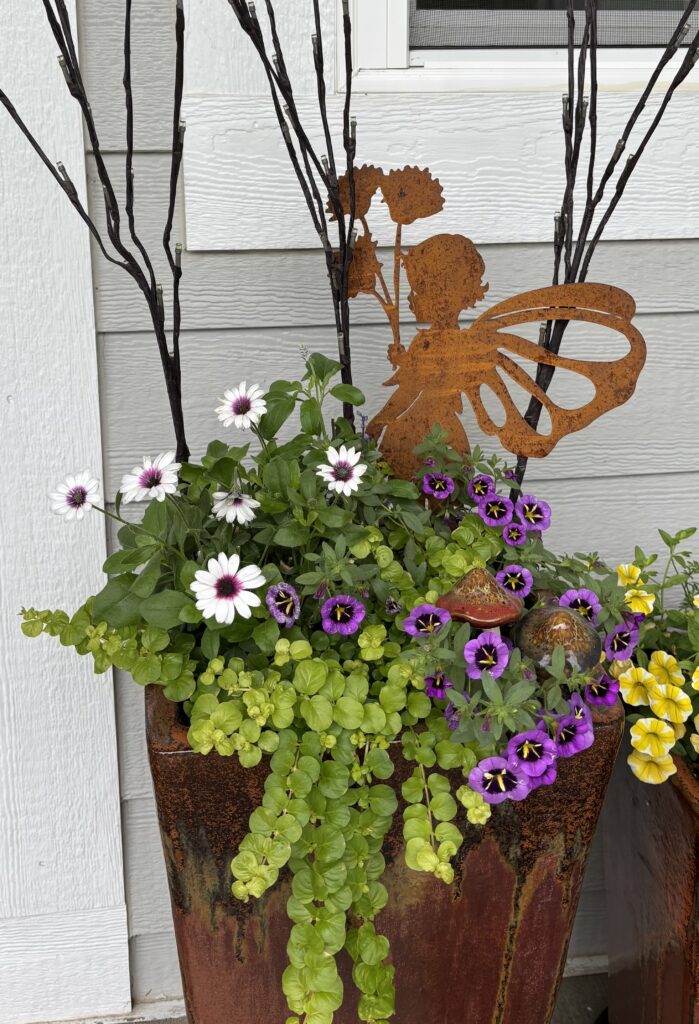
Example B: This pot shows the three design method as well, with lighted branches, a fairy cutout and a couple ceramic mushrooms.
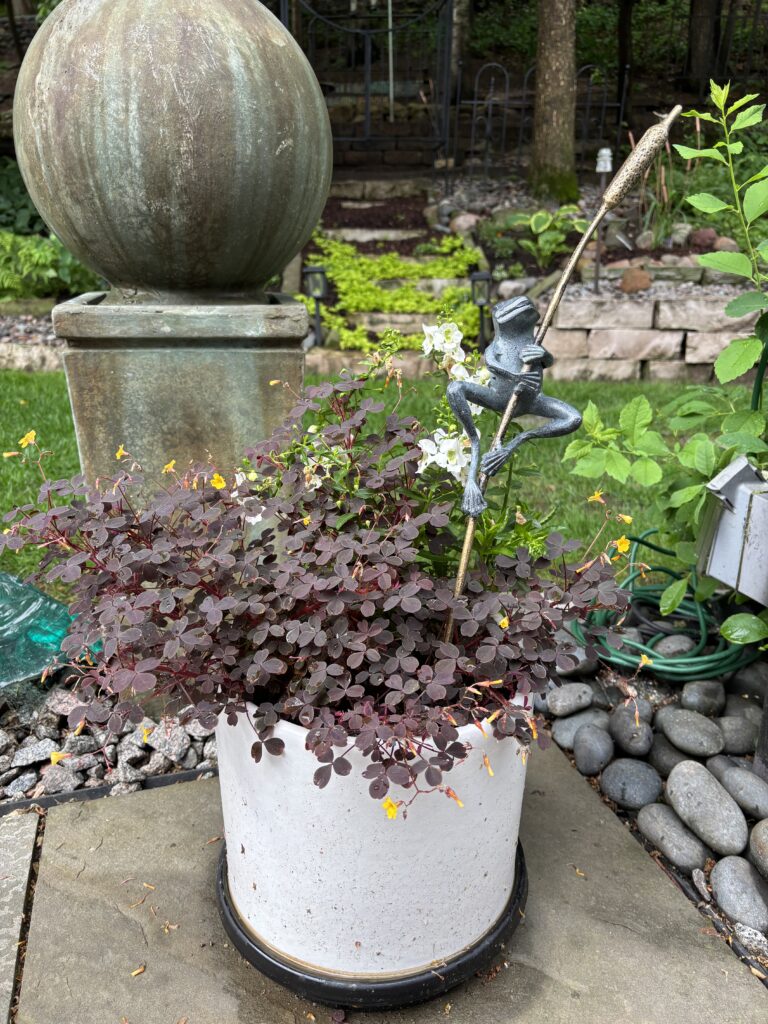
Example C: Greenhouse designers recommend 5 plants for a 12 inch pot. Some plants get too big and will just crowd out the other flowers. This is an example of 2 plants that get big, so no other flowers were added. Reading the tag on the pot will tell you how tall and wide it will grow.
For more tips on container gardens: https://youtu.be/Sfa4aRb28tw?si=k9BLRii-x9aj_JDI
I hope that these tips will help you unleash your creativity to make your own beautiful arrangements to enjoy.
Kelly