July 1, 2025
A new twist on an old craft
I enjoy making coil baskets, so when I saw the new trend to make the bottom of the basket attached to a pottery/ceramic base, I was excited to try it.
Coiling, has been around for thousands of years as a technique for making baskets. I, on the other hand, have been making coil baskets on and off since I was in high school.
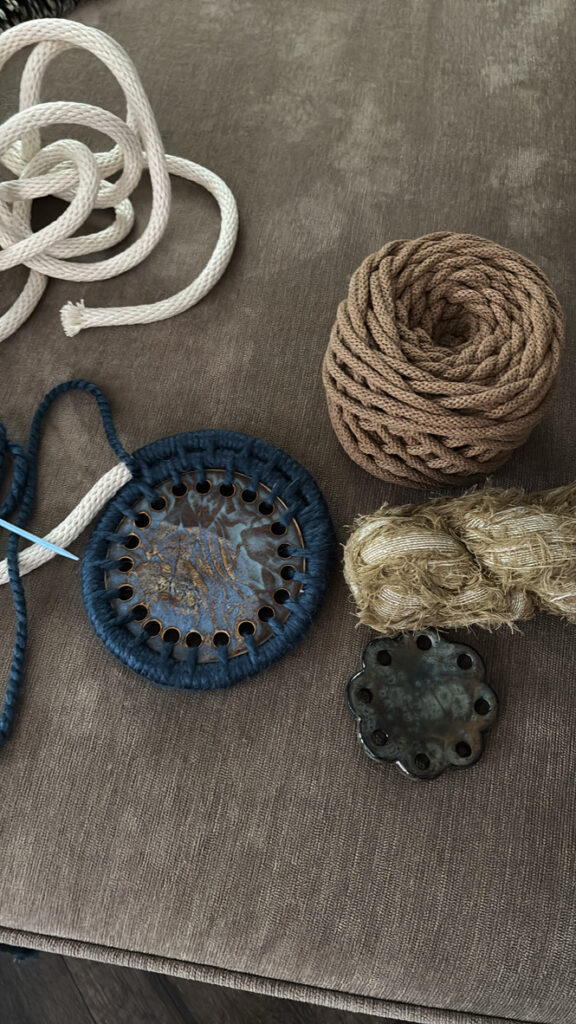
I bought a bundle that included the bigger variegated blue base and material for coiling. It also included a darning needle for working with thicker material and a crafting clip to help hold my project in place.
Shown above
- The white filler cord- what you wrap your yarn around.
- The blue color yarn is just that, yarn.
- The brown yarn is t-shirt yarn.
- The variegated yarn is ribbon yarn.
Where did I get my inspiration?
The website I used is called Handy Knots. They have a whole list of instructional videos. They show how to make different styles and even handles for your basket. The tutorials are great, so I didn’t feel the need to recreate all those instructions here..
Visit their site at:
My first basket
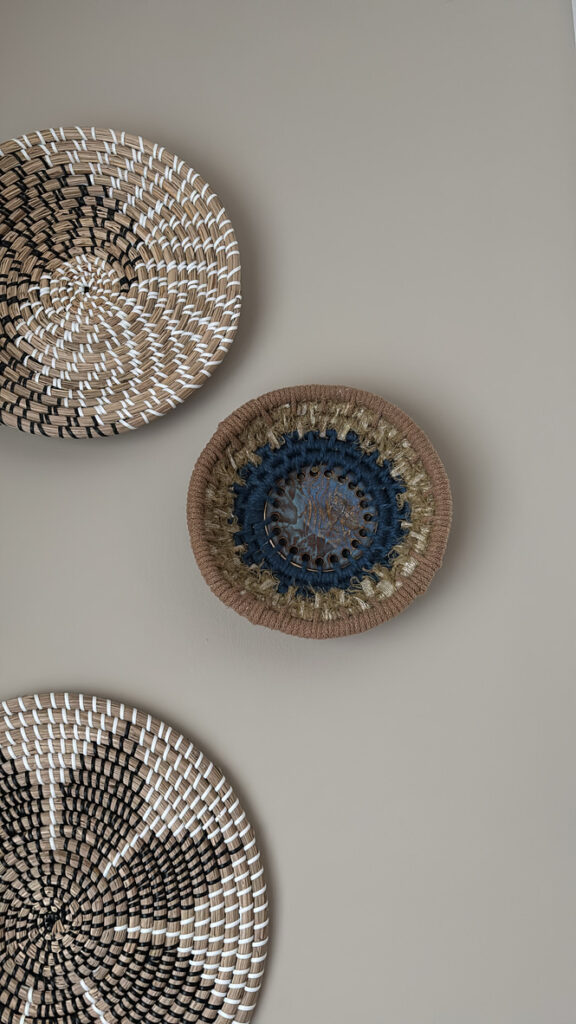
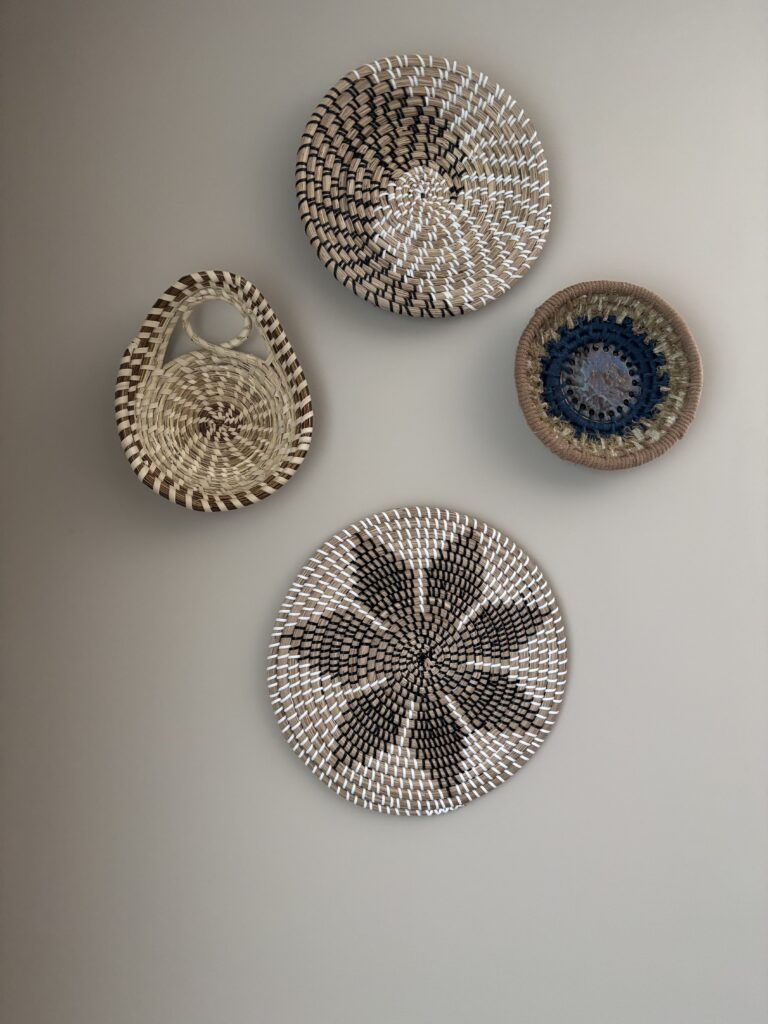
I made a shallow bowl in three colors.
I added it to a collection of weavings on our wall.
The basket on the left (across from the basket I made) is a basket I got on a trip to South Carolina.
It is made out of sweet grass. It is a good example of a different shaped basket.
My second basket
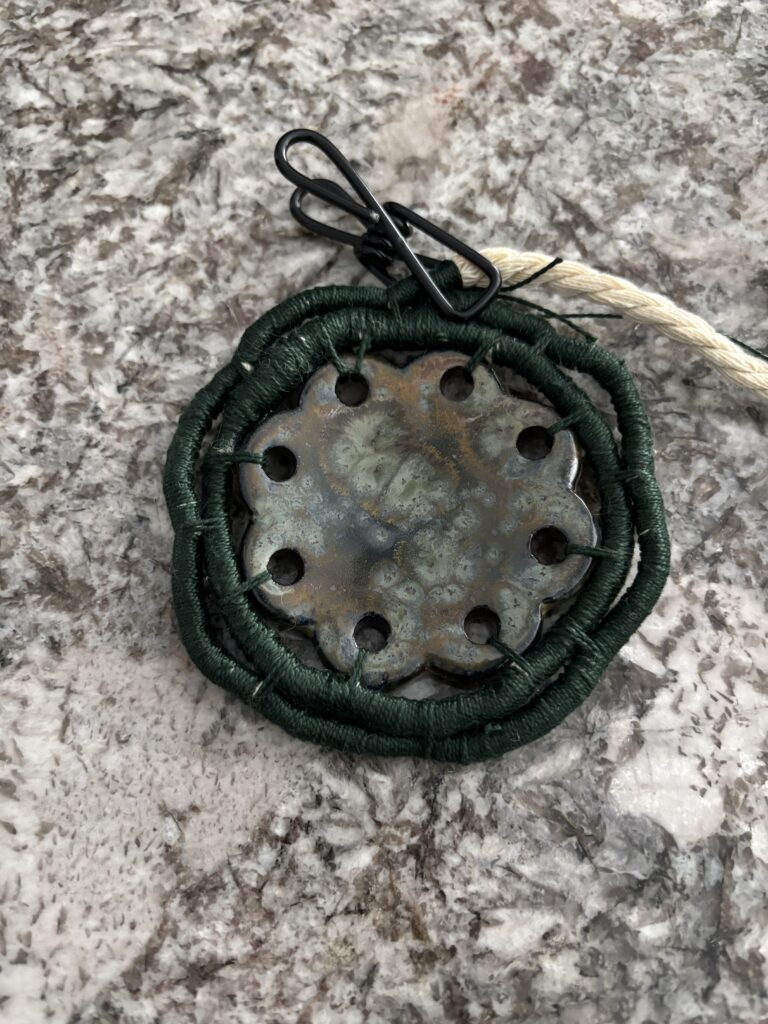
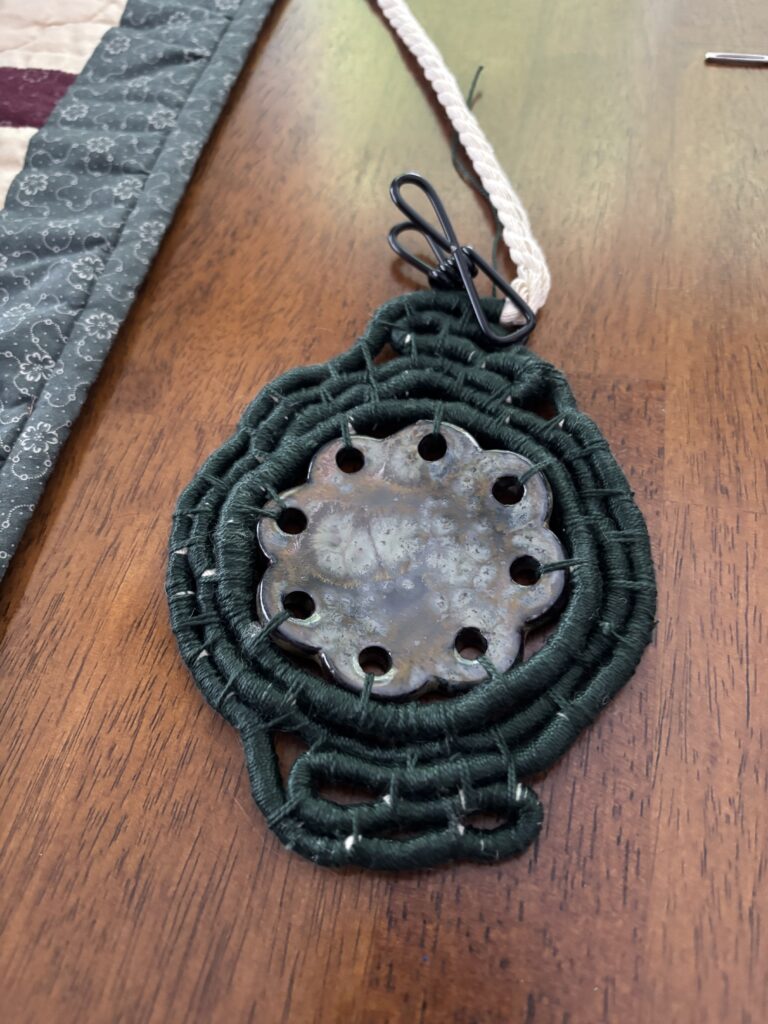
The flower base has less holes and is smaller. I bought smaller filler cord. For this coil basket I used macrame cord.
What is Pearl Cotton thread?
I used pearl cotton thread which is a bit thicker than standard embroidery floss. Pearl cotton thread can generally be found hanging above the embroidery floss wherever you buy embroidery floss.
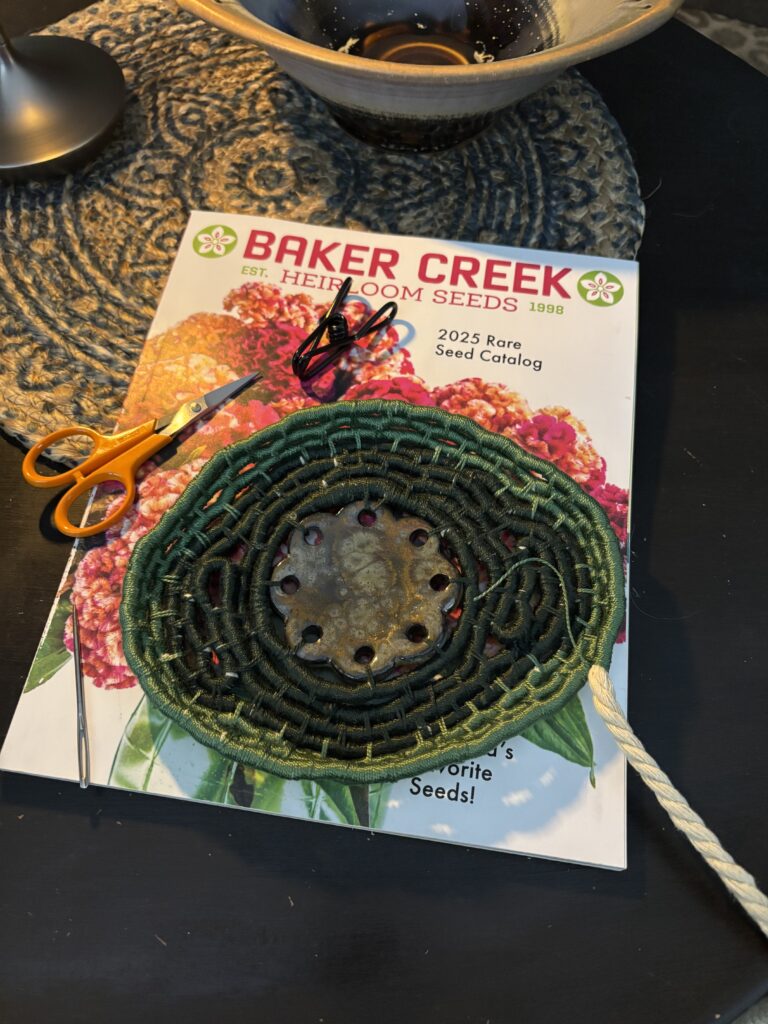
The shape
I wanted to try an oblong shape. This meant that I needed to add extra looped cording to make it into that shape.
Color
I used three shades of green for this basket. The color combinations are endless. Whether bright and sassy, all one color or subtle, it is all up to you!
Adding the sides
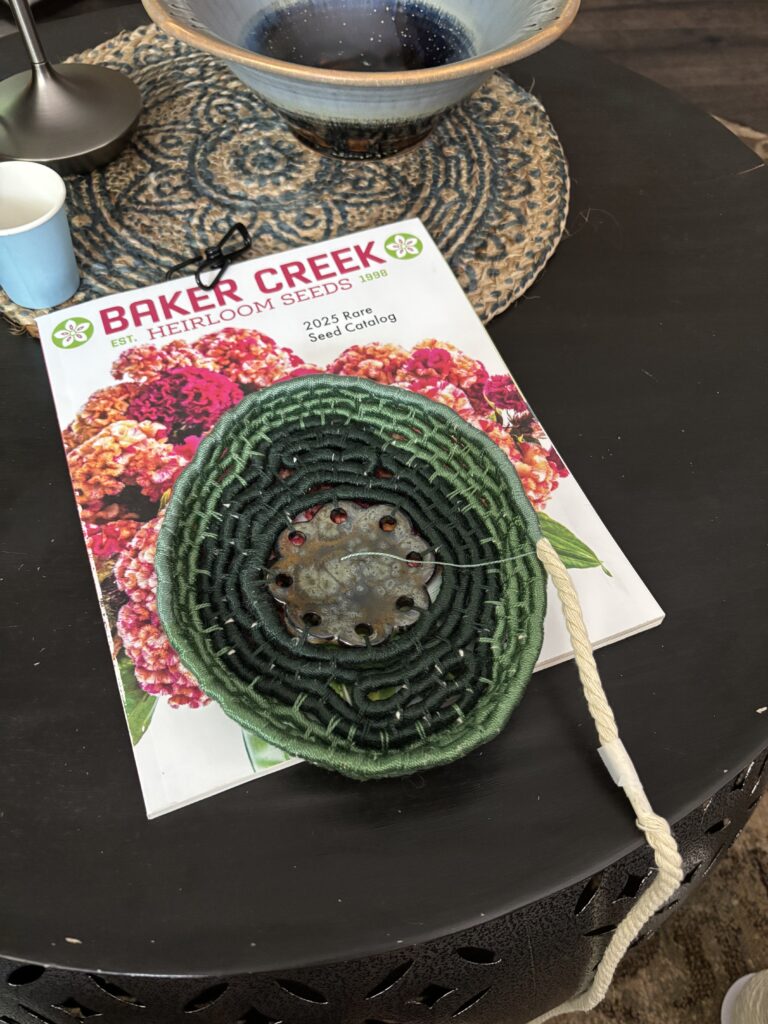
When the basket was as big as I wanted the bottom to be, I started putting the coiling on top of the last row to start making it go up to form the walls.
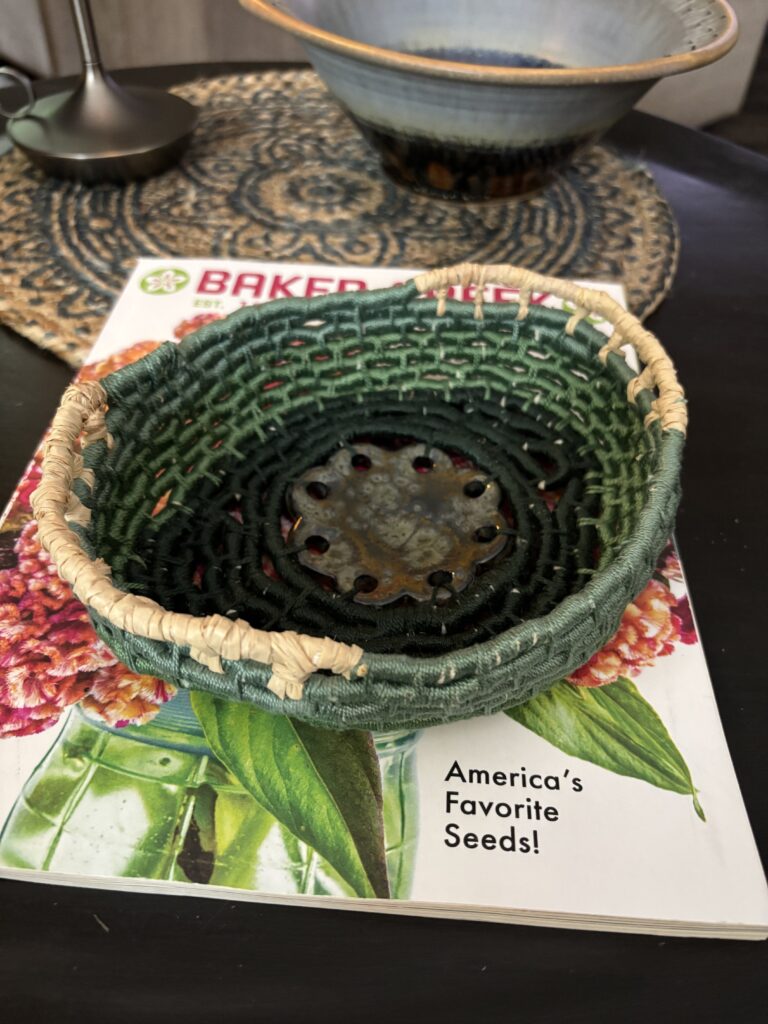
Adding handles
The last part of the basket is to make the handles.
I have never made handles on a basket before. I used raffia to make them. The tutorial from Handy Knots walked me through the steps.
More coil basket inspiration
Please visit my post about pine needle coiling. This is more in-depth and a lot of the basic steps are the same.
Another site to spark ideas:
https://www.handmadiya.com/2023/04/diy-coiled-bowl.html
Be creative and have fun!
Kelly