April 23, 2025
The basic definition of collage fodder is anything that can be used in the creation of a collage. Collage fodder can be collected or handmade.
You can use something like old vintage book pages and ticket stubs, junk mail, packaging materials, or vintage textiles. It can be handmade, like painted and marked papers, nature dyed fabrics and countless other things!
Watercolor collage fodder
Getting started: an overview
First, I make a paper wreath base to attach the collage fodder to.
When the paint is dry, I go back and draw in the details with both black and white fine markers.
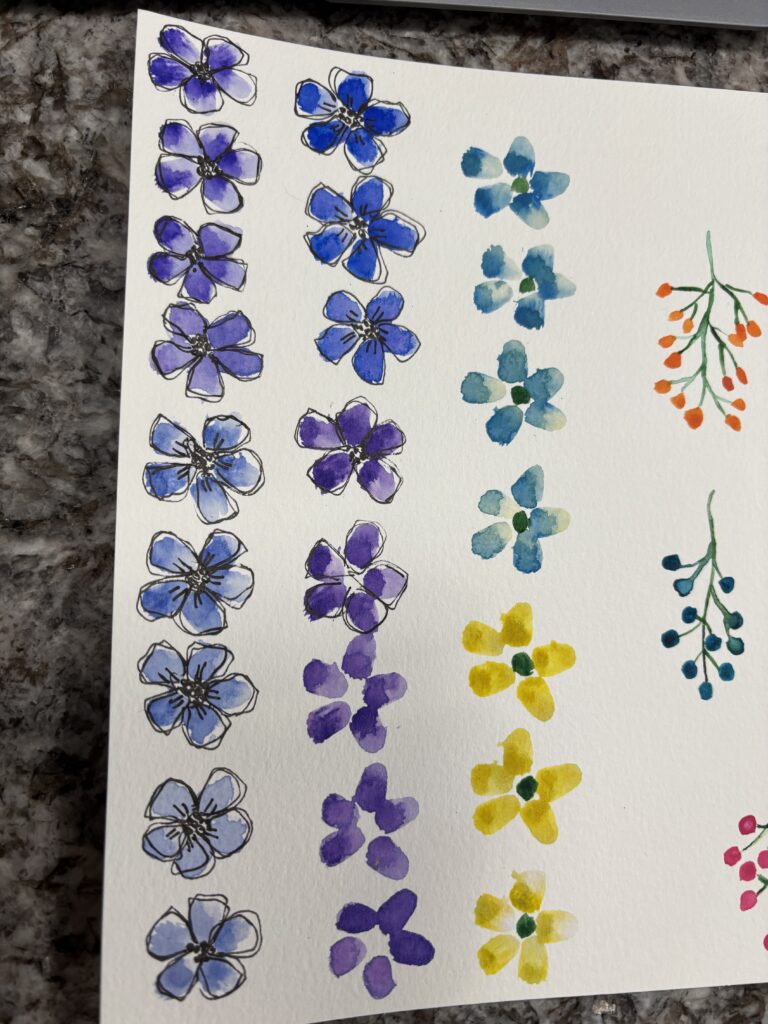
Next, using watercolor paper, I paint the basic shapes of flowers and leaves with watercolor paint.
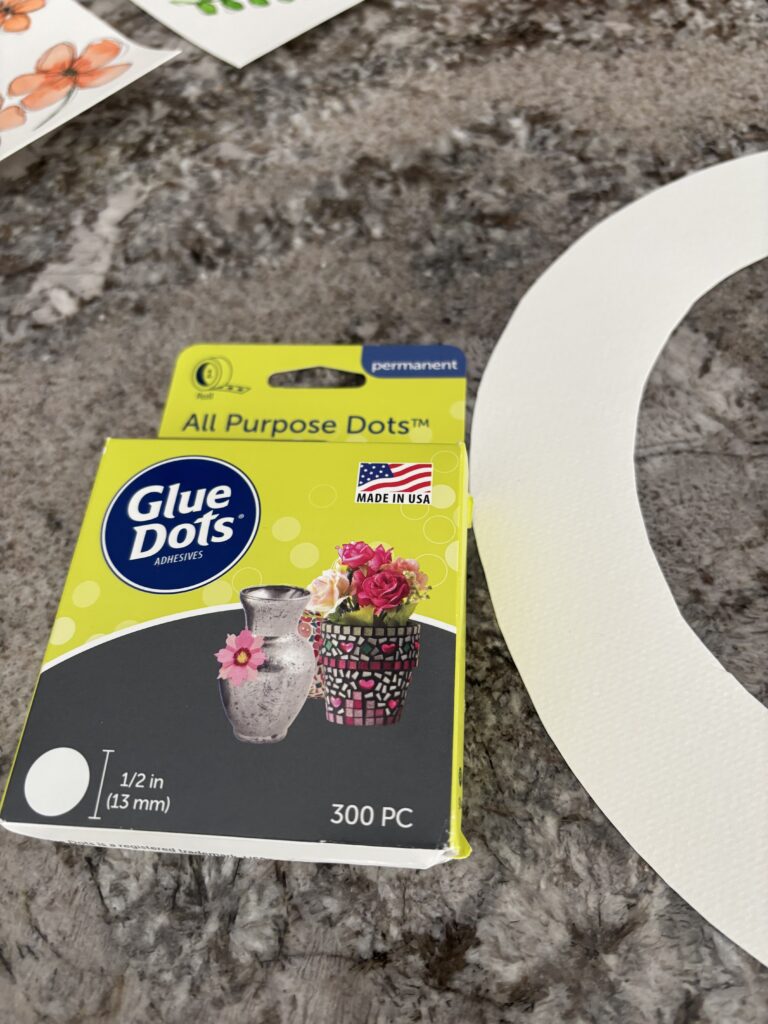
Lastly, I glue them in place with glue dots. Glue dots make it so I can layer the leaves and flowers easily.
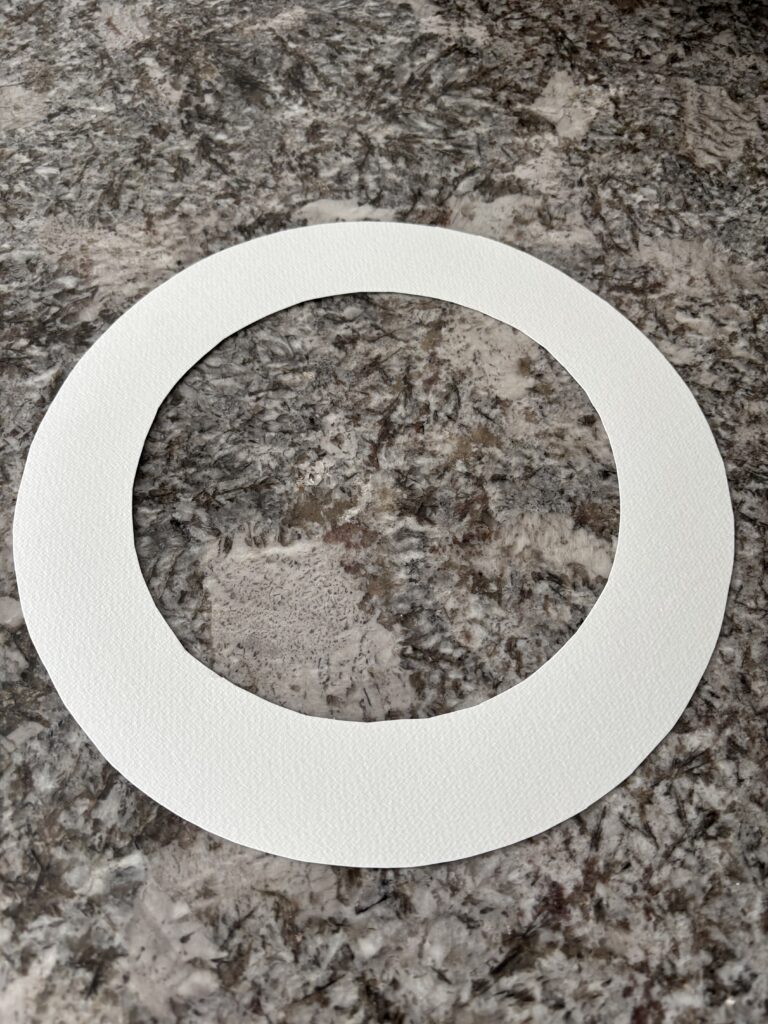
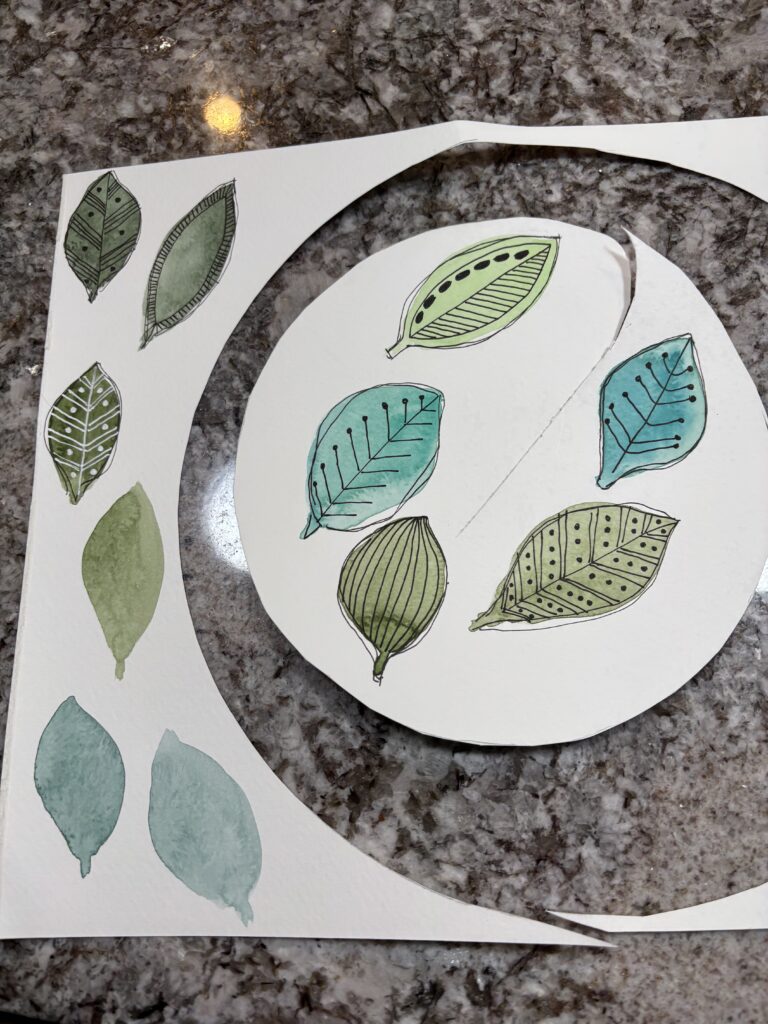
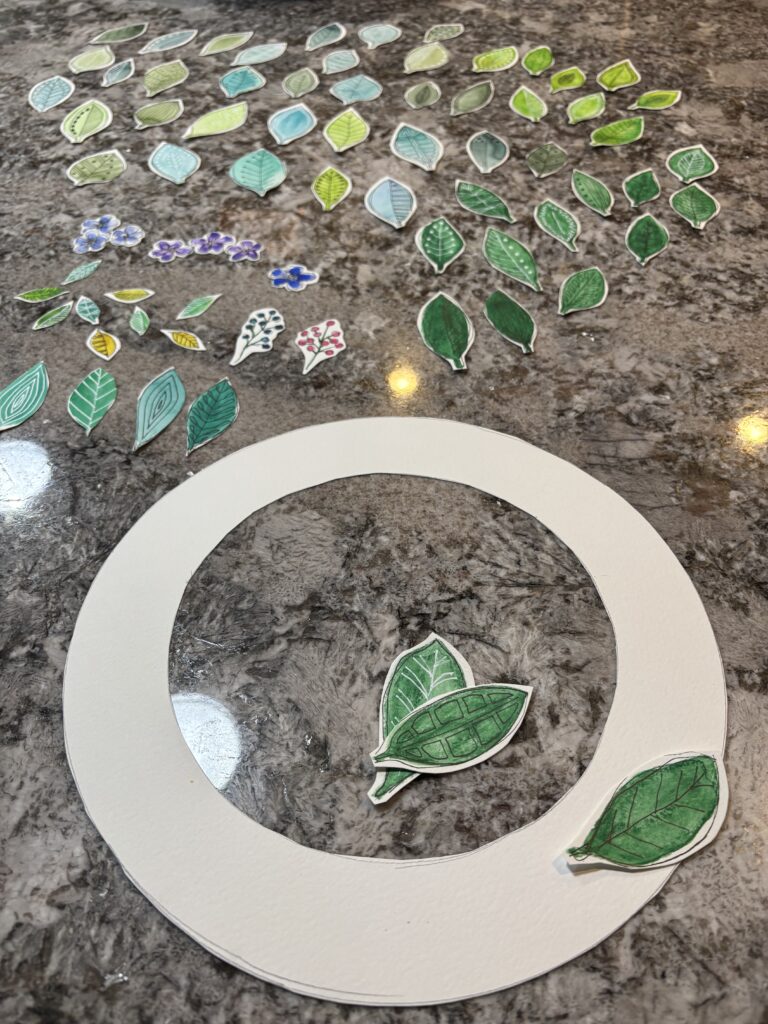
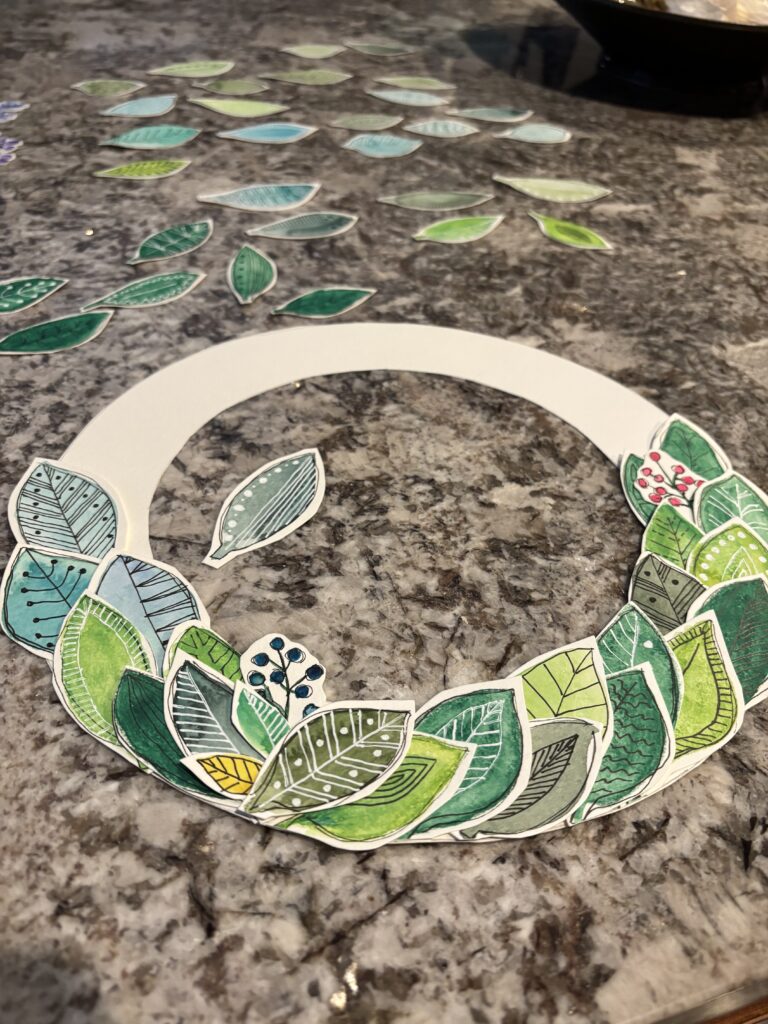
Cut out wreath base
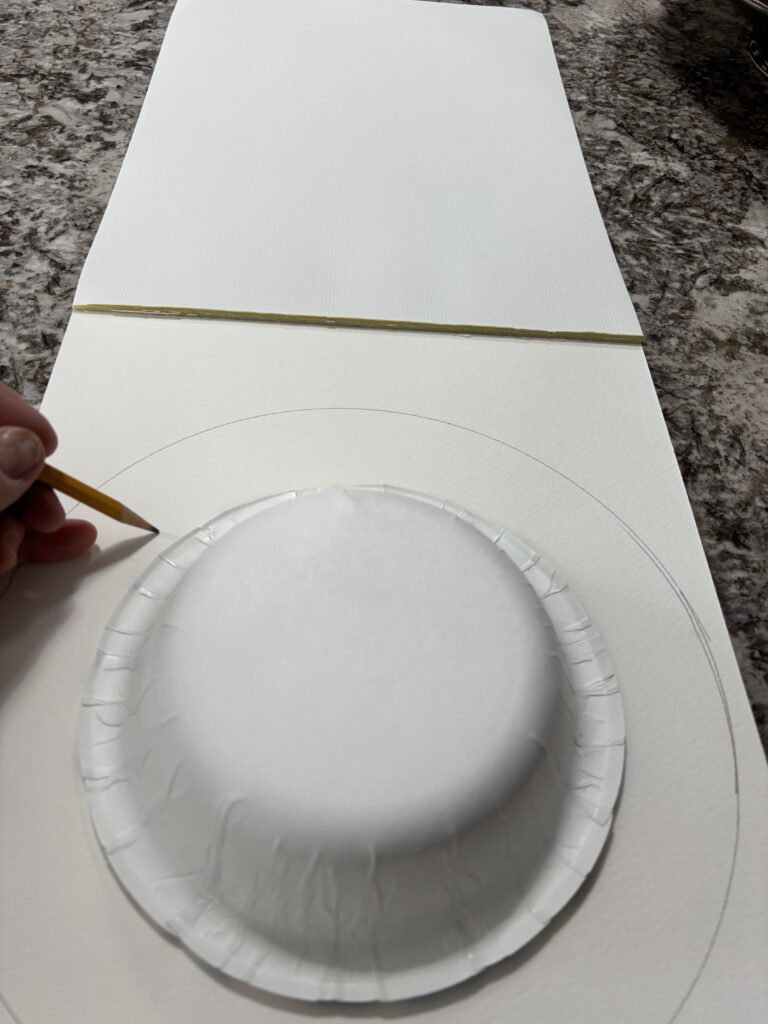
- Start by tracing out the inner and outer circle of the wreath base. I drew around a plate for the outer circle and a paper bowl for the inner circle.
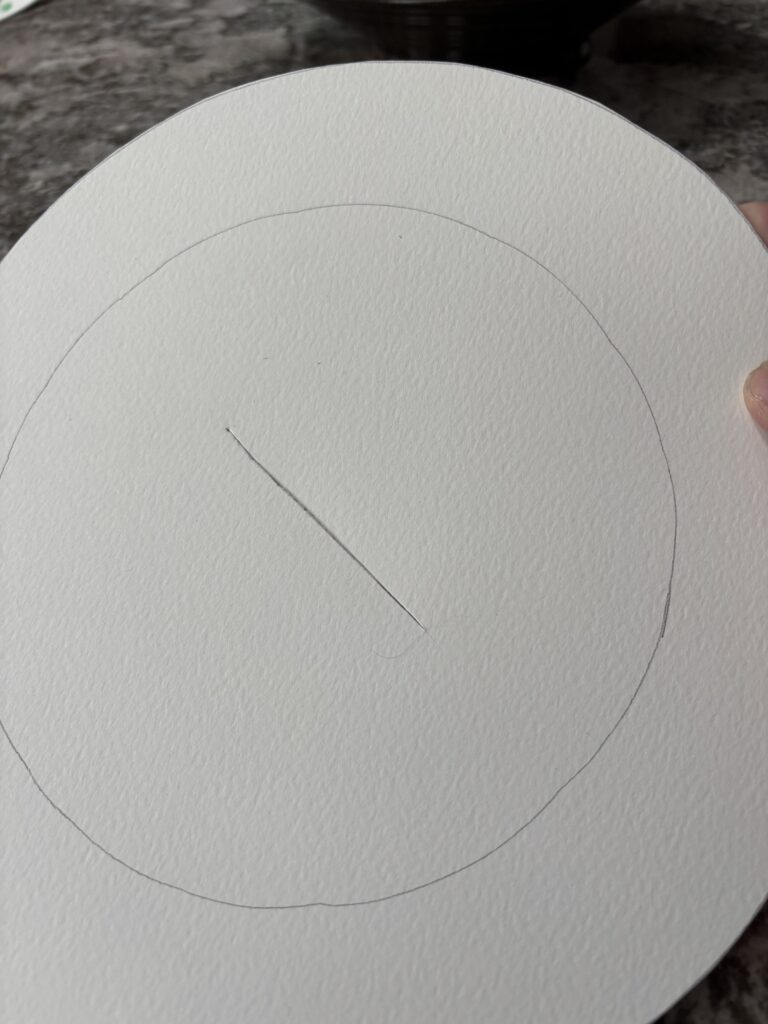
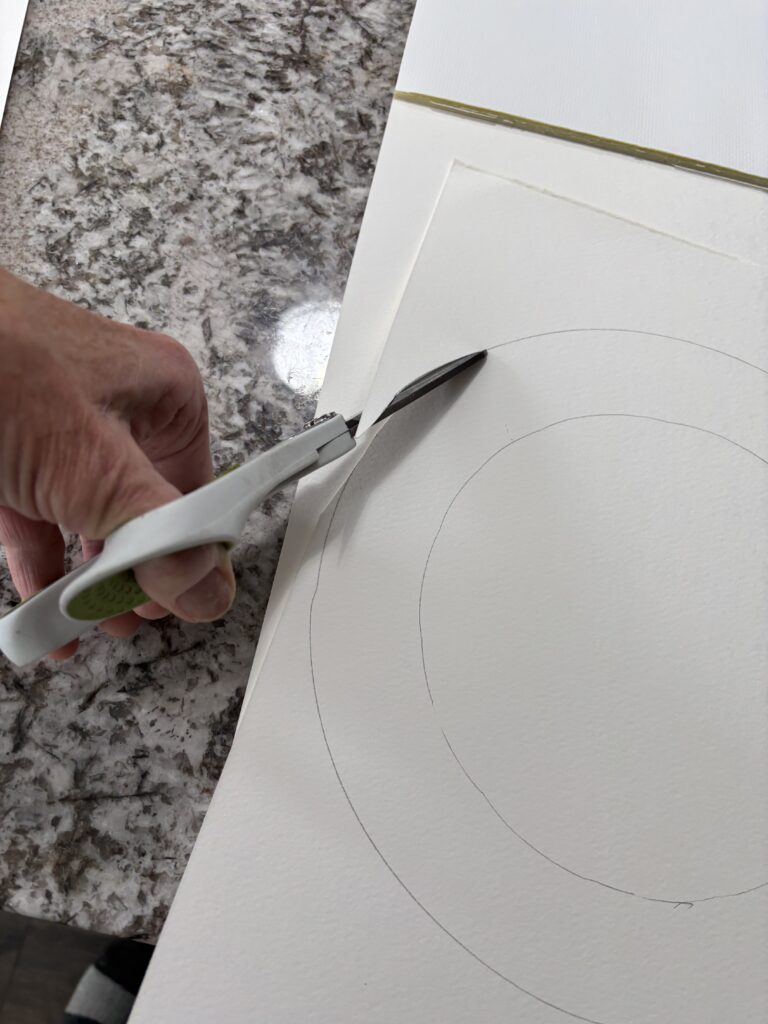
- Next use a box cutter on a safe work surface, make a slit in the middle, then cut out the center of the wreath base. This will prevent bending or creasing the paper.
- Now cut out the outer circle of the wreath base.
The wreath base is ready
Creating the collage fodder
Now it’s time to create the basic watercolor shapes. It takes a lot of collage pieces to layer a wreath so that it looks full and layered.
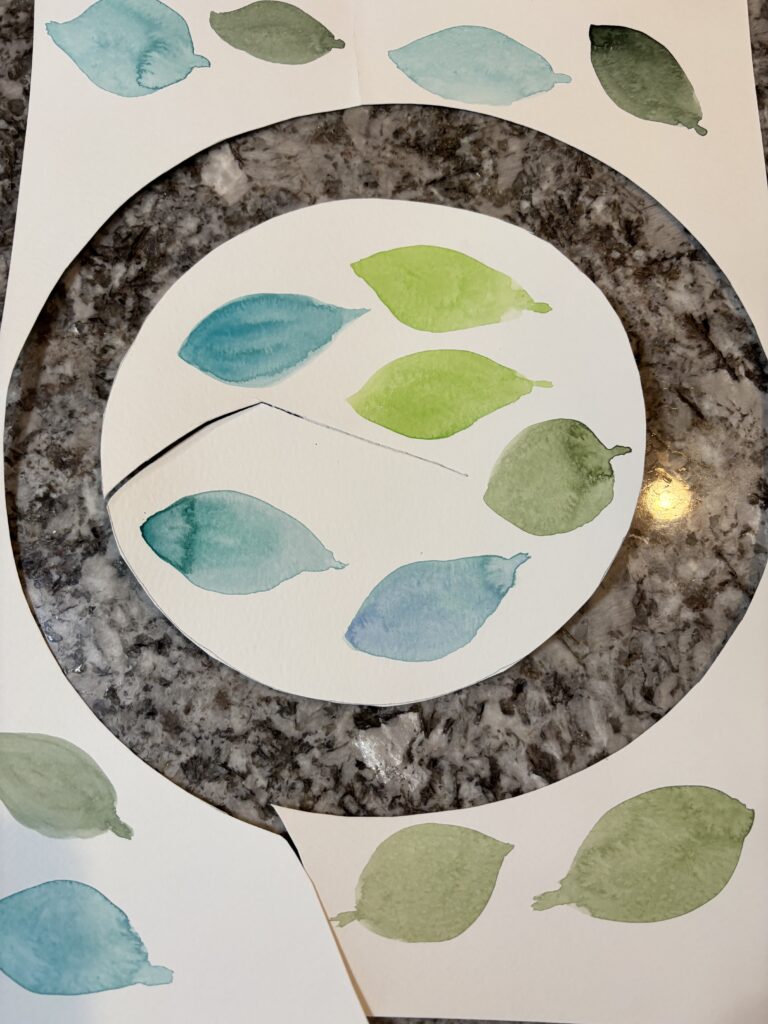
Watercolor paper is expensive, so use the scraps as well to get the most out of your paper.
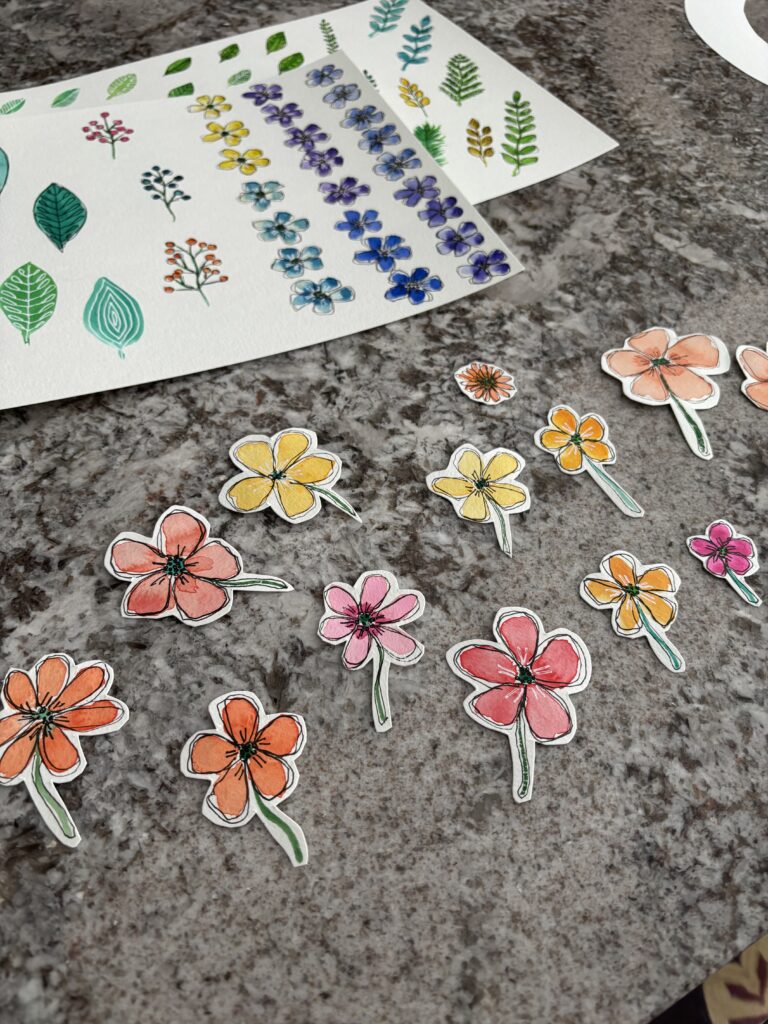
Making stems on the leaves and flowers helps with tucking them into other pieces.
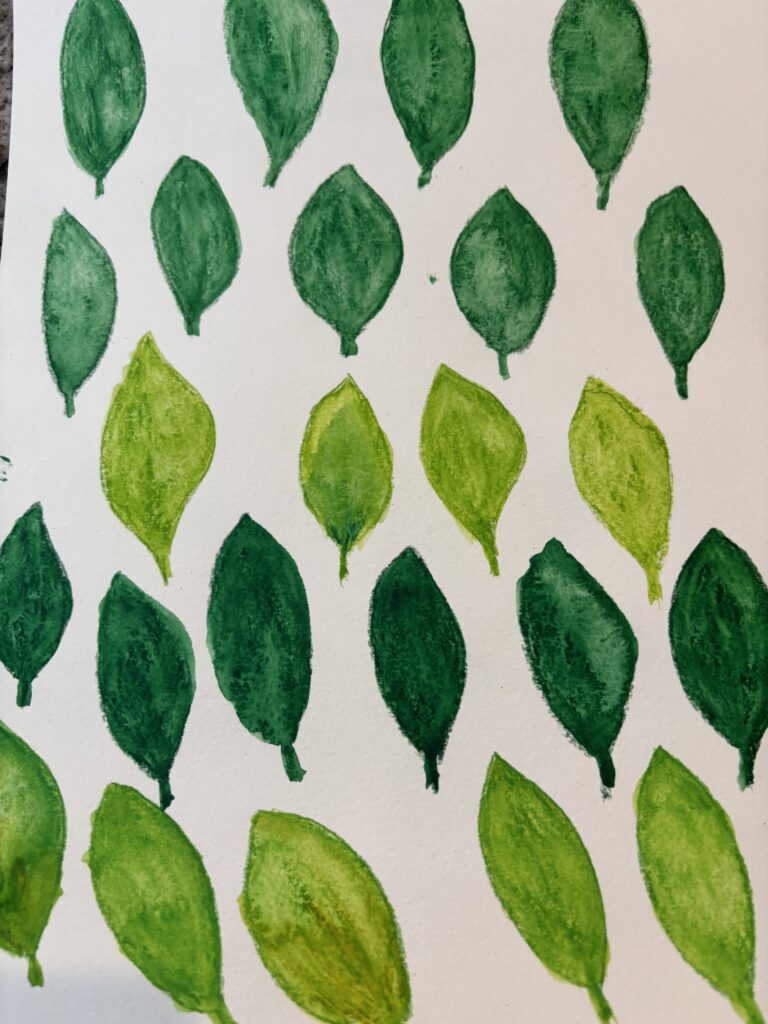
The shapes don’t need to be perfect.
Different shades of paint on the leaves and flower petals adds depth. The markers will provide definition and detail.
The details
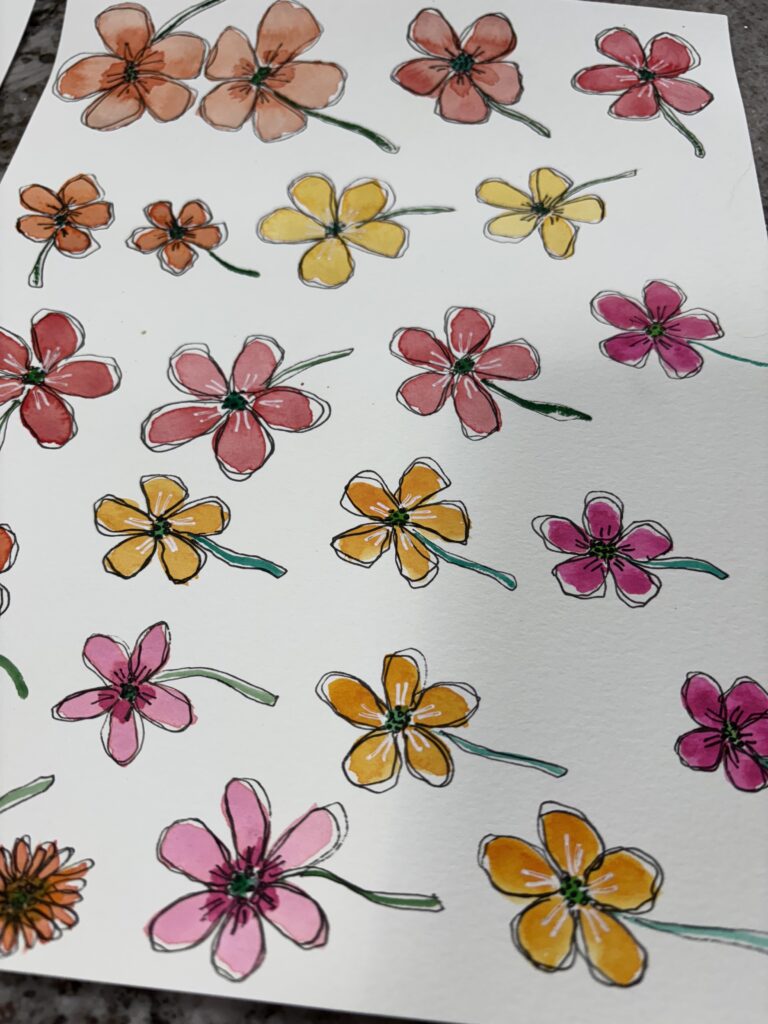
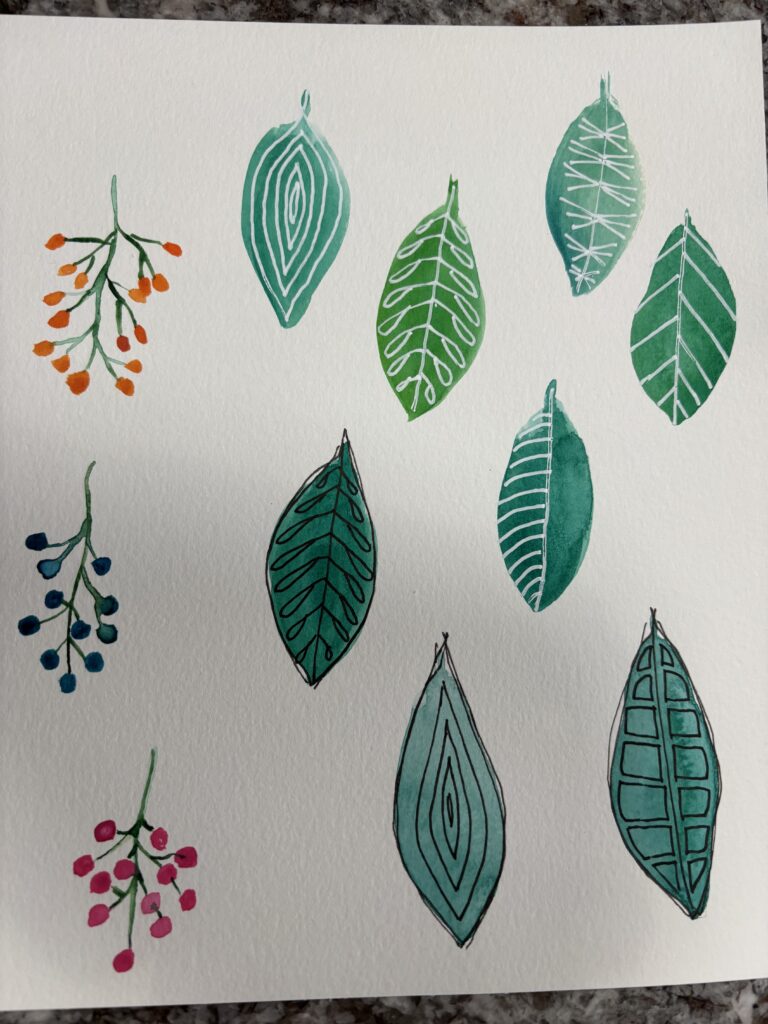
Now, use a fine tipped marker to outline and detail the leaves and flowers to make them pop! The flowers get 2 outlines around each petal.
A white fine tipped marker adds contrast. You can go on Pinterest and find all kinds of patterns to add to the leaves and flowers.
Next, cut out the collage pieces
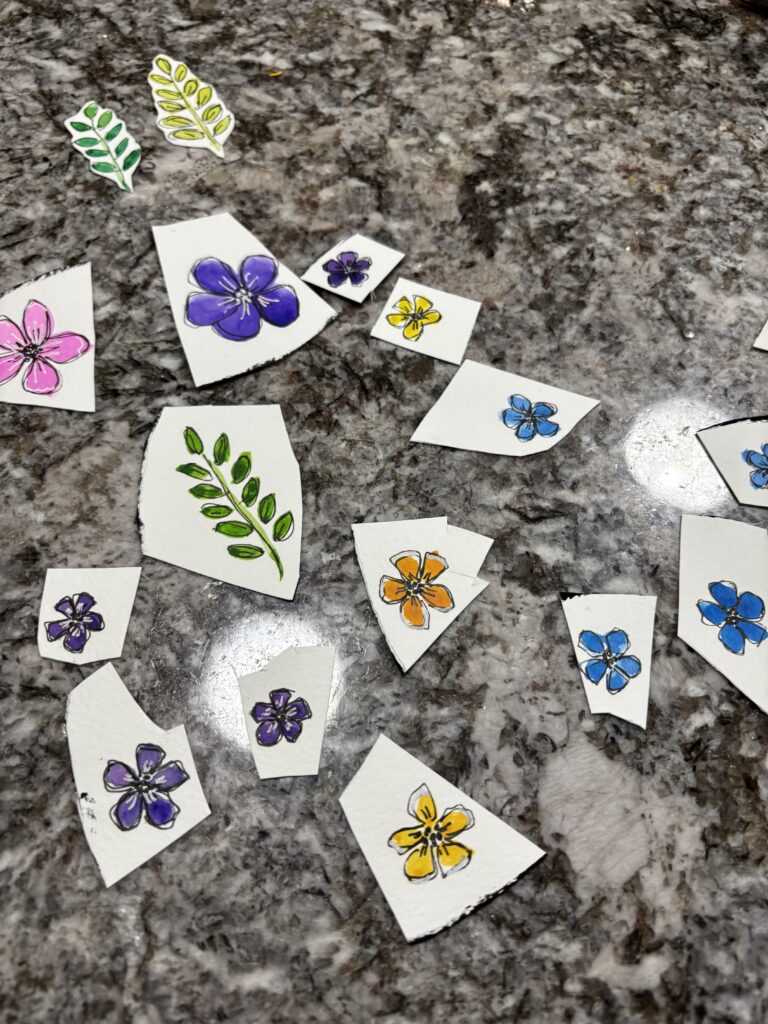
Cut the pieces out however it works best for you. I cut them out loosely, then go back and cut them closer to the leaves and petals.
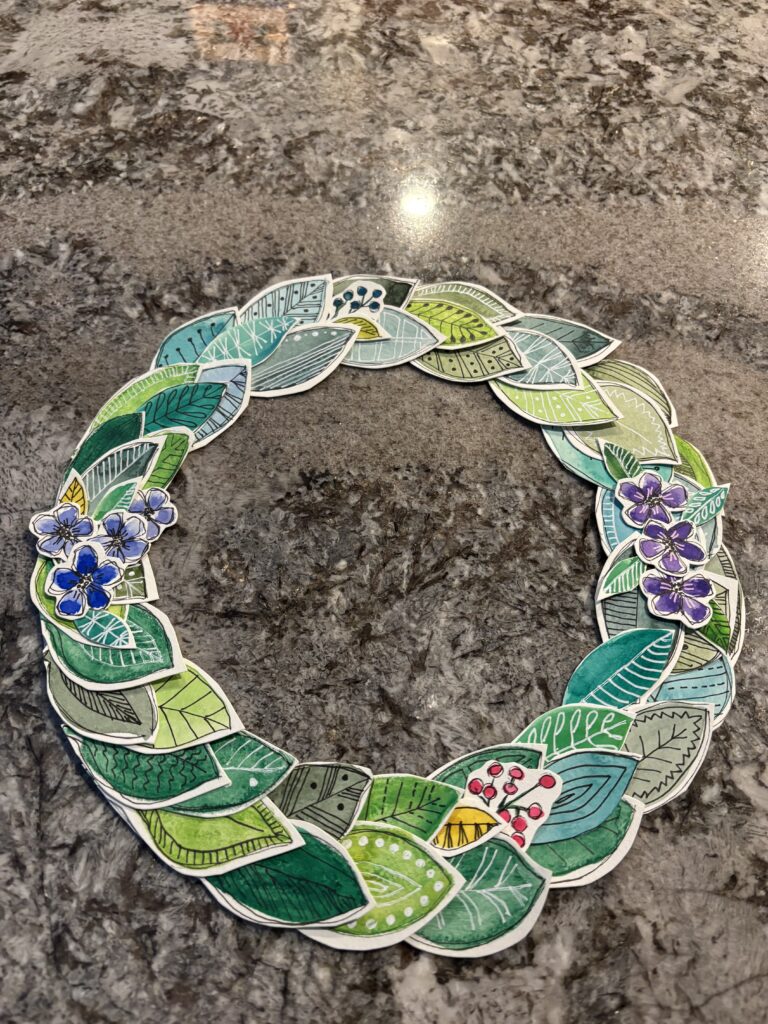
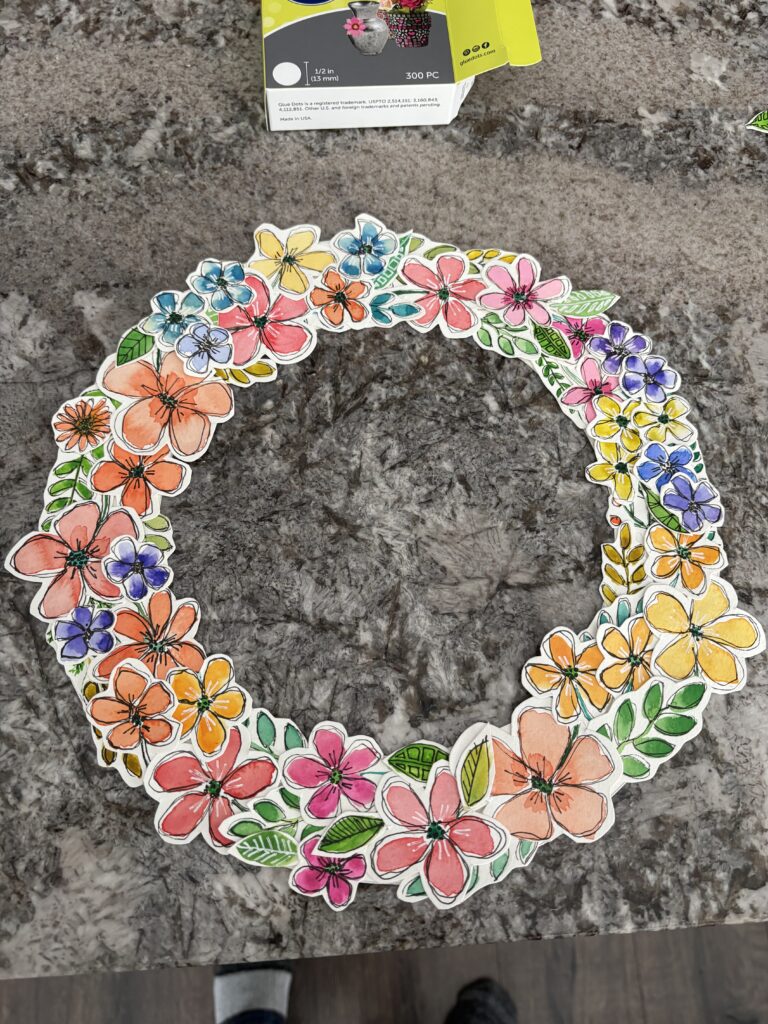
Putting the wreath together
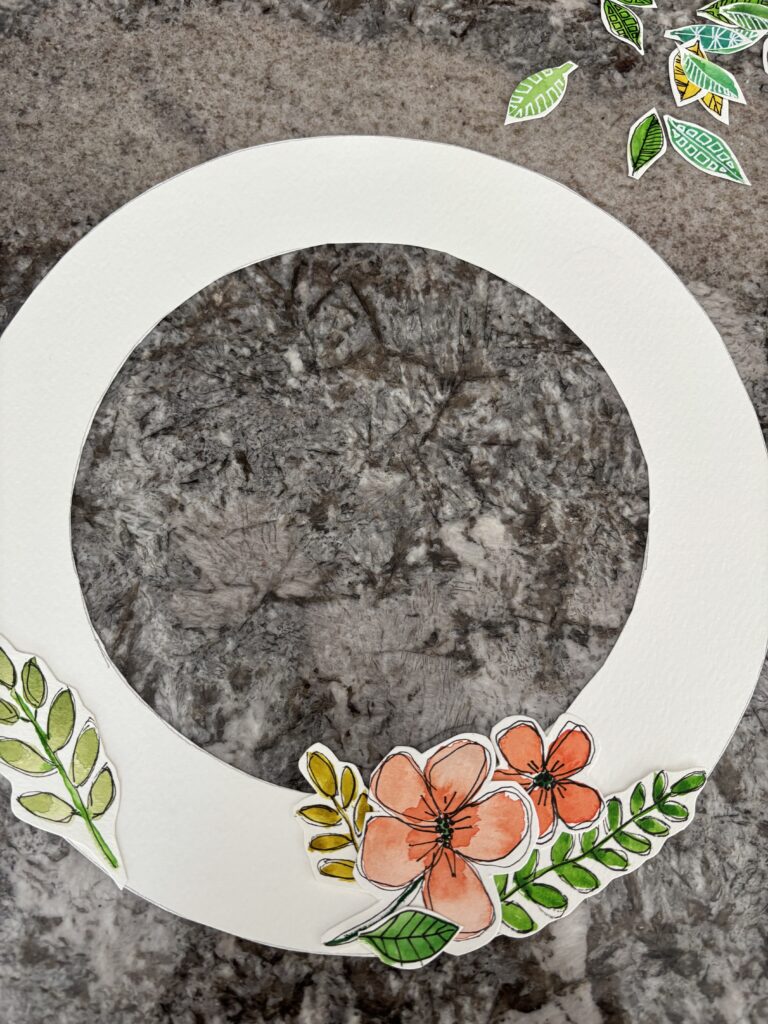
Next, you can lay out your pieces or just wing it!
I laid mine out the first time, but my second and third wreath, I laid it out as I went along. I made some single leaves and flowers to layer on top. Some spots just needed a little more layering. One glue dot per piece is all that is needed.
Keep adding
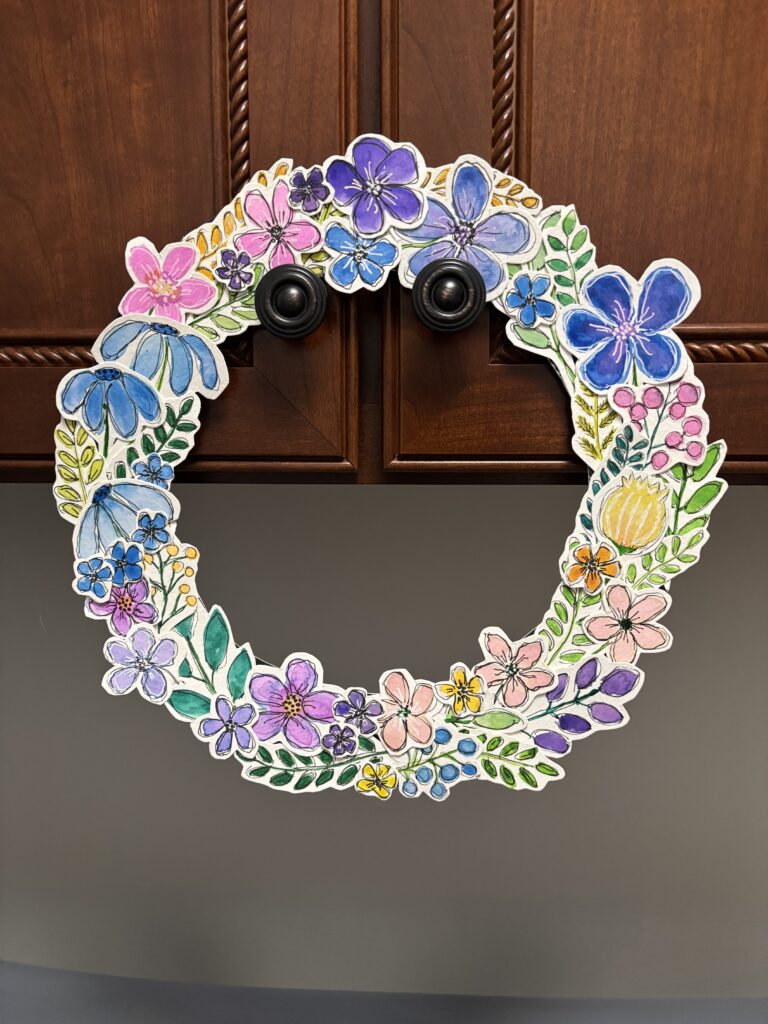
The final wreath!
I made three total wreathes. There are so many options! Not just wreathes.
Therapeutic crafting
This project takes time, but it is relaxing and stress free. I hope you will give it a try.
If you would like to try watercolor collage fodder, here is more info on watercolor painting:
Happy Crafting!
Kelly