April 1, 2025
My good friend’s dog passed away recently from an illness. She and her trusted friend participated in the sport of Scent Work. They won many ribbons. The question is, what to do with the ribbons as a way to remember her beloved dog?
https://www.akc.org/sports/akc-scent-work/
There are many things you could do with the ribbons. They are stiff, so making a quilt is not going to work, but you can make a decorative pillow to remember your accomplishments and memories.
Gather your supplies

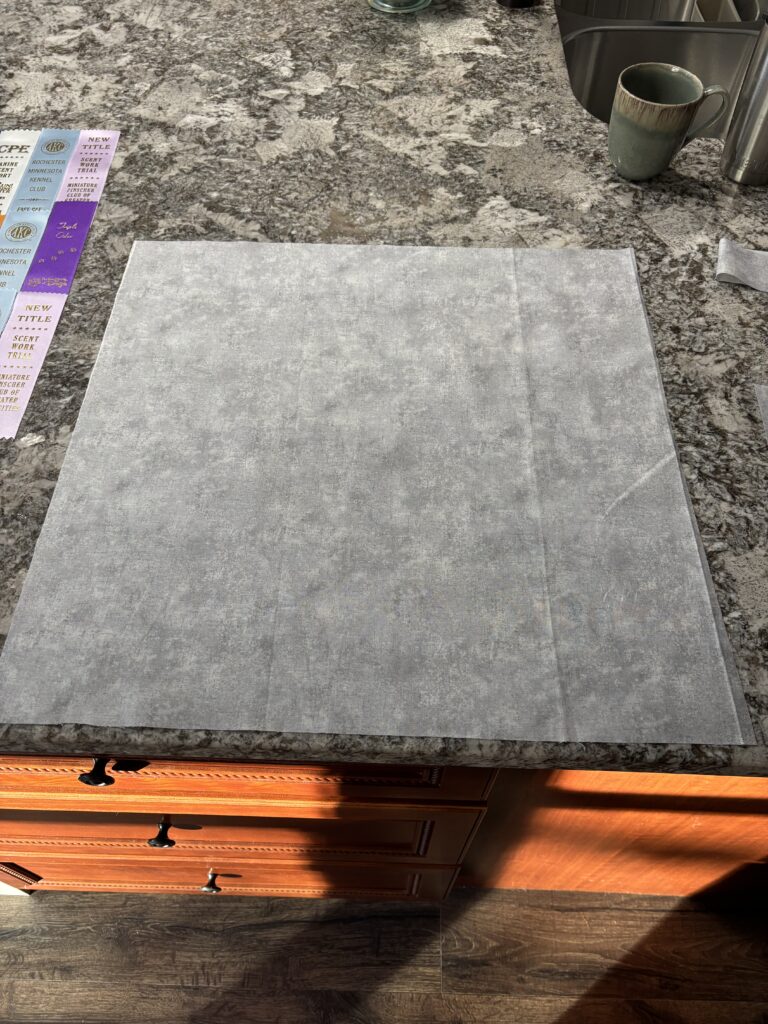
First, gather the ribbons. Next decide and buy the size pillow form you are going to need. The ribbons need to be sewn onto fabric, so purchase enough fabric to make the front and back side of the pillow cover.
Say, you want to make a 12×12 inch square pillow. Cut the fabric an inch or two bigger on each side for a seam allowance of 1/2 inch. A 12×12 inch pillow for example, needs 2 pieces of fabric cut 13×13 or 14×14 inches.
Arrange the ribbons
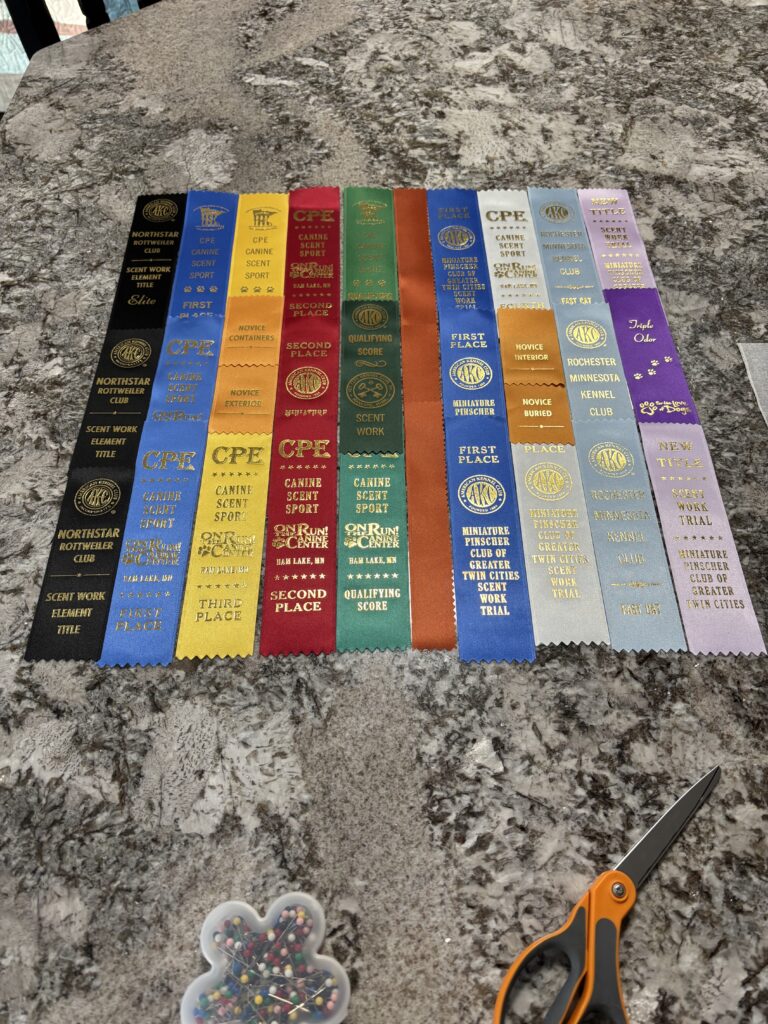
The next step is to put together the ribbons how you want them to look on the front of the pillow.
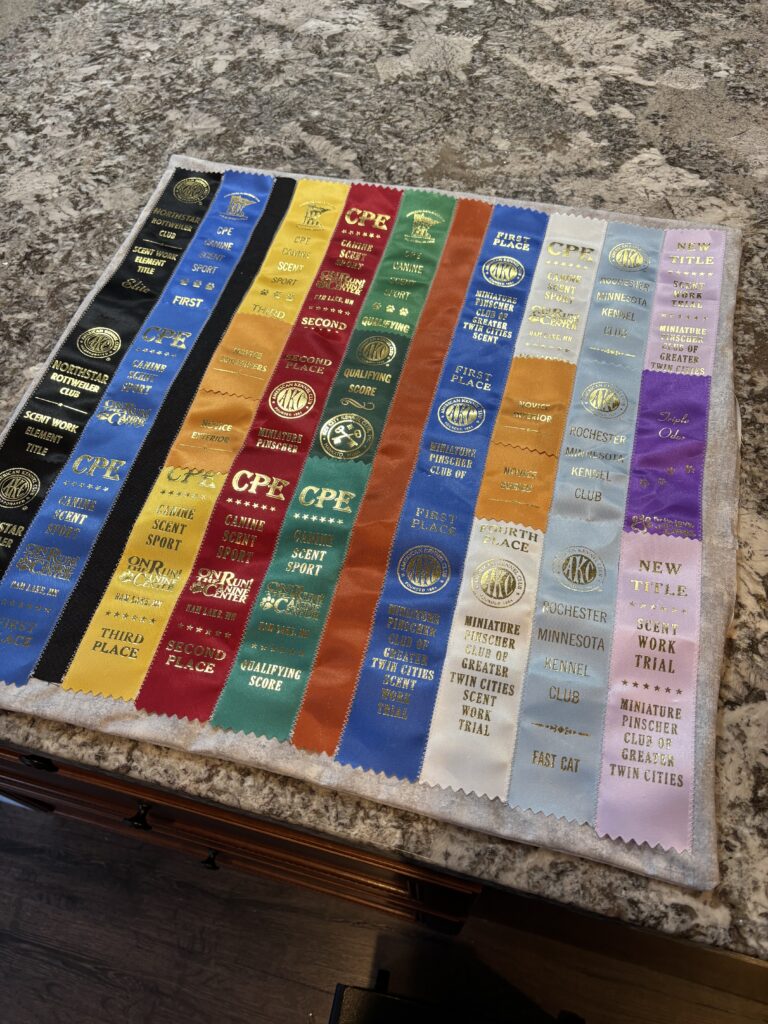
This took some time. I tried different layouts. I wanted to make sure the ribbons would have an inch of fabric showing all the way around.
Secure the ribbons to the fabric
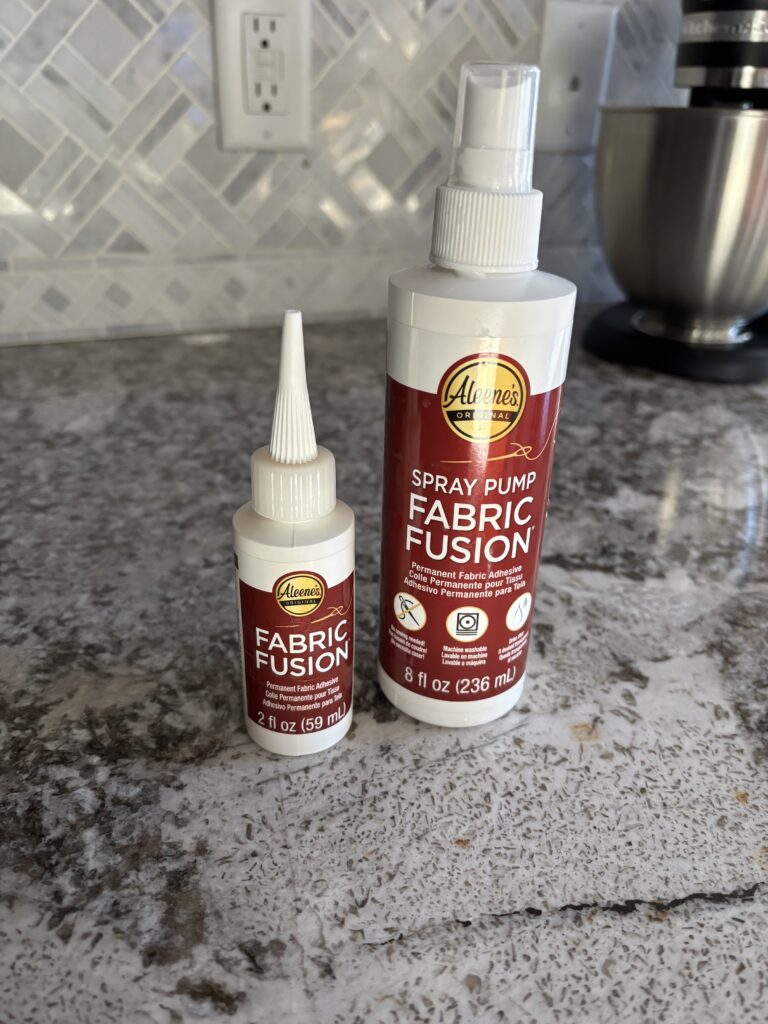
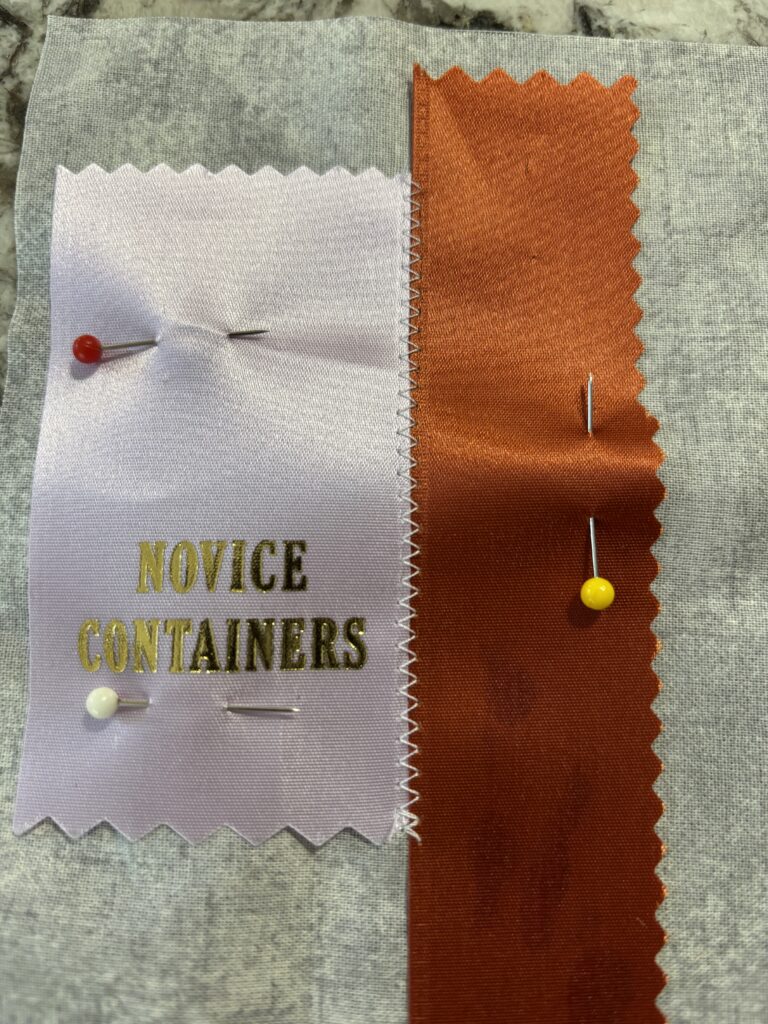
Once the ribbons are laid out, they need to be secured on the fabric so they can be sewn in place. I practiced on a scrap piece of fabric. I had read you could use fabric glue to hold the ribbons in place.
As you can see, the glue left a dark stain on the ribbon. I chose to pin the ribbons instead. I practiced sewing them in place to get a feel for it.
Sewing the ribbons to the fabric
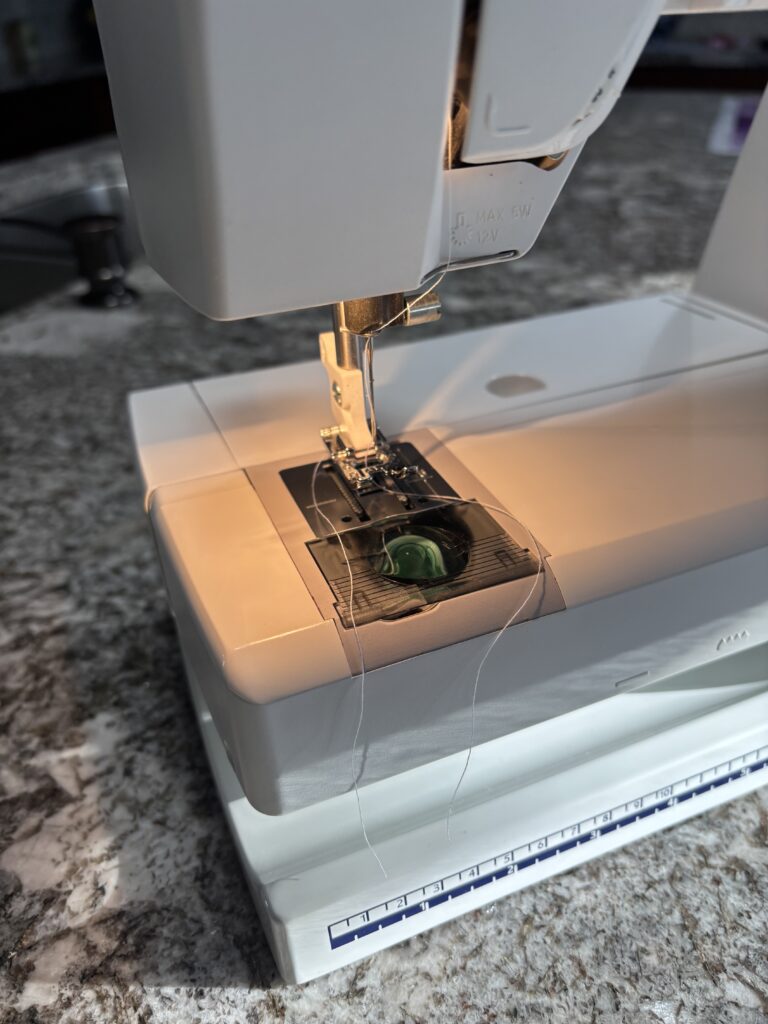
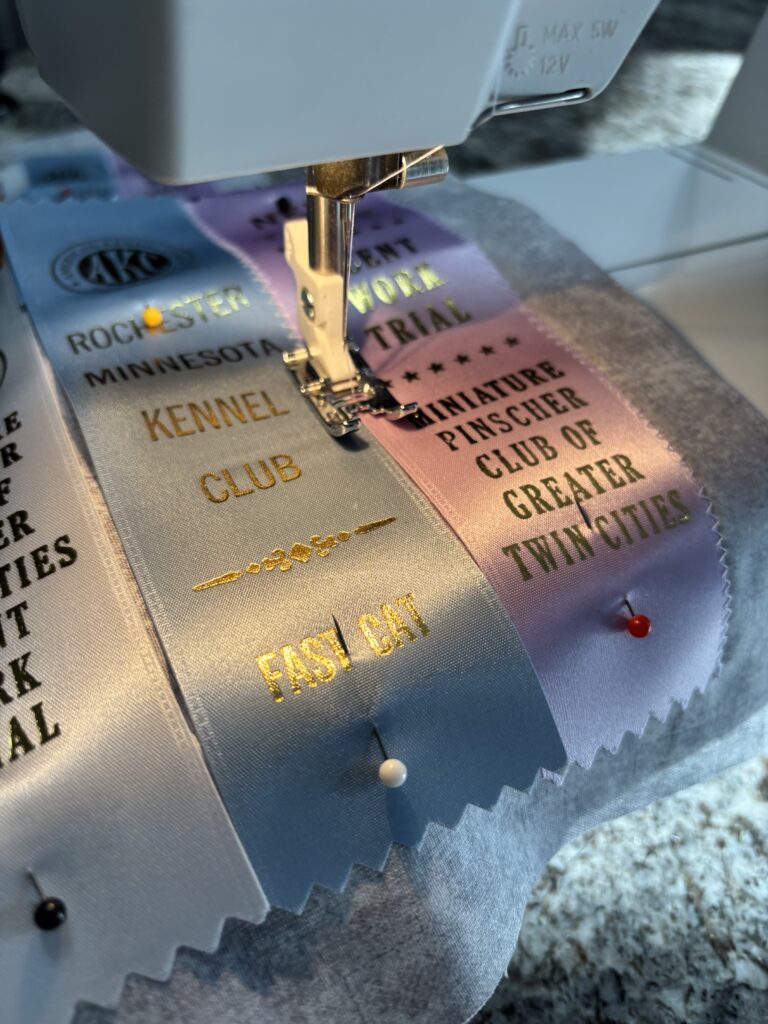
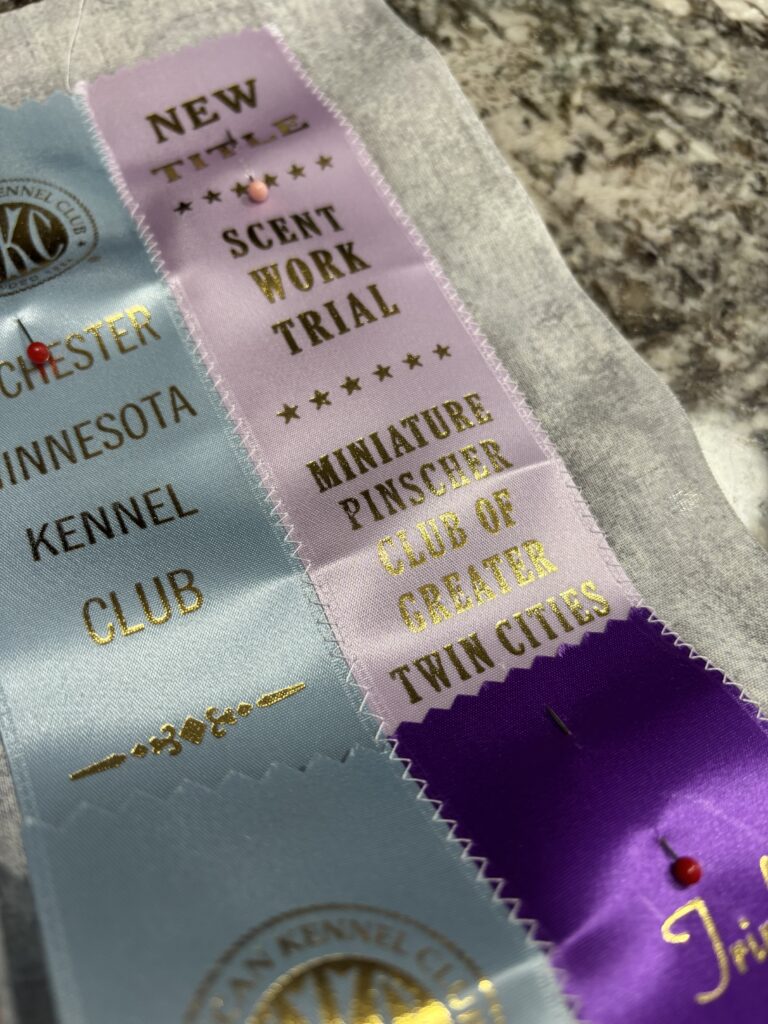
Carefully pin all the ribbons in place. I used white thread. Set the machine to the zig zag setting. Sew all the ribbons to the fabric square for the front of your pillow.
Front of the pillow
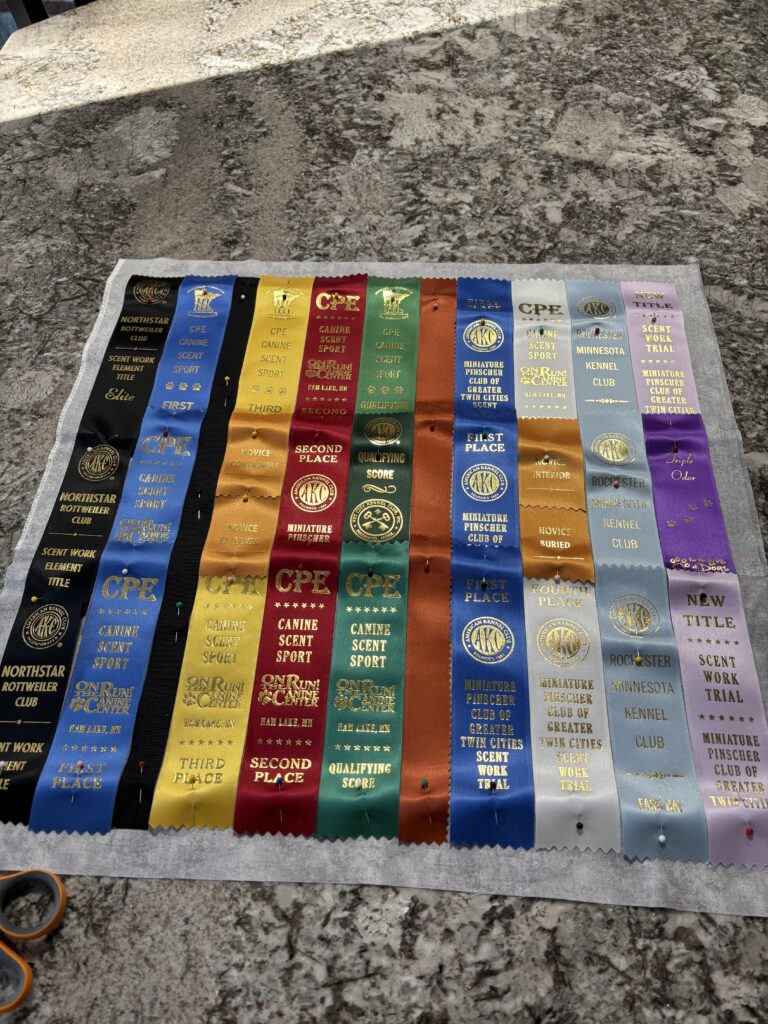
I put some plain wide ribbon in between some of the ribbons to get the size placement so there is a 1 inch border of fabric showing.
Sewing any of the ribbons into the seams will make it pucker.
Sewing the front and back together
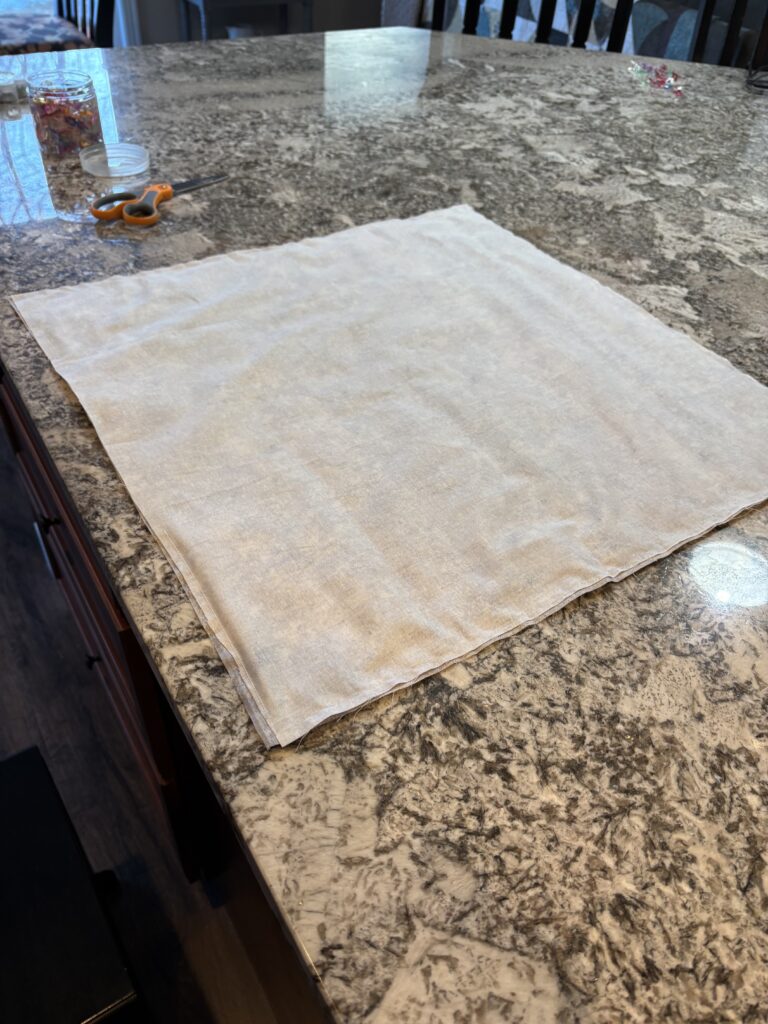
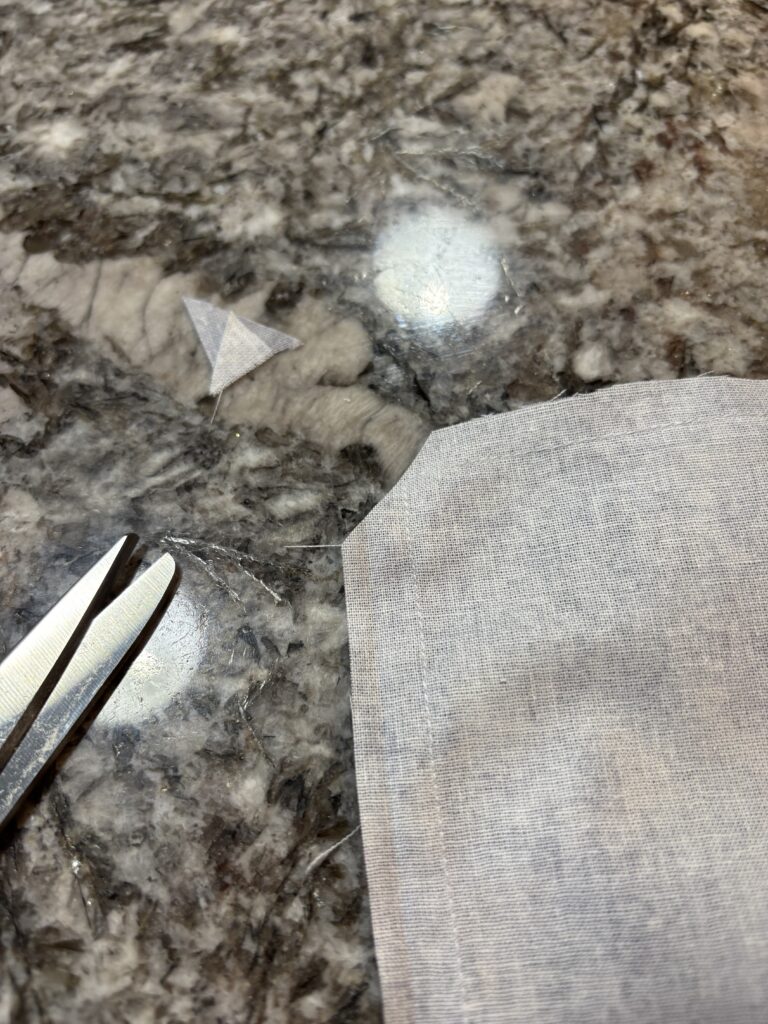
- With right sides together, pin in place.
- Sew 3/4 of the way around leaving 1/4 of a side open so it can be turned right side out.
- Trim the corners to get rid of the bulk to make a nice square corner.
- Push the fabric out in the corners.
Closing up the side opening
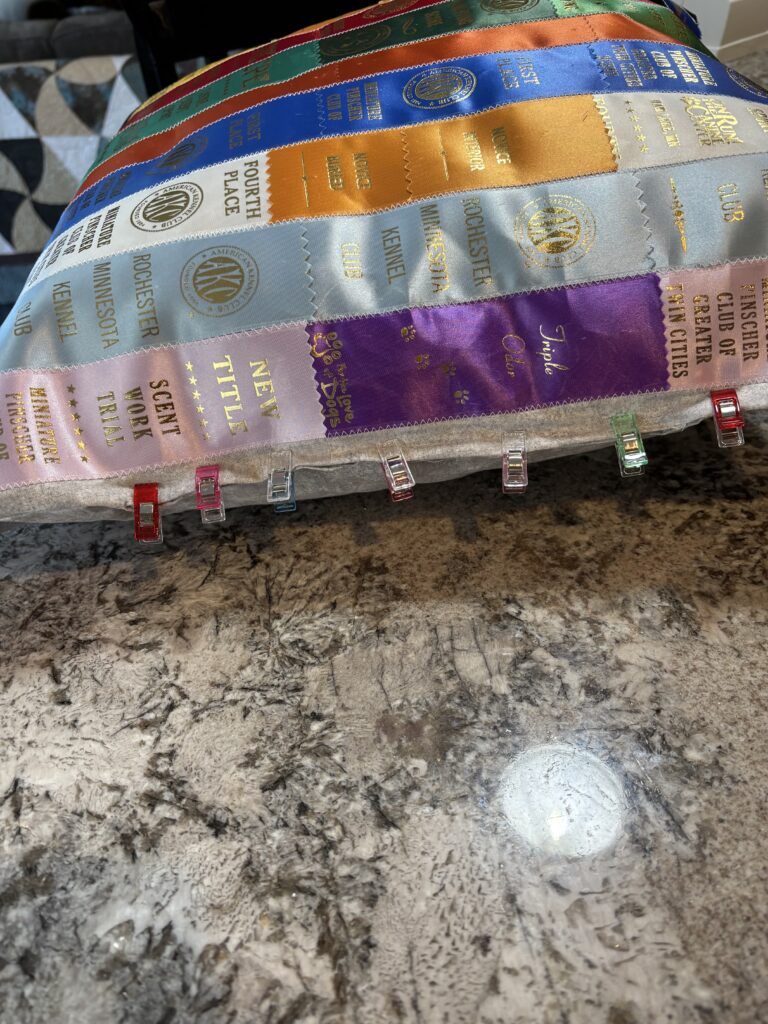
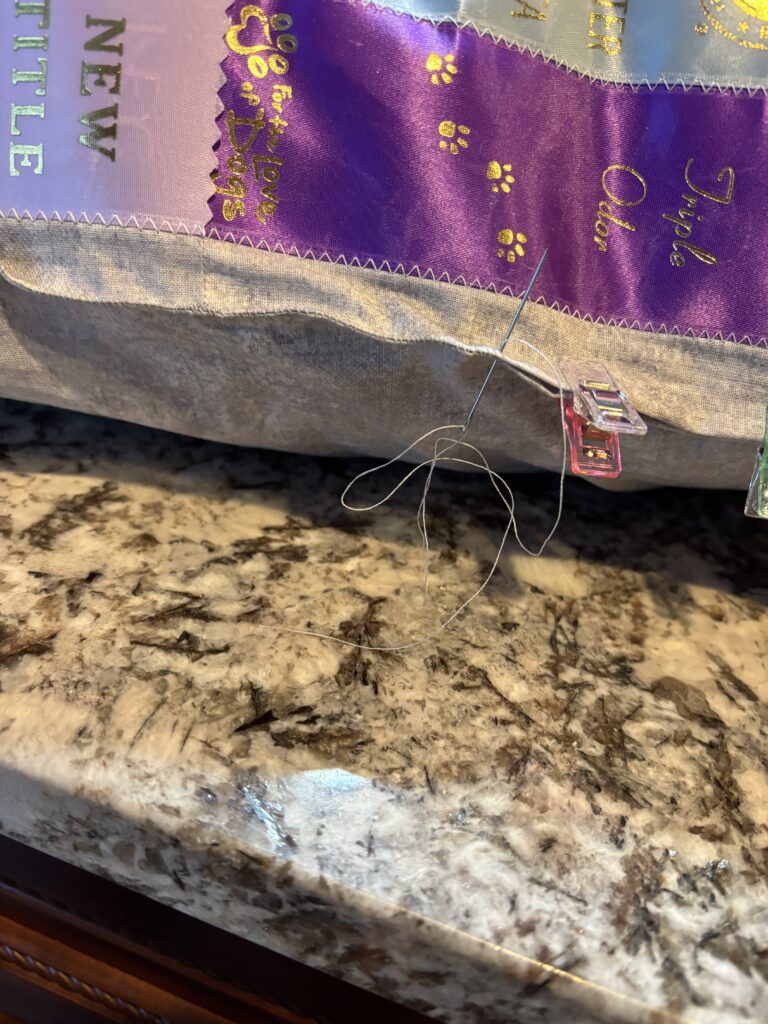
Fold the edges in and pin in place. Then hand sew the opening shut.
Finishing touches
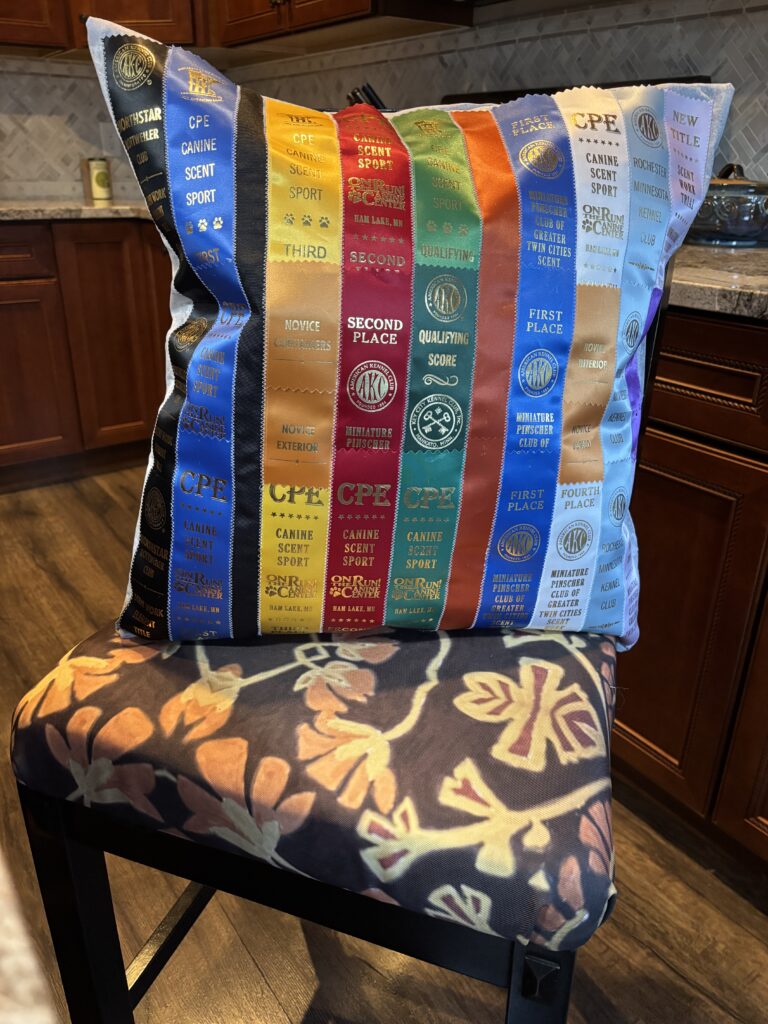
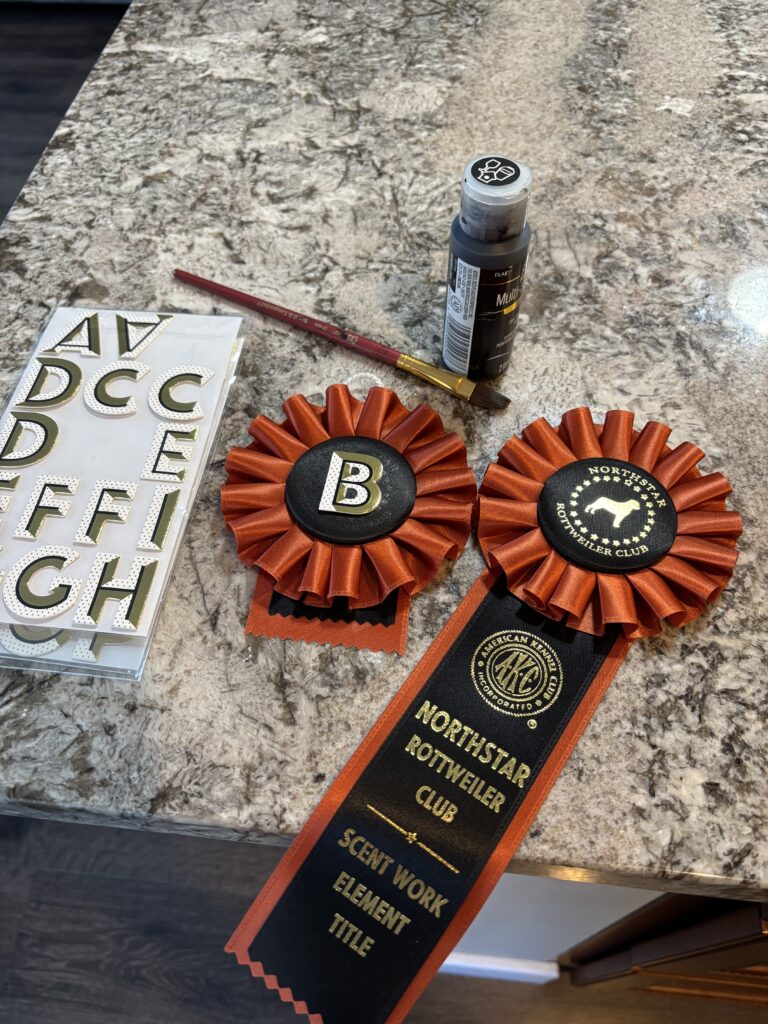
My friend wanted something to personalize the pillow, so I painted over the round of a ribbon and put a letter “B” for his name on it. I cut the ribbons shorter and glued them in place with E6000.
The finished pillow
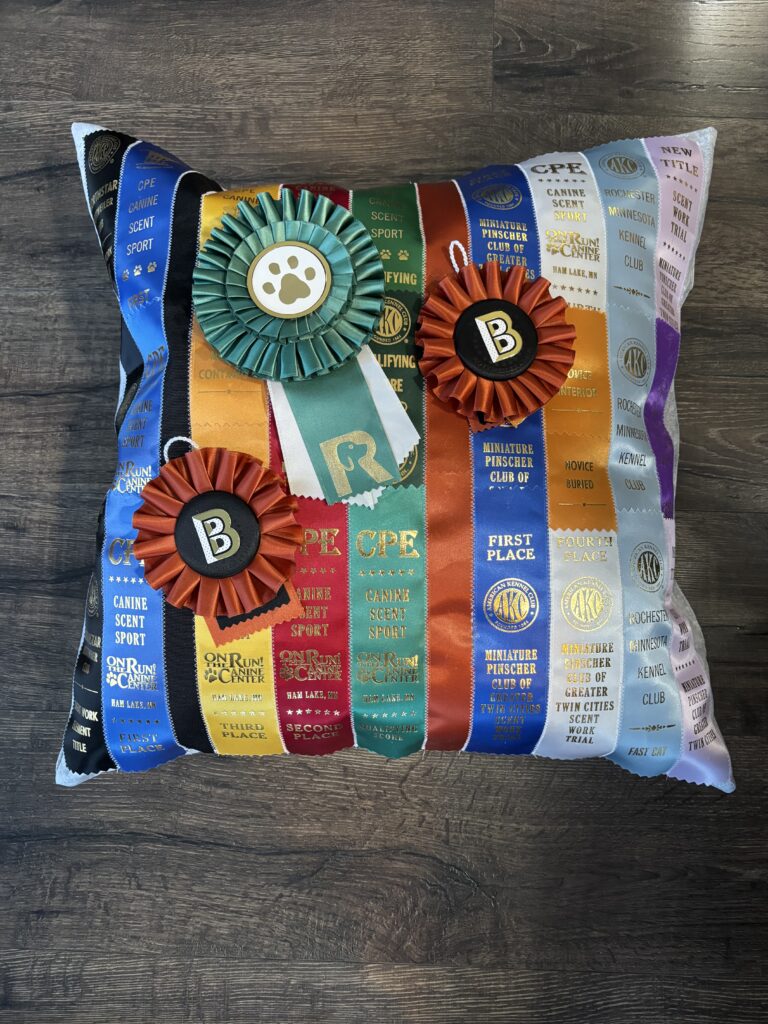
I hope she likes the pillow. It will remind her of the good memories with her dog.
Kelly