March 11, 2025
Using pine needles in crafting baskets goes back to the 1700s when slaves brought it to America from West Africa. They were originally made from Sweetgrass. They were used in the rice fields. After slavery was abolished, the tradition of creating coiled baskets was continued in smaller, more decorative pieces.
This is a fun, inexpensive and creative craft that is easy to learn.
Gather your supplies
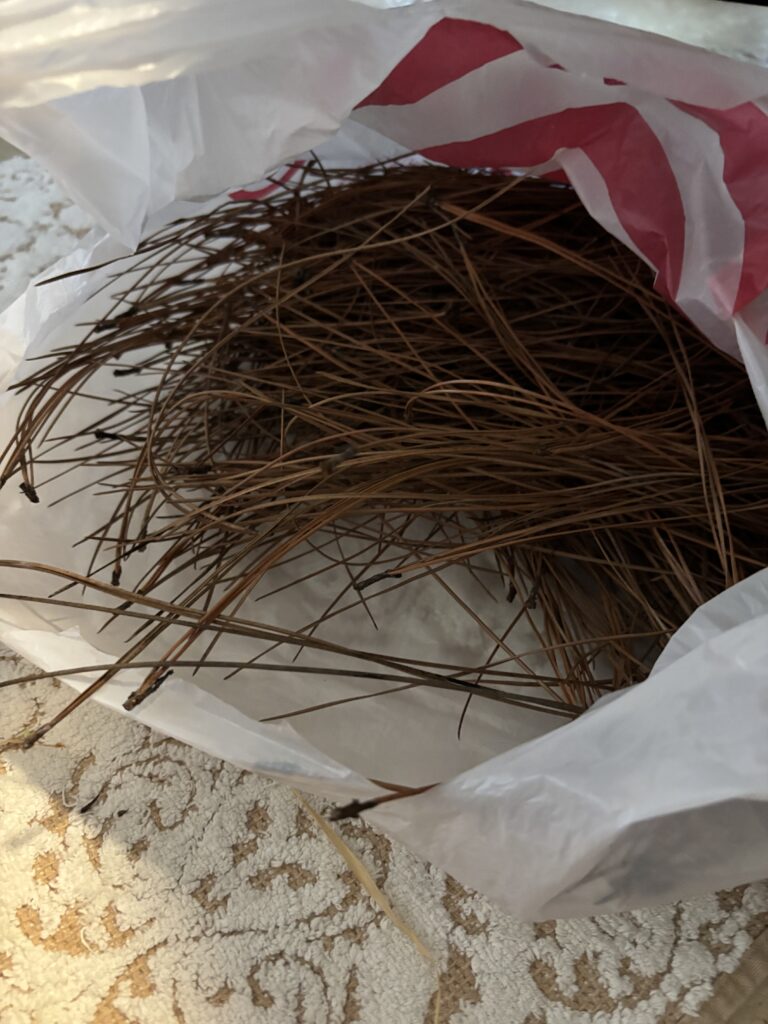
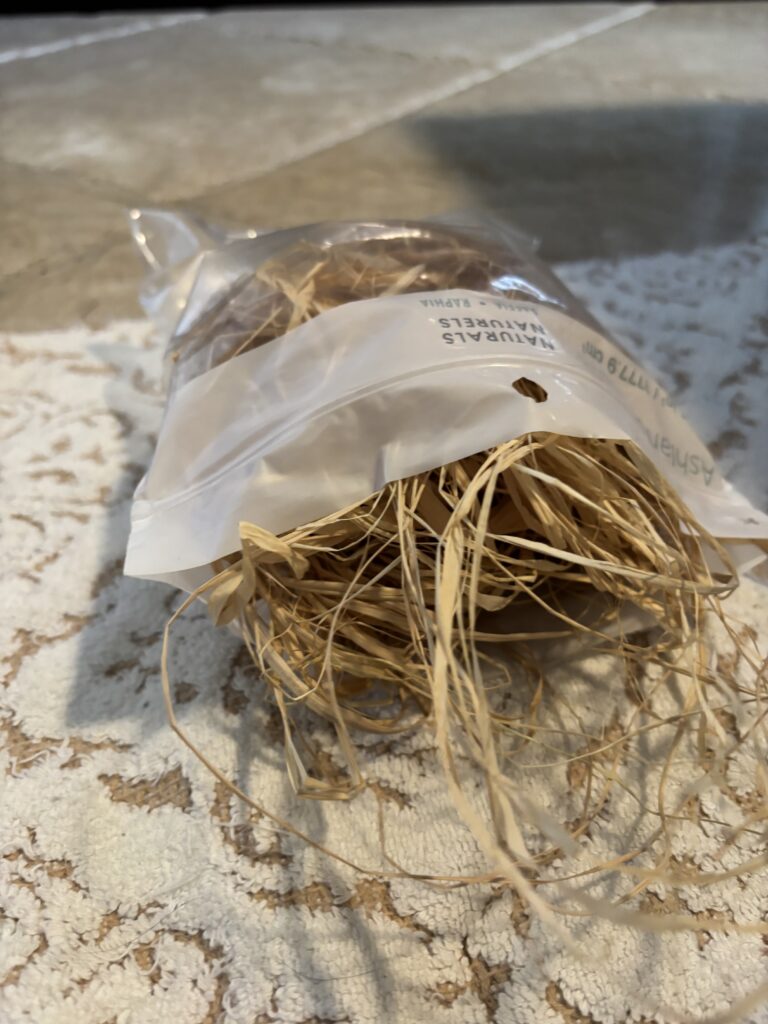
Gather dead pine needles. Green fresh needles can mold. If you have the availability of southern pine needles, those work best. They have much longer needles so you don’t have to add needles to you bundle as often.
You will need a plastic straw cut about 2 inches long. The straw is what you will use to bundle your needles through. This helps keep the coils a consistent thickness.
You will also need a darning needle. This is a big blunt end needle with a big eye in it so the raffia will fit through it.
Cleaning and soaking the needles
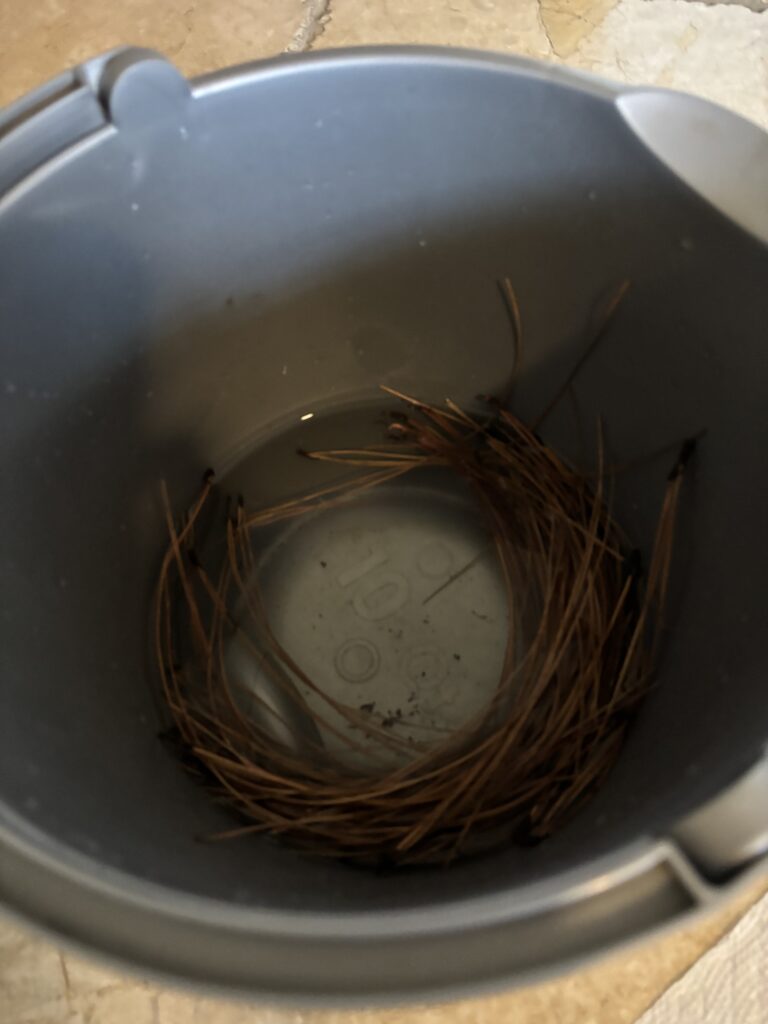
Next clean the needles. Remove any debris that may be stuck in them. Use warm water and rinse the pine needles. Now put fresh warm water in your bucket and soak for 30 minutes. This makes them flexible for coiling into the round shape.
Note: You can set them in a damp paper towel, put in a plastic bag, then place in the freezer to use later if you run out of time.
Prepare the pine needles
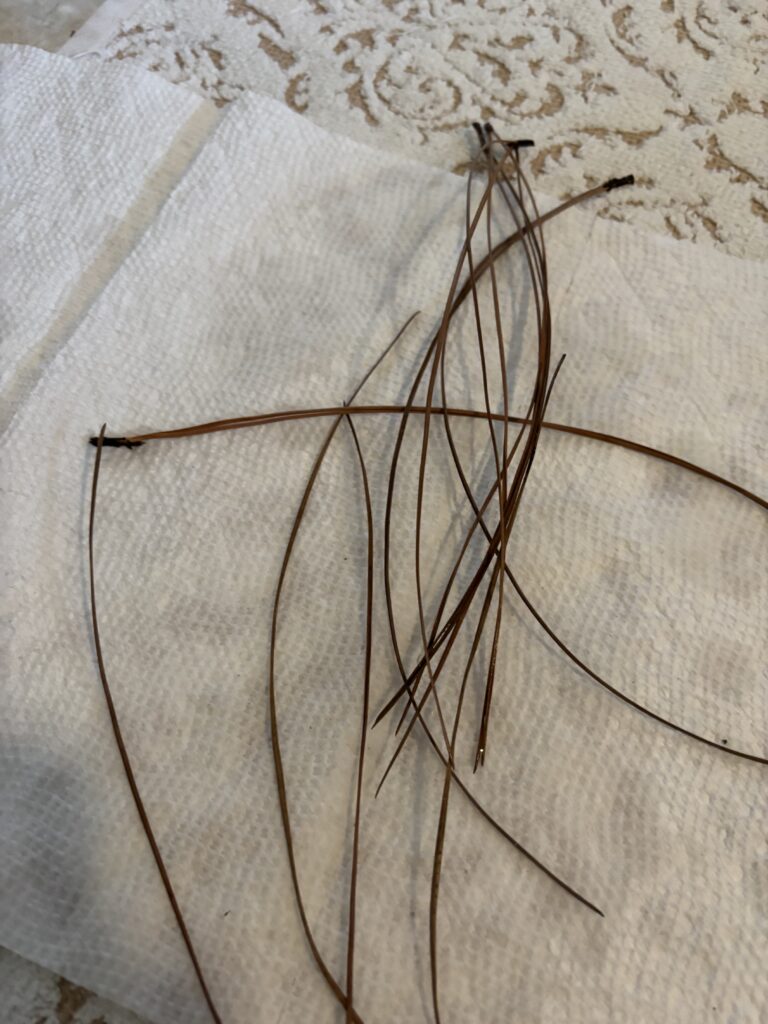
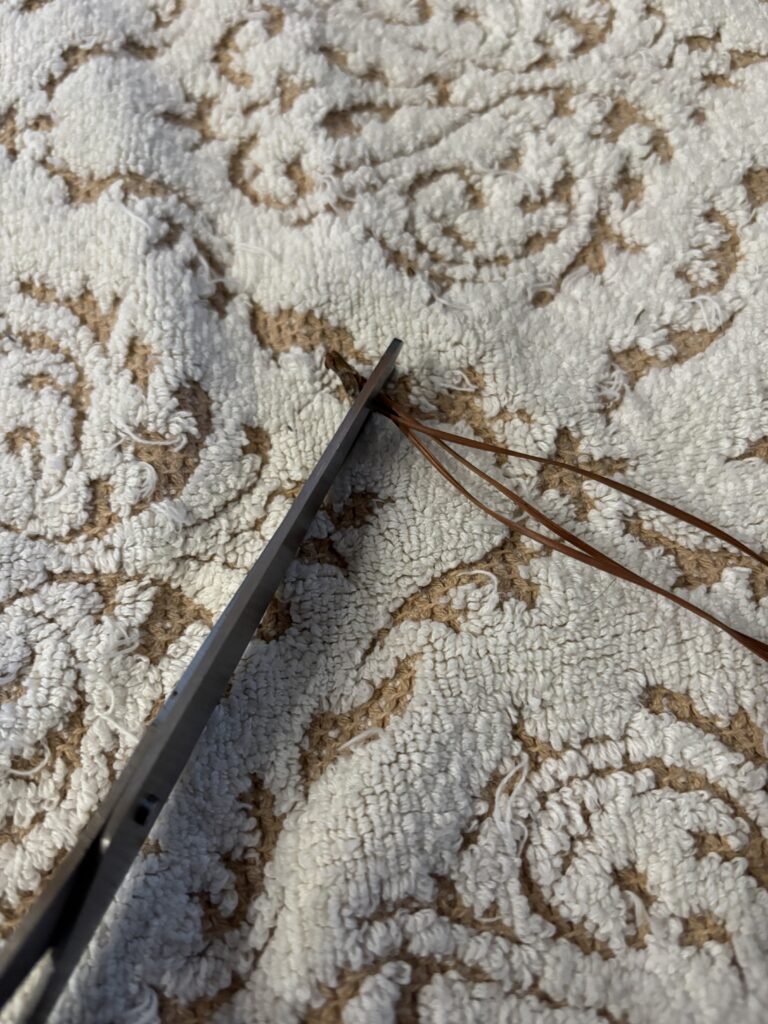
Trim off the end of the needles that hold them
together
Take a few needles out of the bucket of water at a time. I work on an old towel. I place the needles on paper towels to absorb the water.
The needles are fused together in sets of 2 or 3 needles in nature. Cut that end off so the needles are separated.
Starting the coil
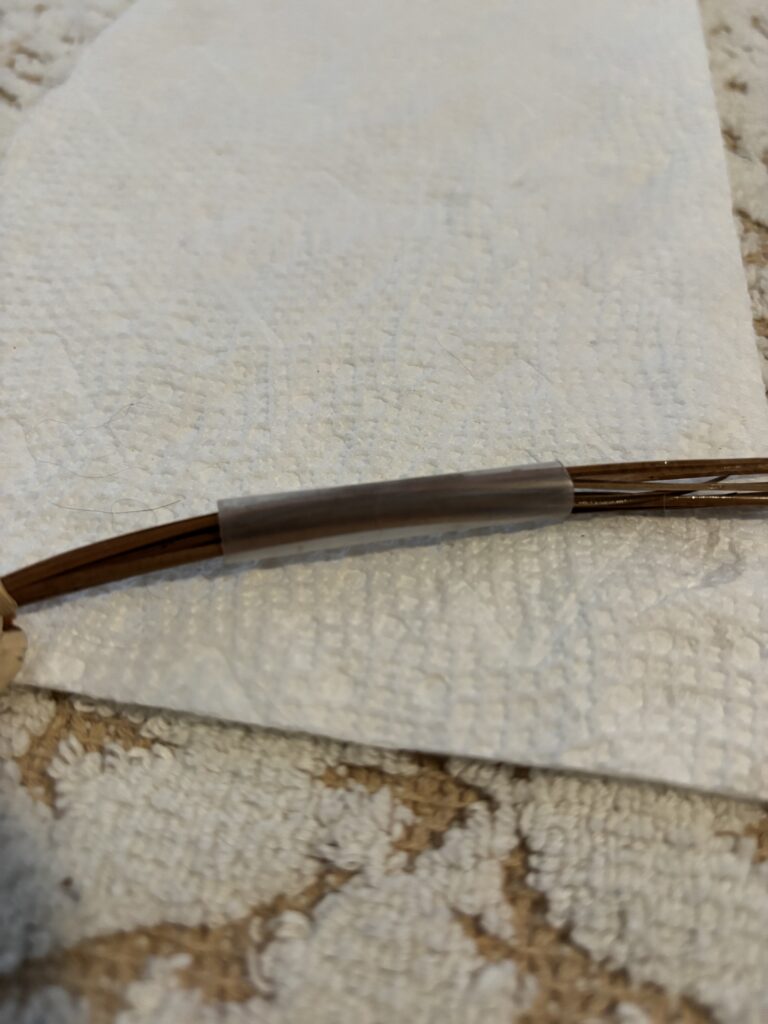
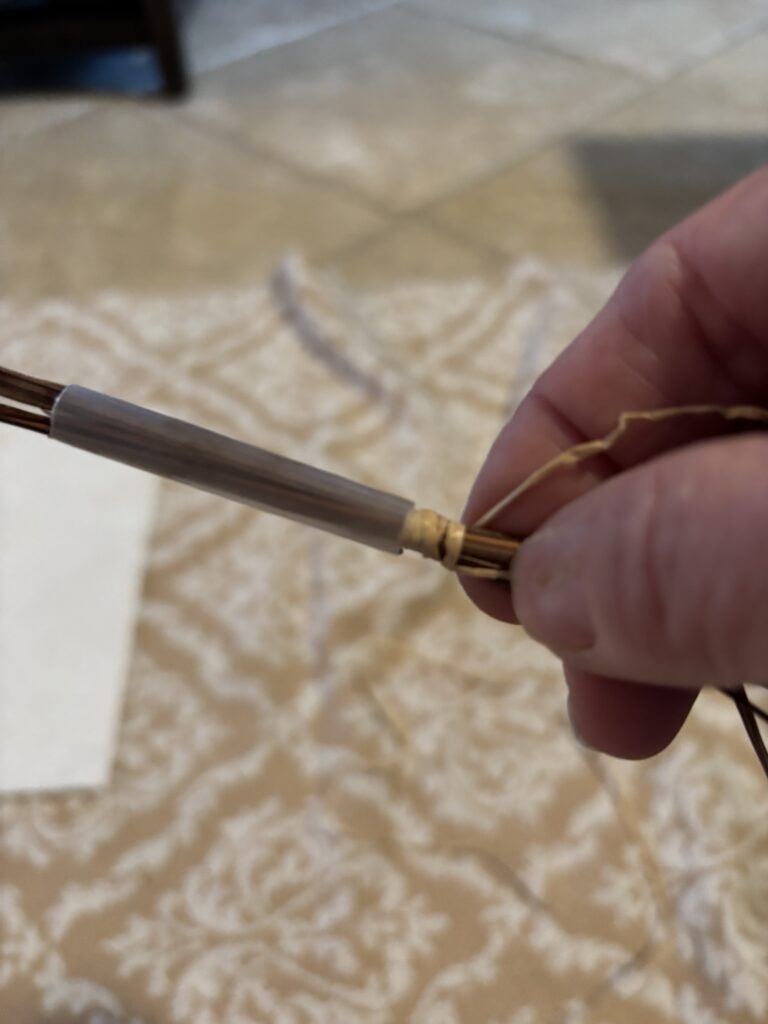
Start by putting the single pine needles through the straw until there are enough to fill the inside of the straw.
Next, on one end, wrap raffia securely around the pine needles for an inch or so. This will be the start of the coil.
Making the first loop
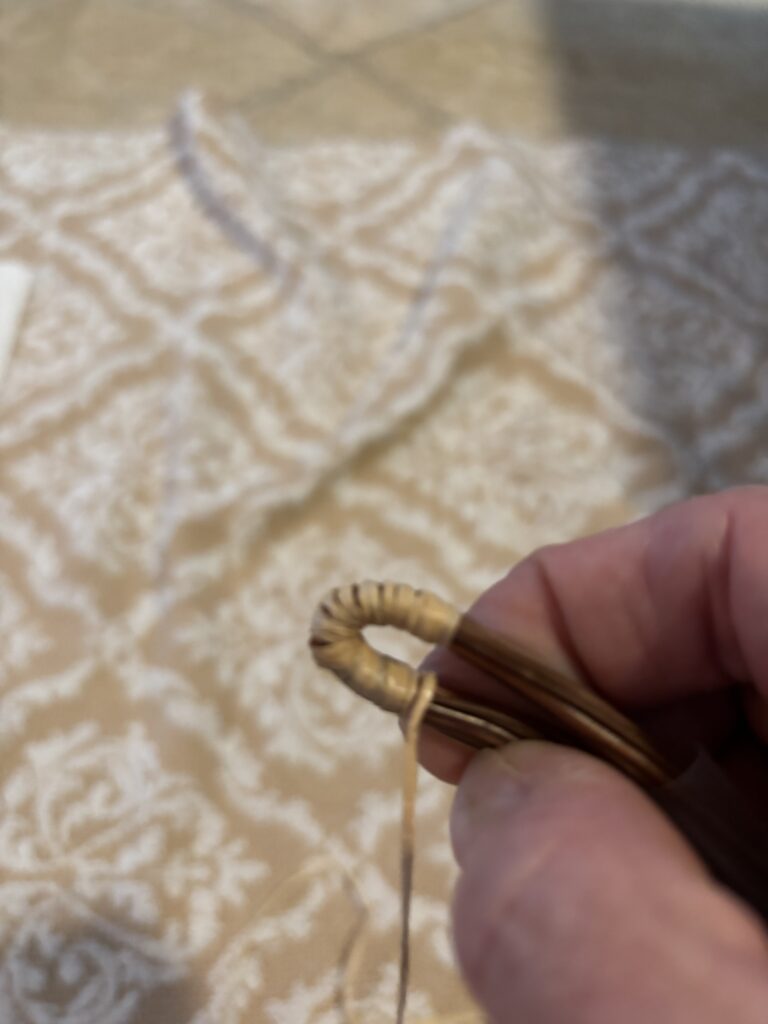
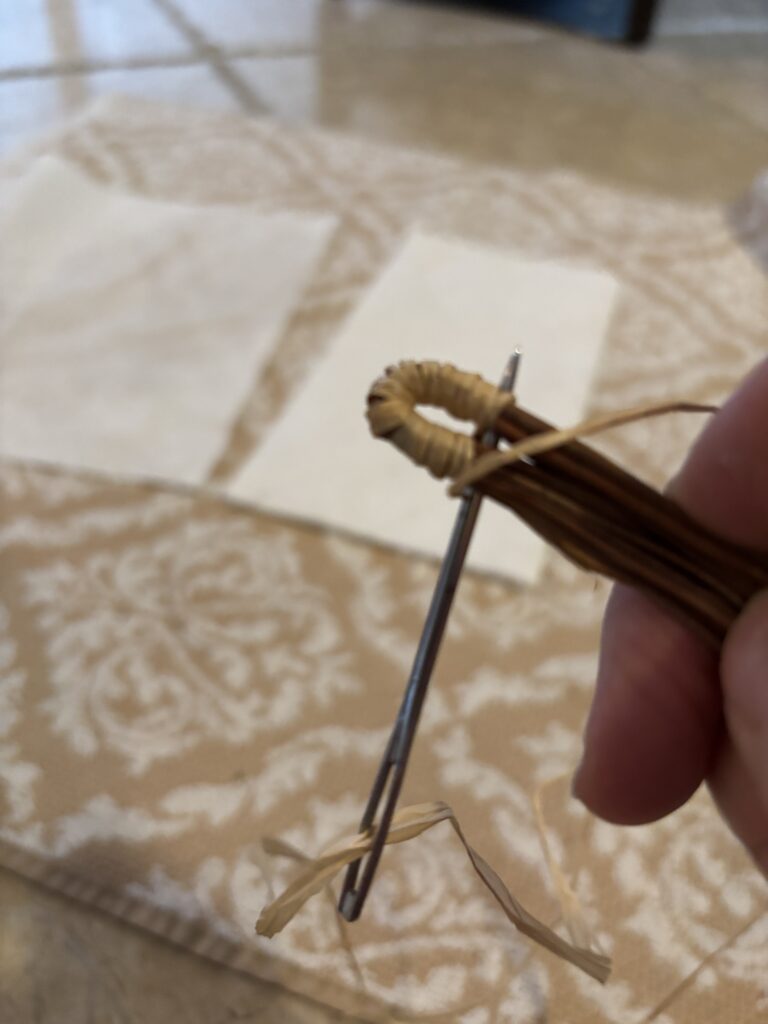
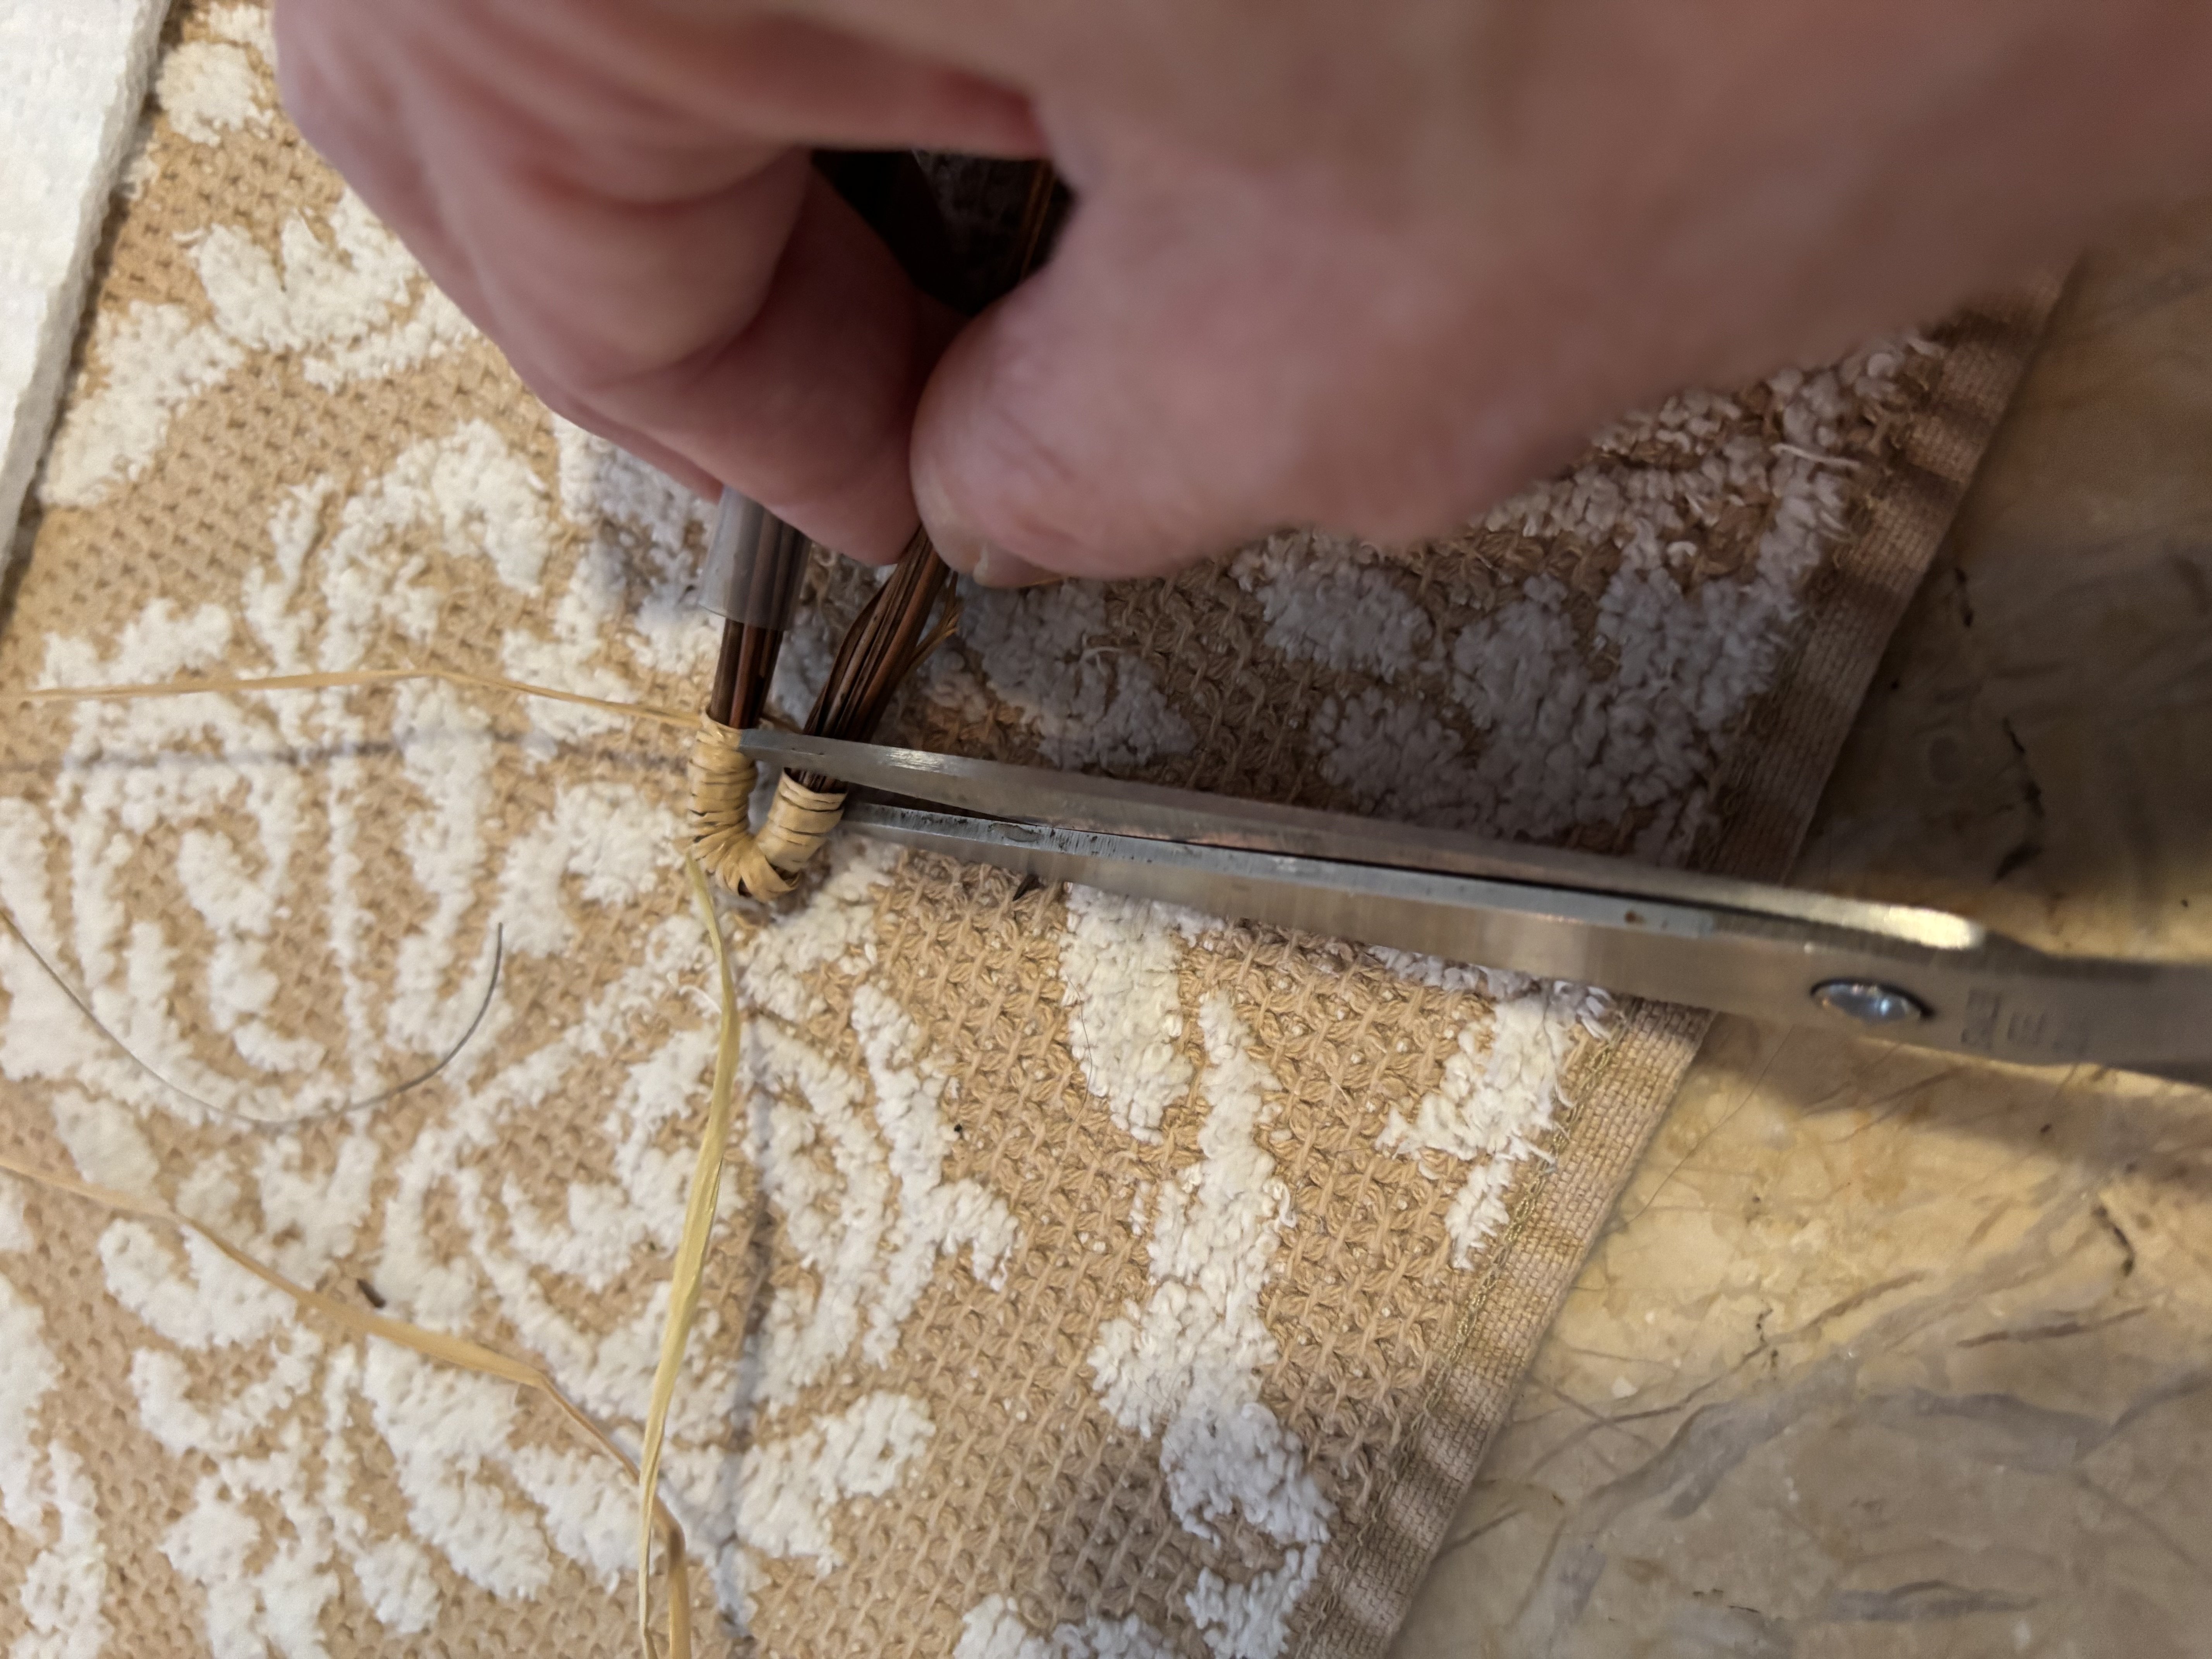
Bend the pine needles over in there middle of where the raffia has been wrapped. Thread the needle with the raffia. Pull the raffia through both of the pine needle bundles to secure. Stitch a few more times to stitch the loop closed. Cut the short end of the pine needles that are sticking out from the raffia.
Continuing around
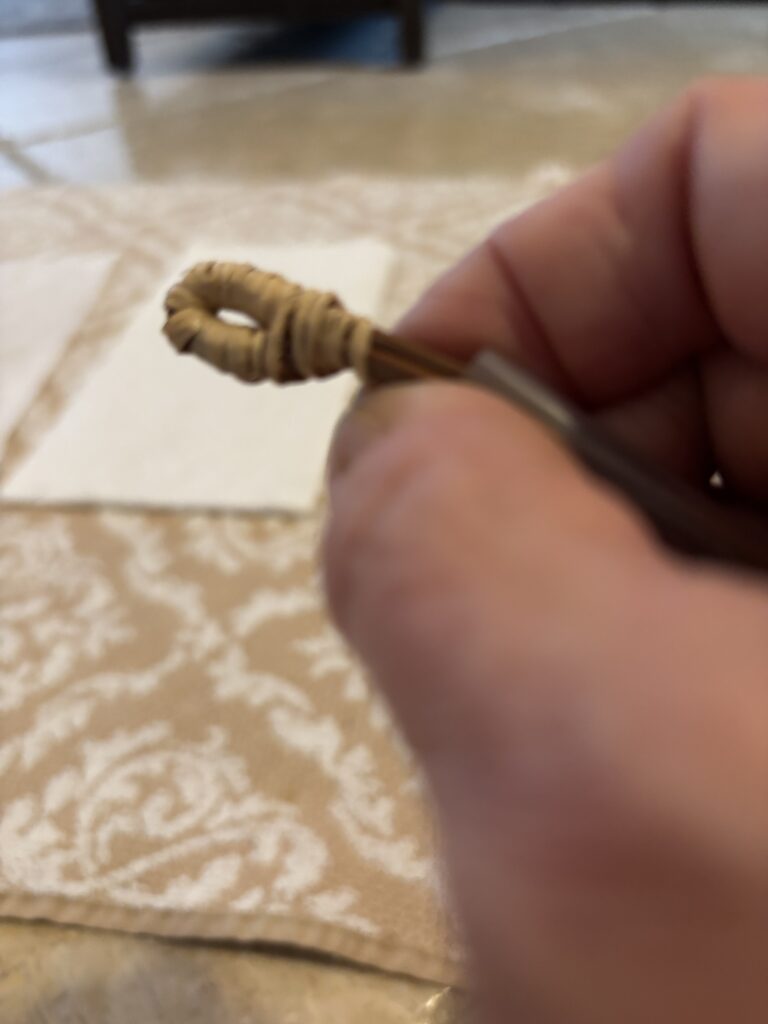
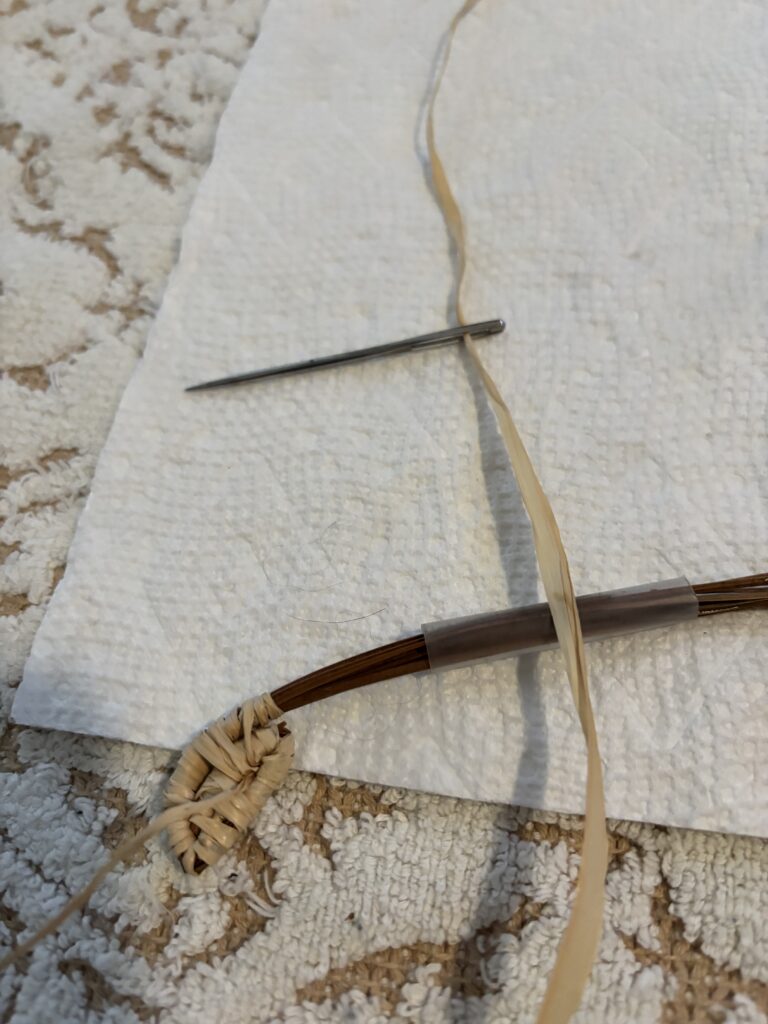
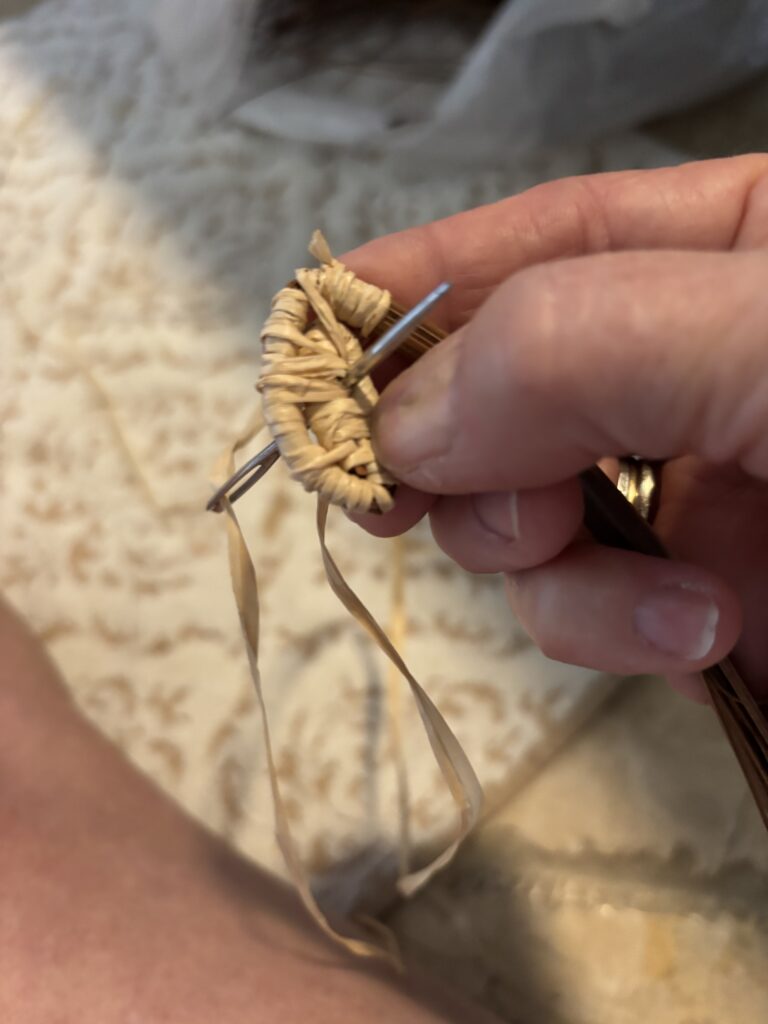
Continue wrapping the raffia around the cut end to cover it. Keep wrapping raffia around the needles until you get about a 1/4 of the way around the outside of the center you just wrapped.
Now, start wrapping just the pine needle bundle around the center. Secure the needles to the center by wrapping the raffia around and making the stitch go through the center.
As you grow the coil, add more pine needles into the center of the straw. Pull the needles around and out of the straw as you continue to wrap the needles in a circle. Add a raffia loop stitch around the bundle. Secure it into the round just before the one you are working on.
Keep wrapping
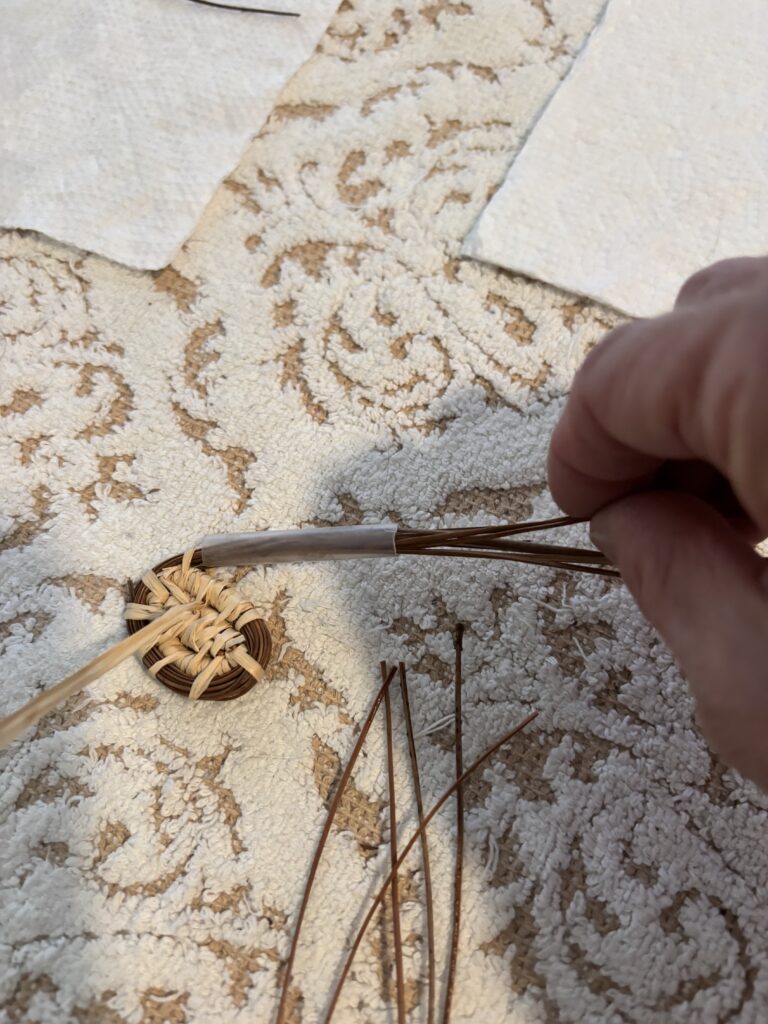
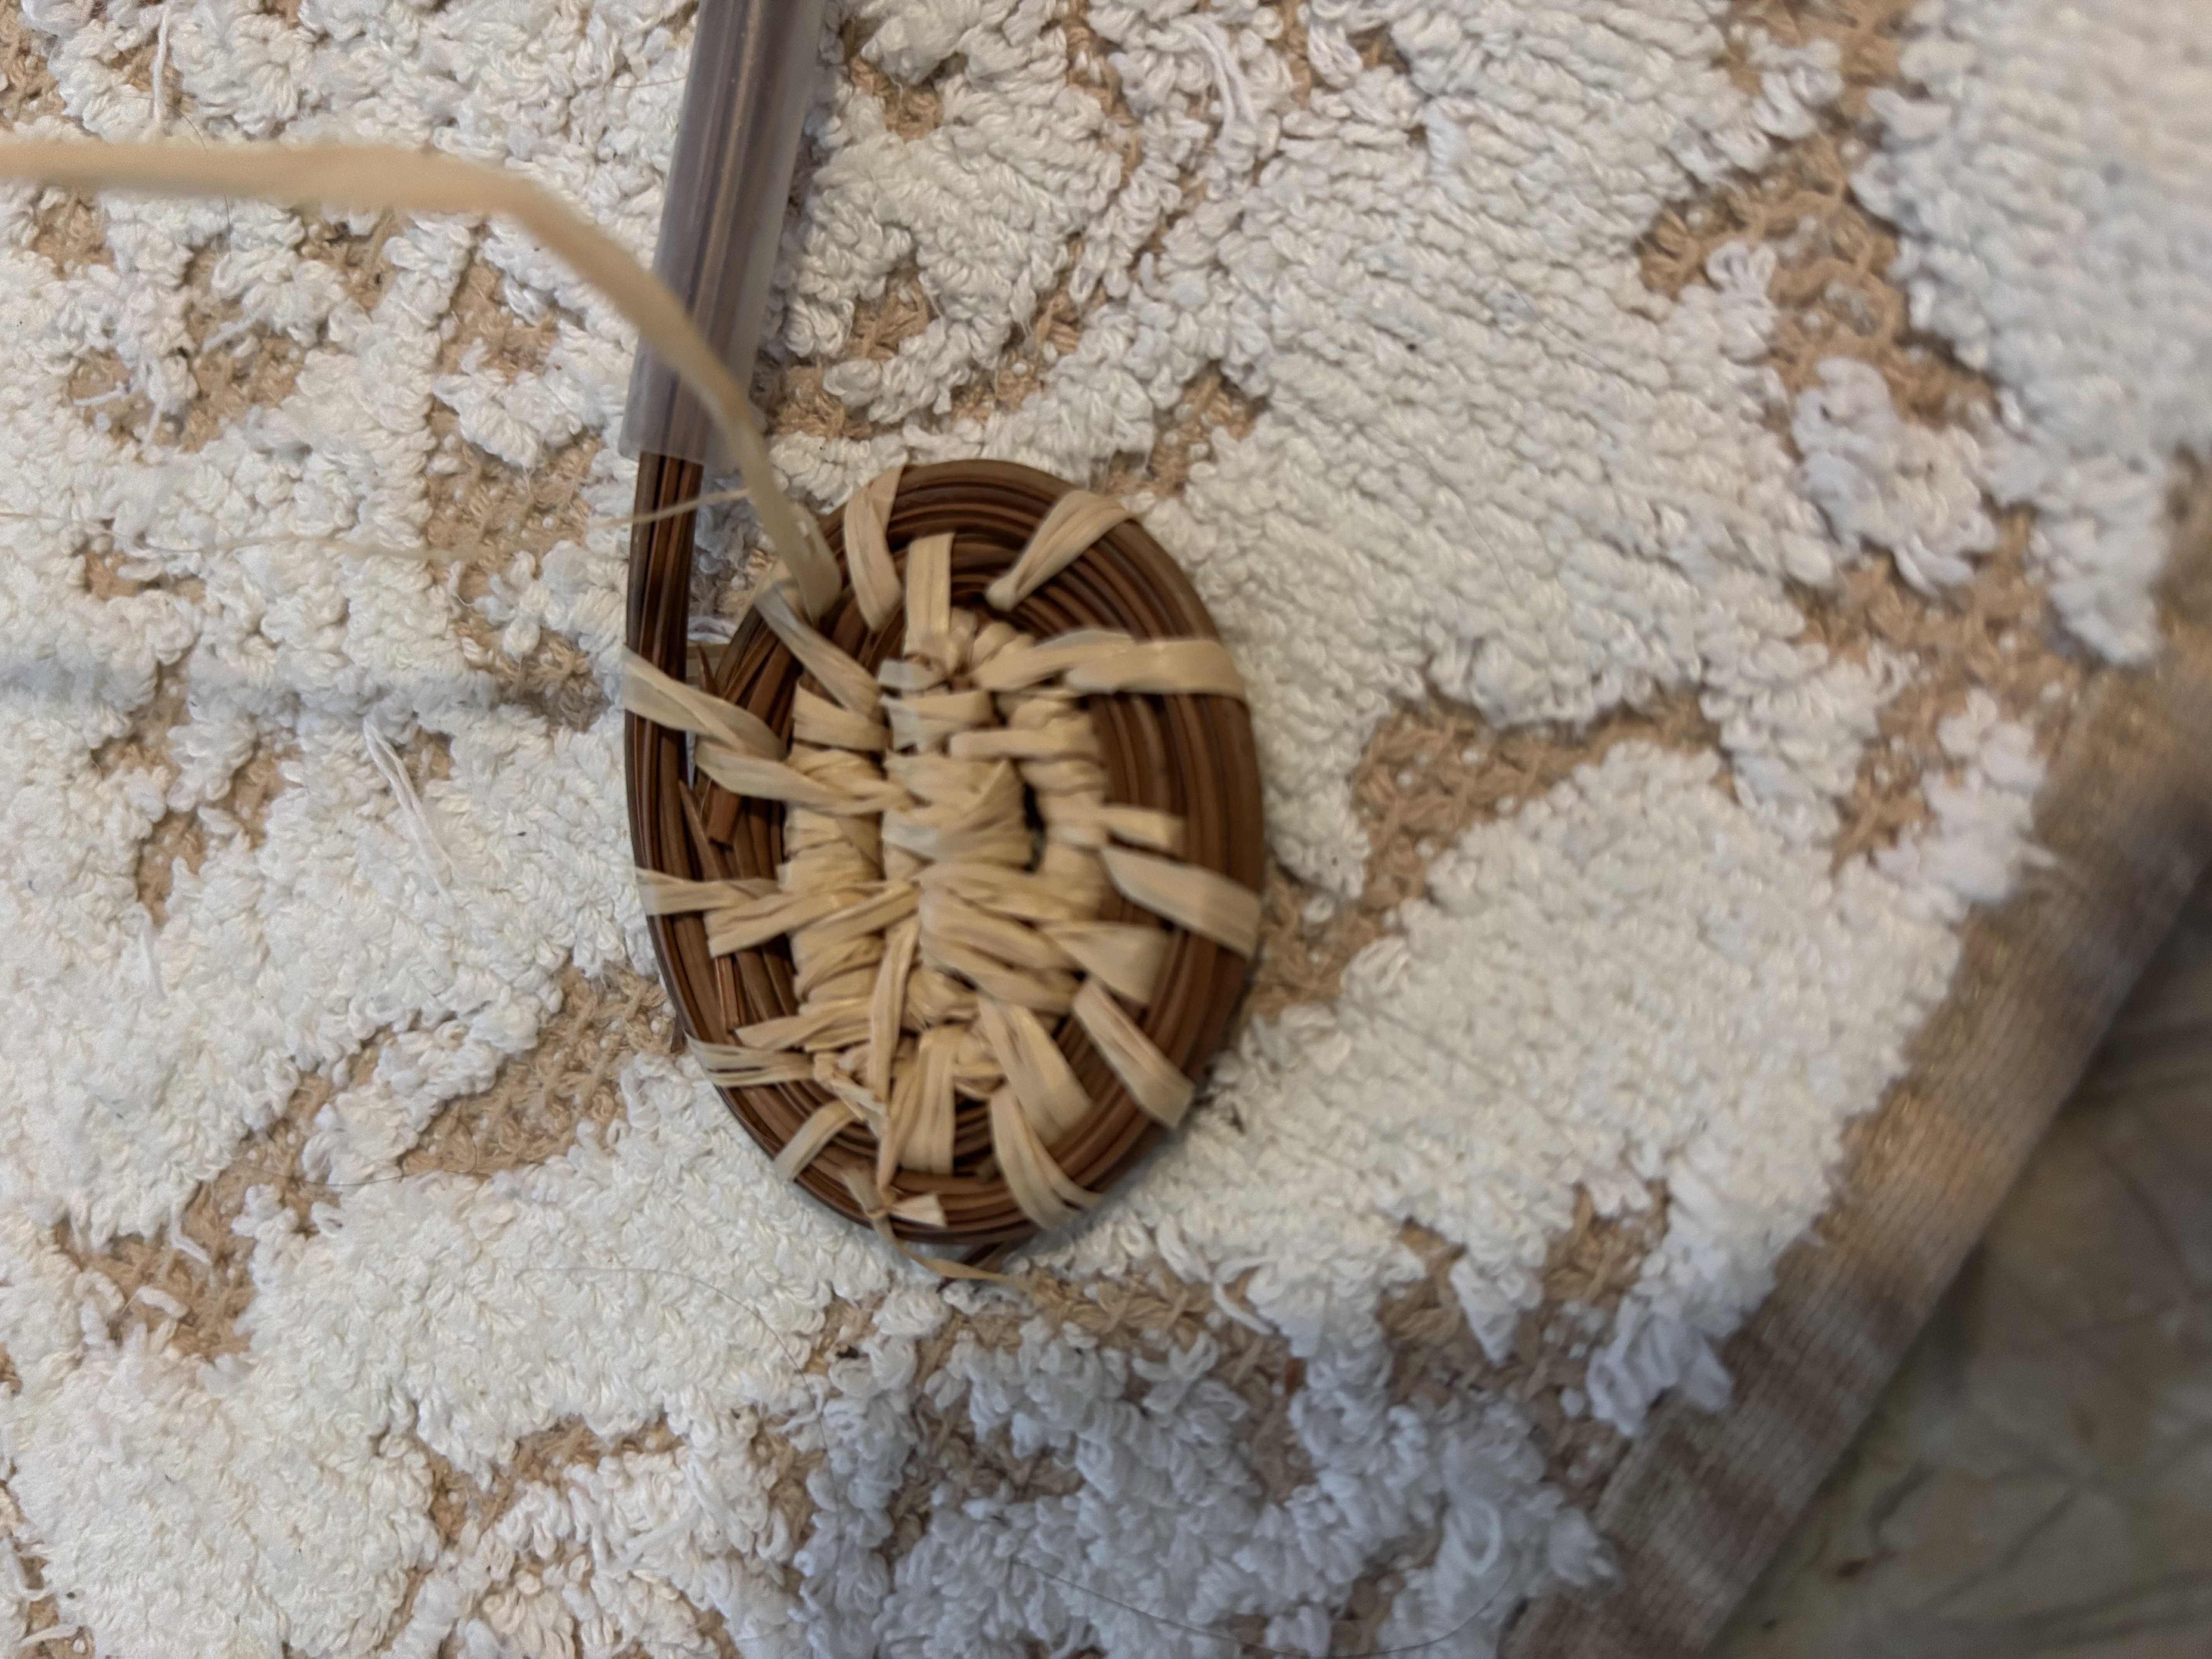
Make sure the coil stays flat. If the bundle isn’t even and flat against the last round, it will start to go in a different direction. A small basket will need a base size of 3 inches. The bigger the base, the bigger the basket.
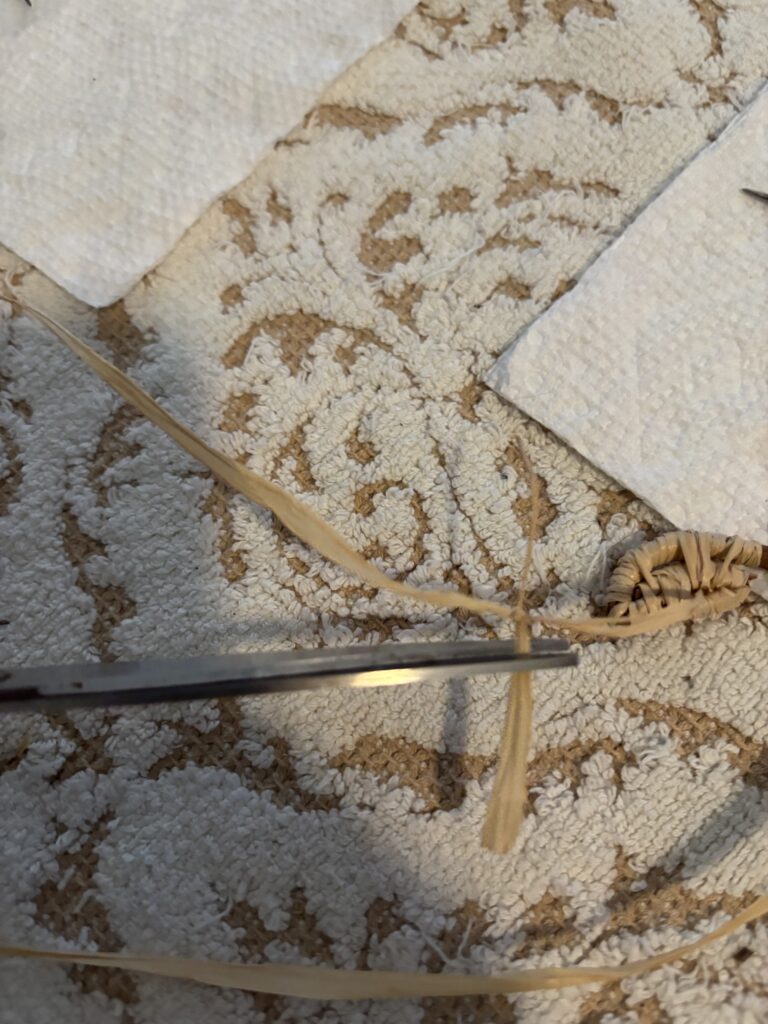
When the raffia starts getting short, add another piece. Tie the two ends together in a double knot. Pull the ends tight. Clip off the ends. Continue on until you have the base size that you want.
Making the basket walls
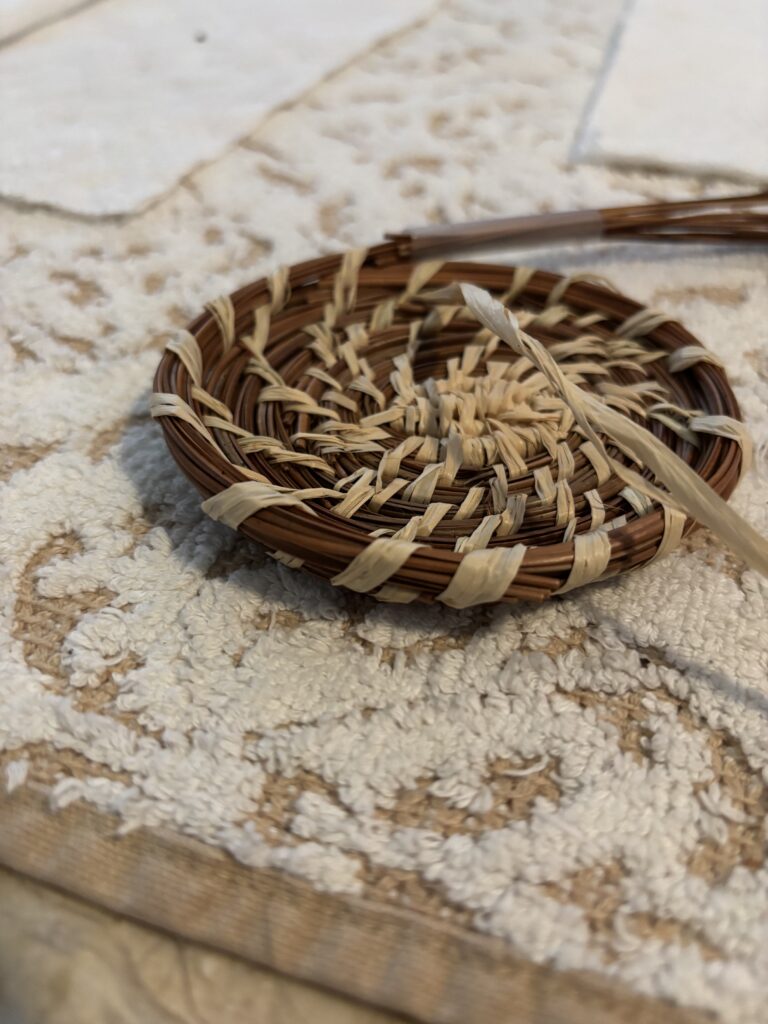
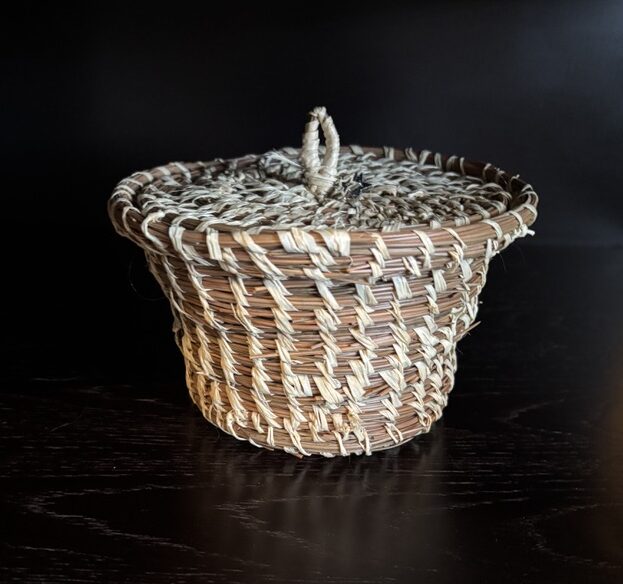
To make the walls of a basket, pull the needle bundle gently on top of the previous row. It should be sitting square on top. Secure with a raffia loop stitch. Keep going up until you reach the desired height.
Preparing for the lid
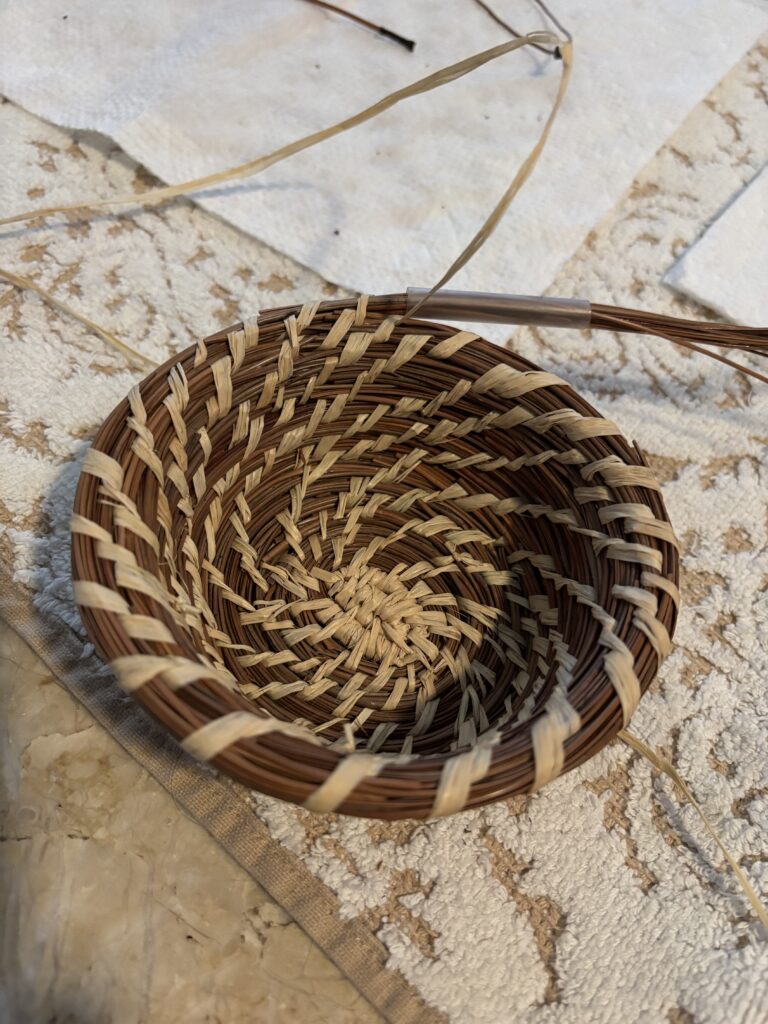
To prepare for the lid, first do two rounds of needle bundles that go on the outside from the row that you stopped at. This gives a place for the lid to sit on.
Next, go up. So, like when you started the walls, do a round right on top of the last row that you made for the ledge. I did 3 rounds high. This keeps the lid in place.
Ending the basket edge
When finished with the basket, don’t add any more needles. Pull the needles out as you have been doing, securing them with the raffia loop stitch until all the needles are secured. Some times I need to trim them so they taper off more gradually.
Making the basket lid

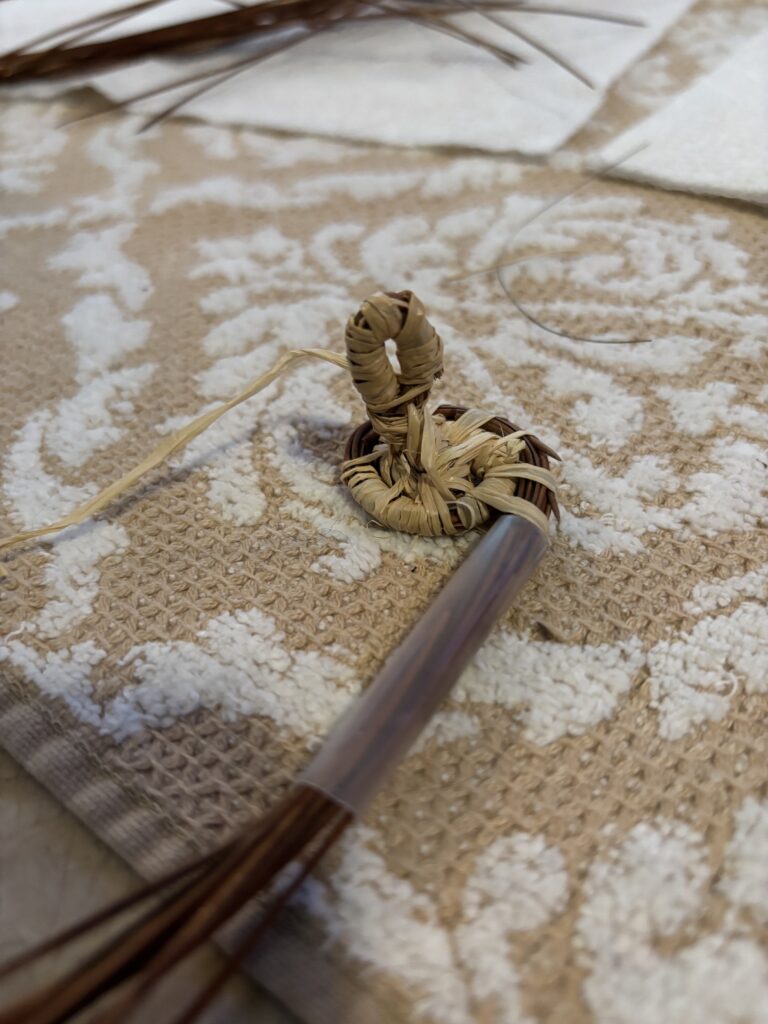
Make a starter loop like the one you made to start the coil basket, only this time leave the loop open instead of stitching it closed.
Gently turn the loop up, to be the lid handle. Start coiling around the handle with the raffia. Use extra stitches to secure the handle as needed.
Now, continue with just the pine needle bundle. Wrap it around. Secure it with a raffia loop stitch.
Sizing the lid
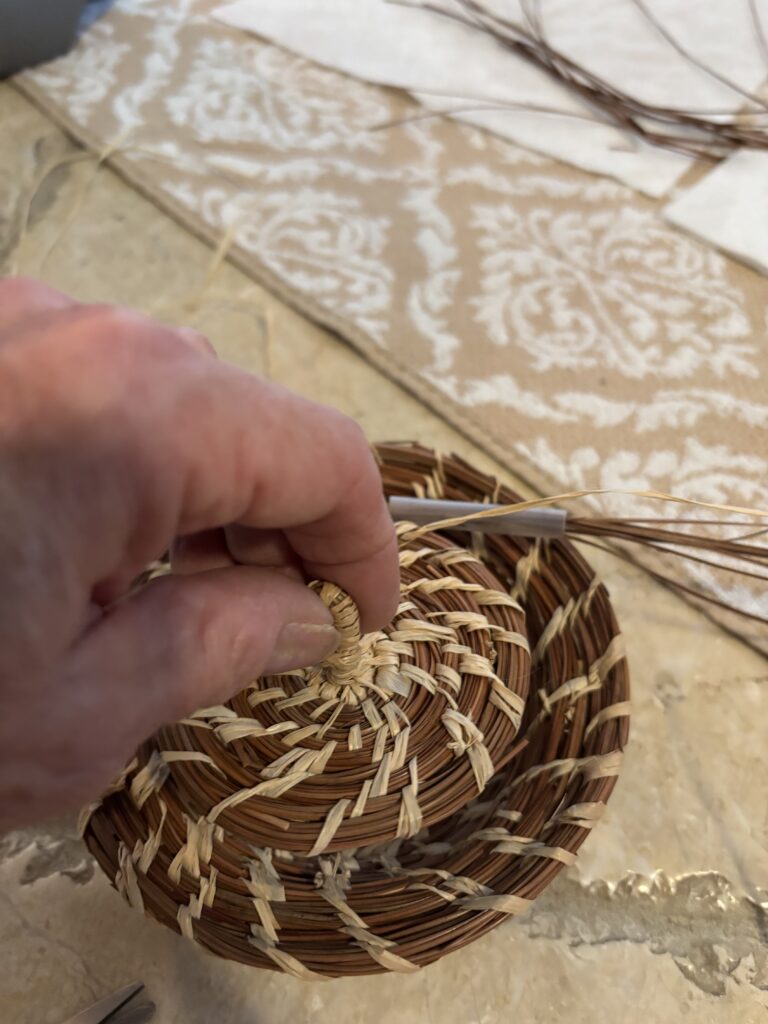
As the coil gets bigger for the lid, gently set it on top of the basket to see how big it needs to be.
The lid should be loose. If it gets too big, it won’t fit right.
Blend the last pine needles in to end the lid.
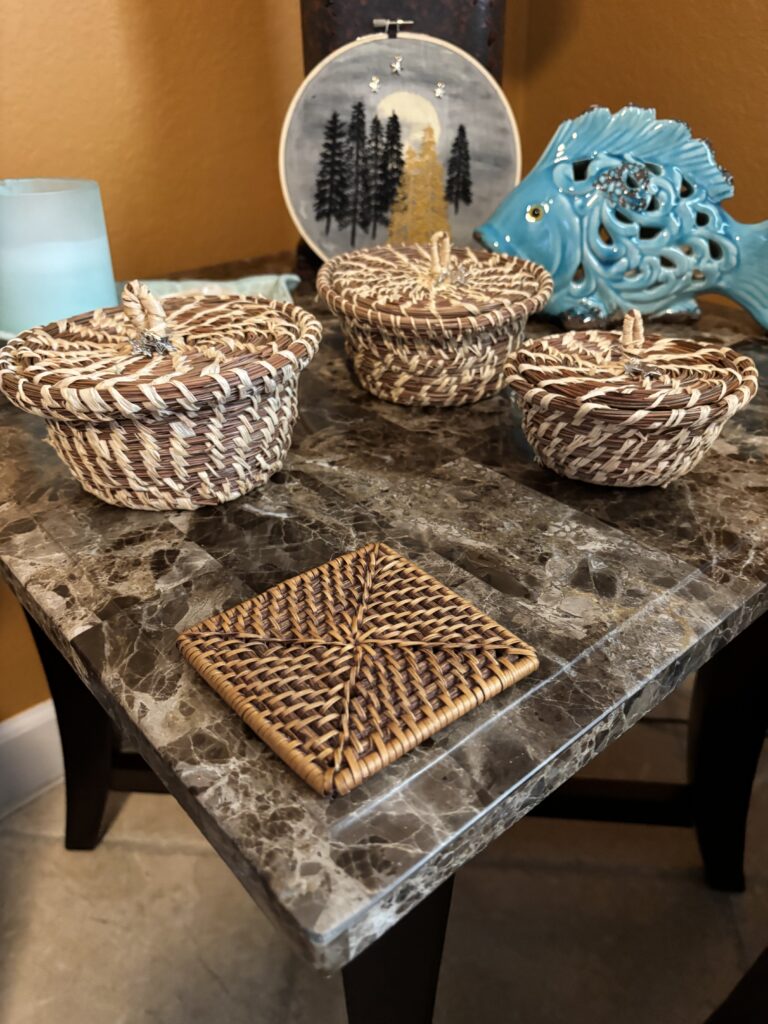
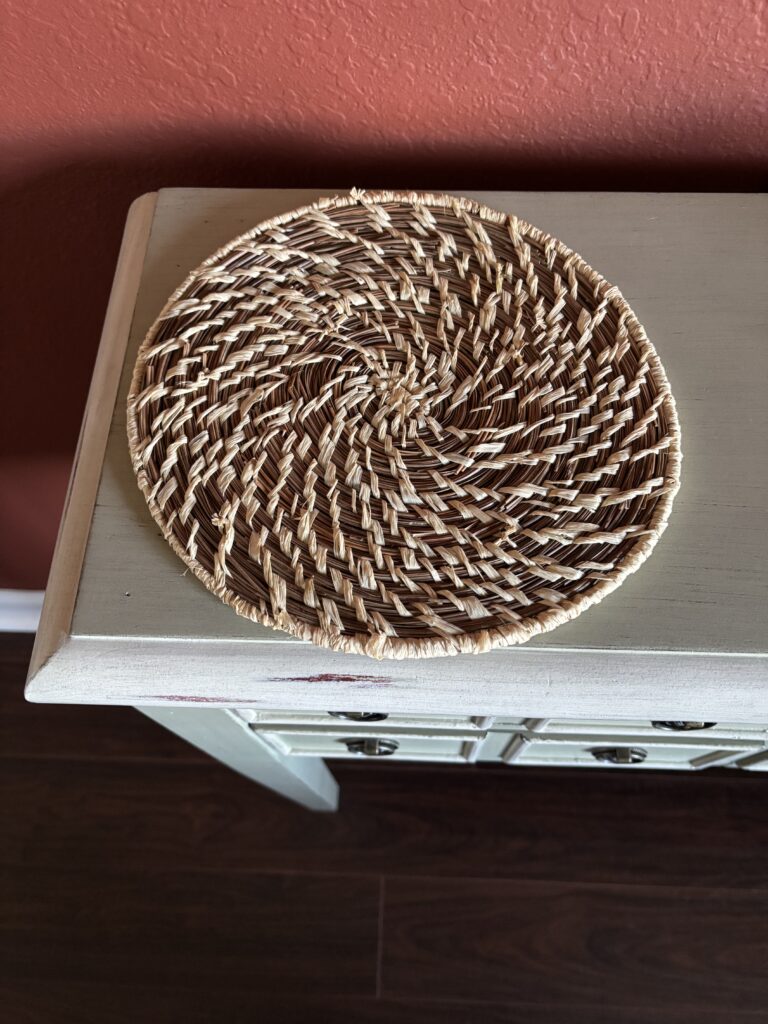
Finished baskets and mat
Notes
The pine needle mat gets finished off by wrapping raffia all the way around the outer edge. To end the raffia, weave it into a raffia stitch next to it by pulling it through with the needle.
I hope this sparks your craftier side! Kelly