October 1, 2024
A Fun Little Craft to Put You in the Halloween Spirit!
Supplies: What you will need to make this project.
- An empty half gallon milk carton. Wash it out and keep the cap on the carton.
- White and purple foam
- Black paint and a paint brush
- An Exacto knife
- Glue
- Black card stock
- Parchment paper
- White fine tip marker
Instructions: Let’s get started
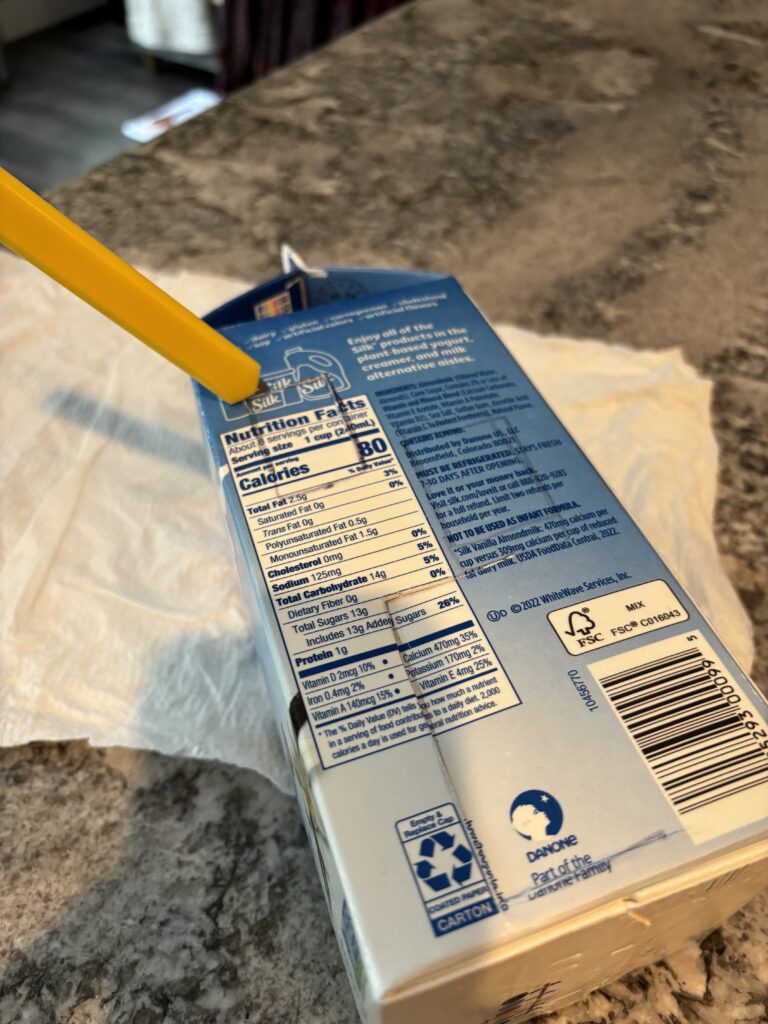
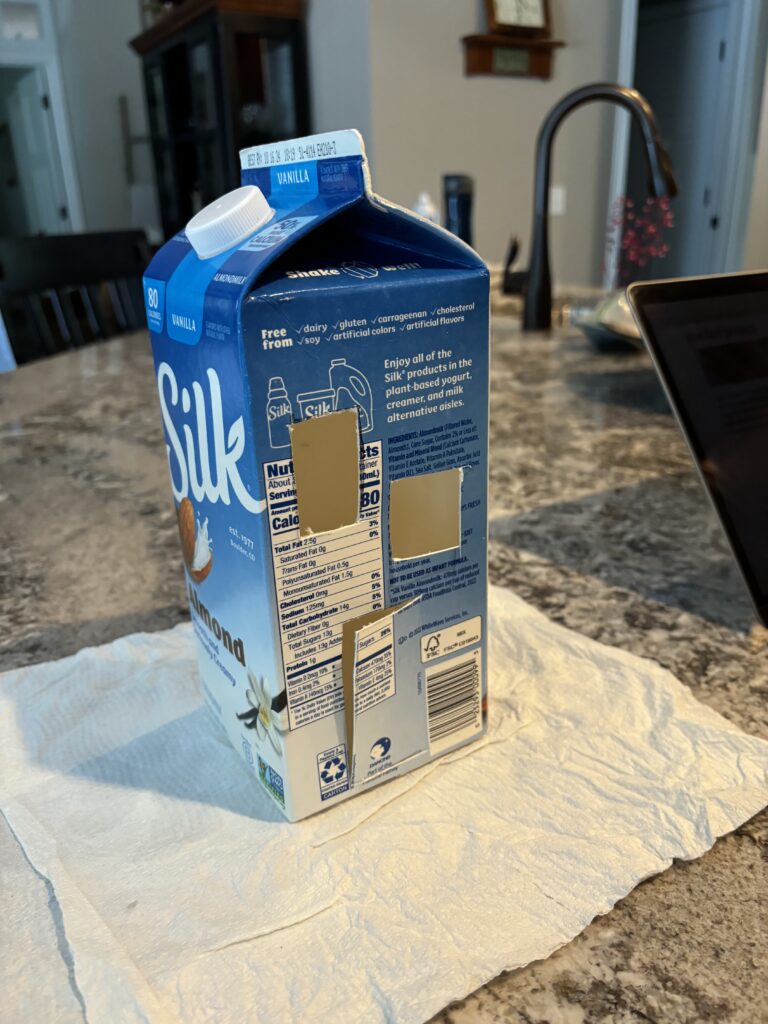
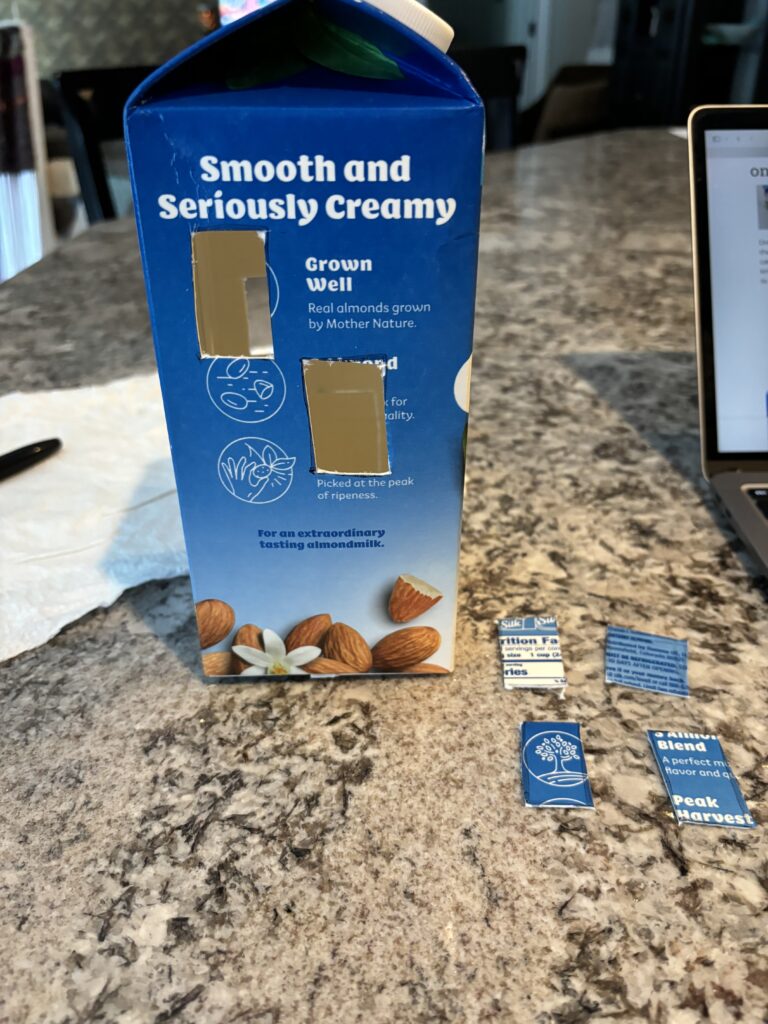
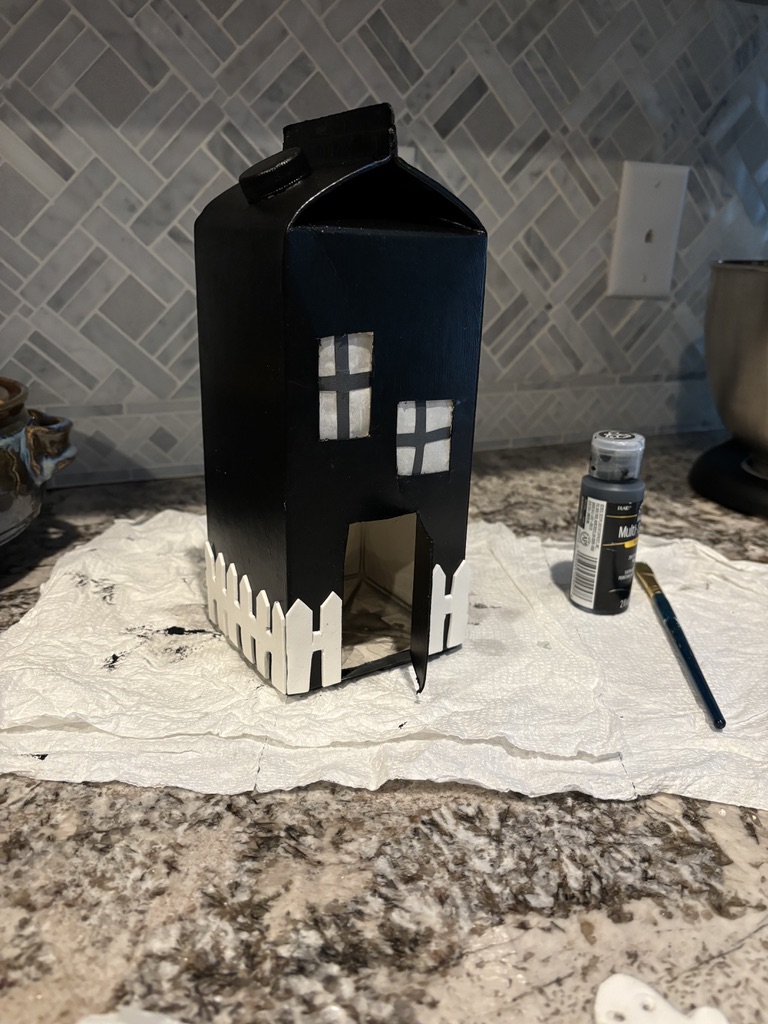
- Draw windows on two sides and a front door. Save your window cutouts.
- Use an Exacto knife to carefully cut out the windows and three sides of the front door.
- Bend the front door open.
- Use a paper towel to dry the inside of the carton, as it may still be wet from washing it out.
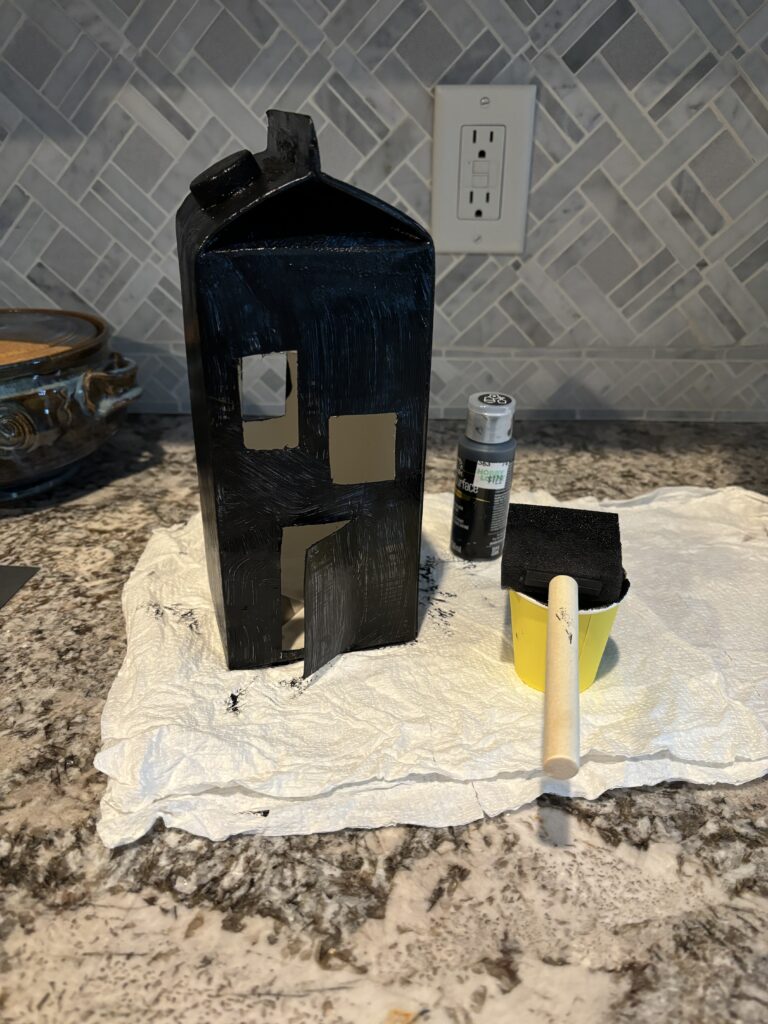
- Paint the carton with acrylic black paint. Paint the carton cap too. It will take two or three coats to cover over the carton.
Next: Making the windows
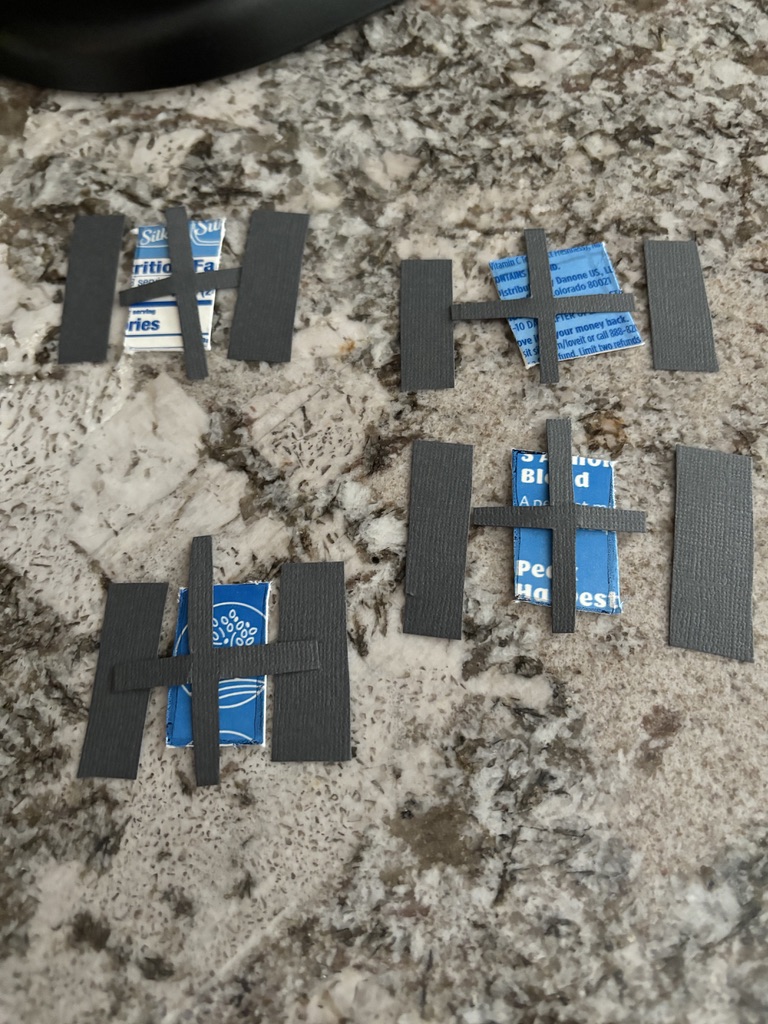
- Use the window cut outs as a template to make the window panes. Cut a square out of the black card stock a bit larger than your template for each window.
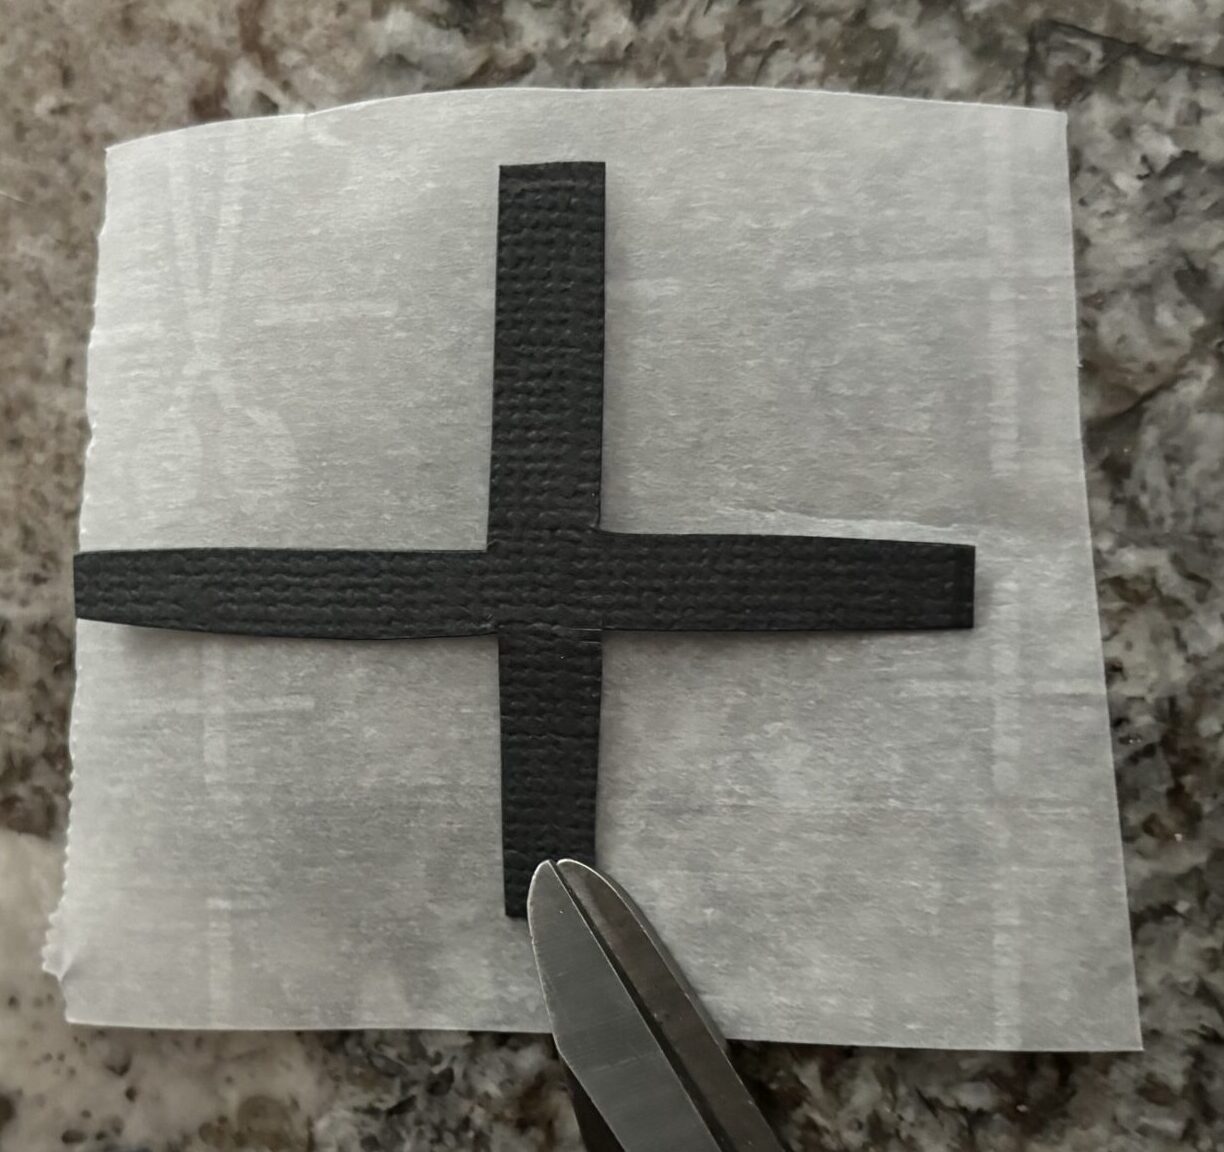
- Then, cut the window pane shape from the square.
- Cut a piece of parchment paper for each window a little bigger than the window template so it can be glued in place from the inside of the carton.
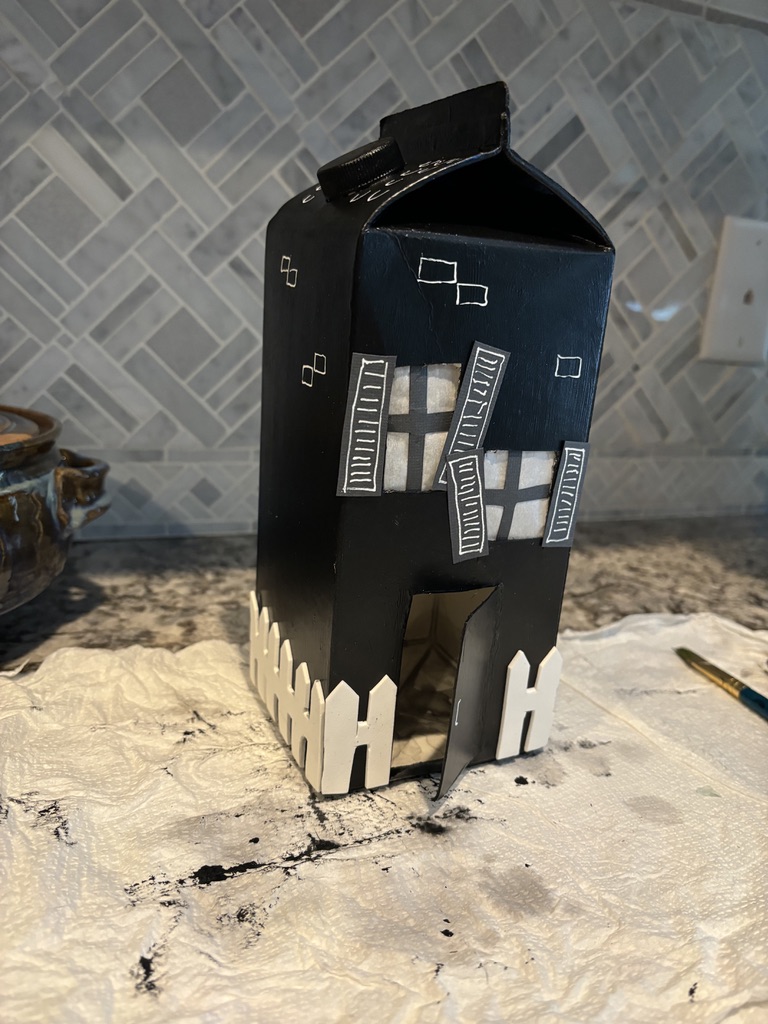
- Cut 2 rectangles for each window for shutters.
Putting it all together:
- Glue the window panes in place from the inside.
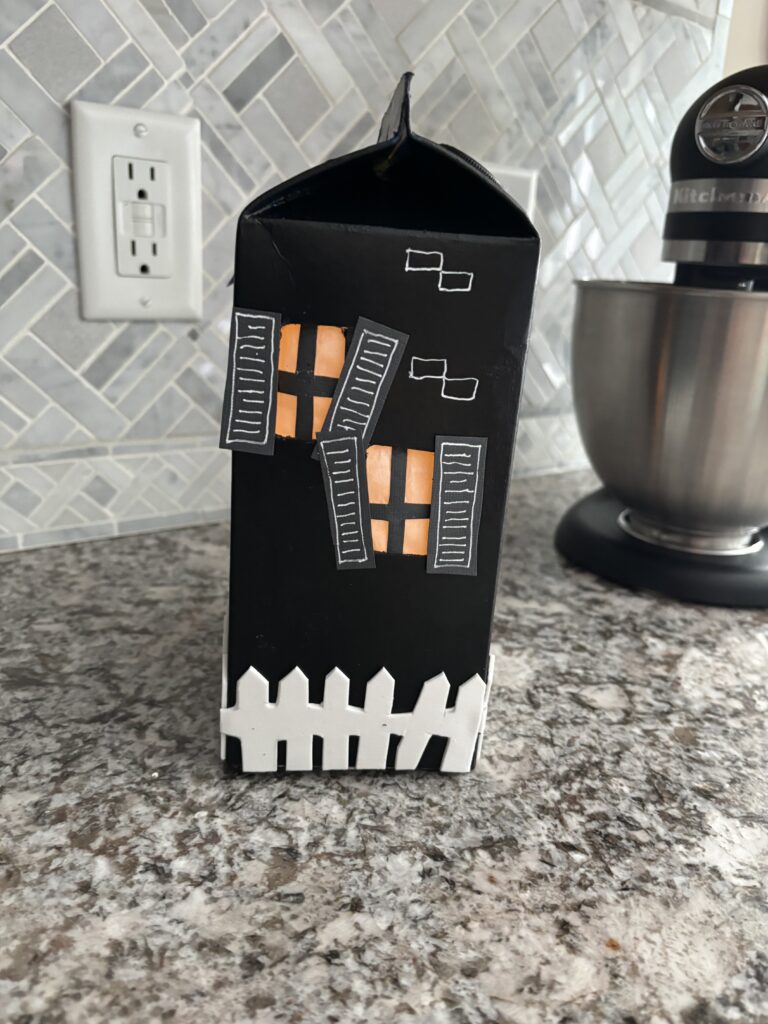
- Glue the parchment paper on the inside over the windows next. I used a clean paint brush to help me push the paper in place.
Making embellishments:
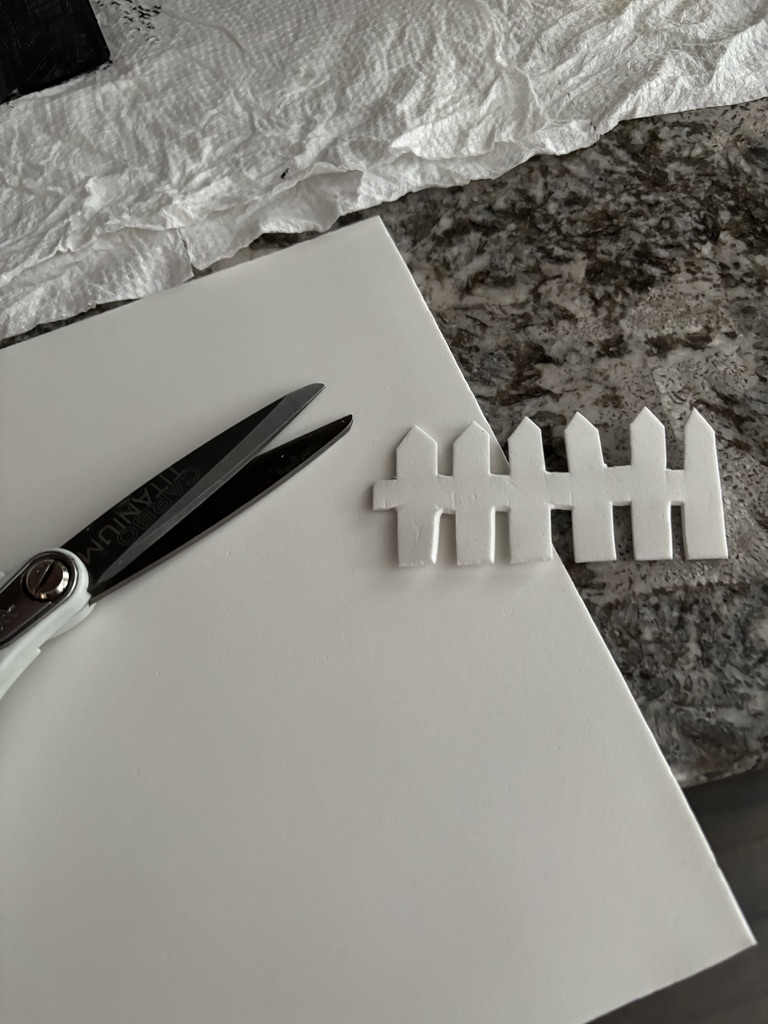
Cut out your fence pieces from the white foam, then cut them to fit each side of the carton.
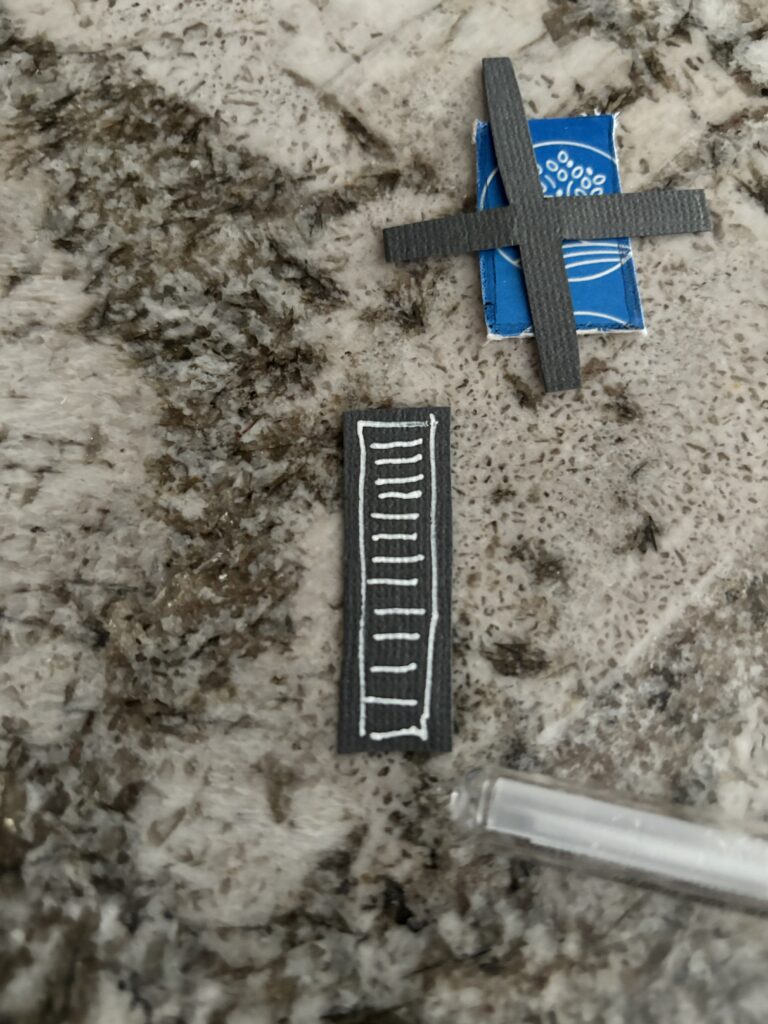
Use the white marker to finish the shutters.
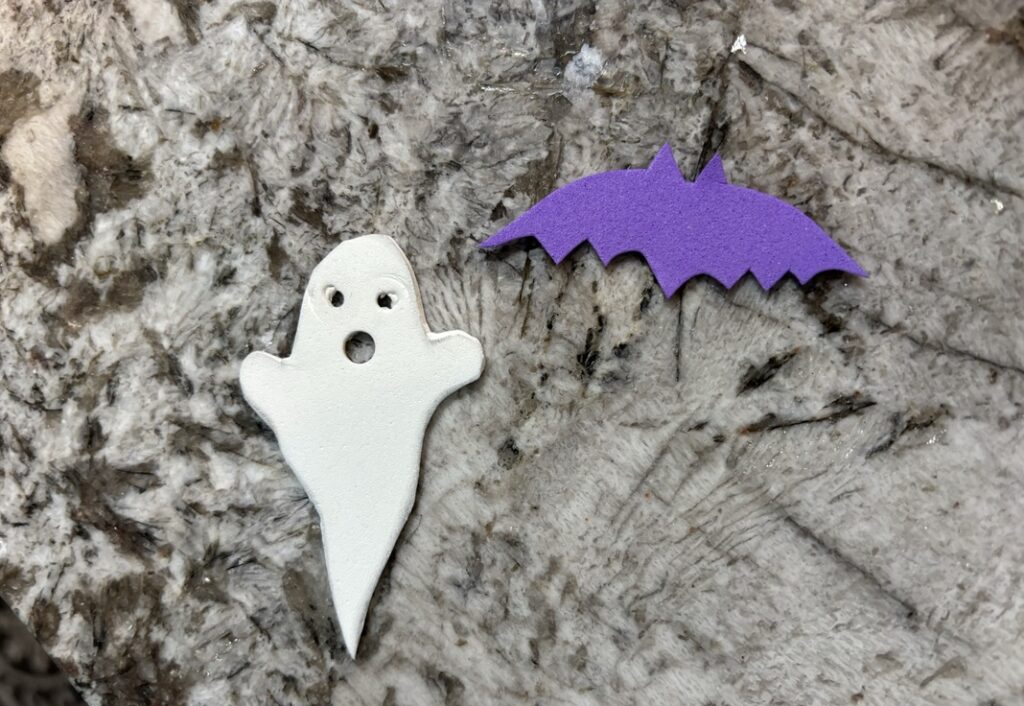
Cut out a ghost from the white foam. I used 2 different sized hole punches to make the eyes and mouth.
Cut a bat from the purple foam.
Adding the details:
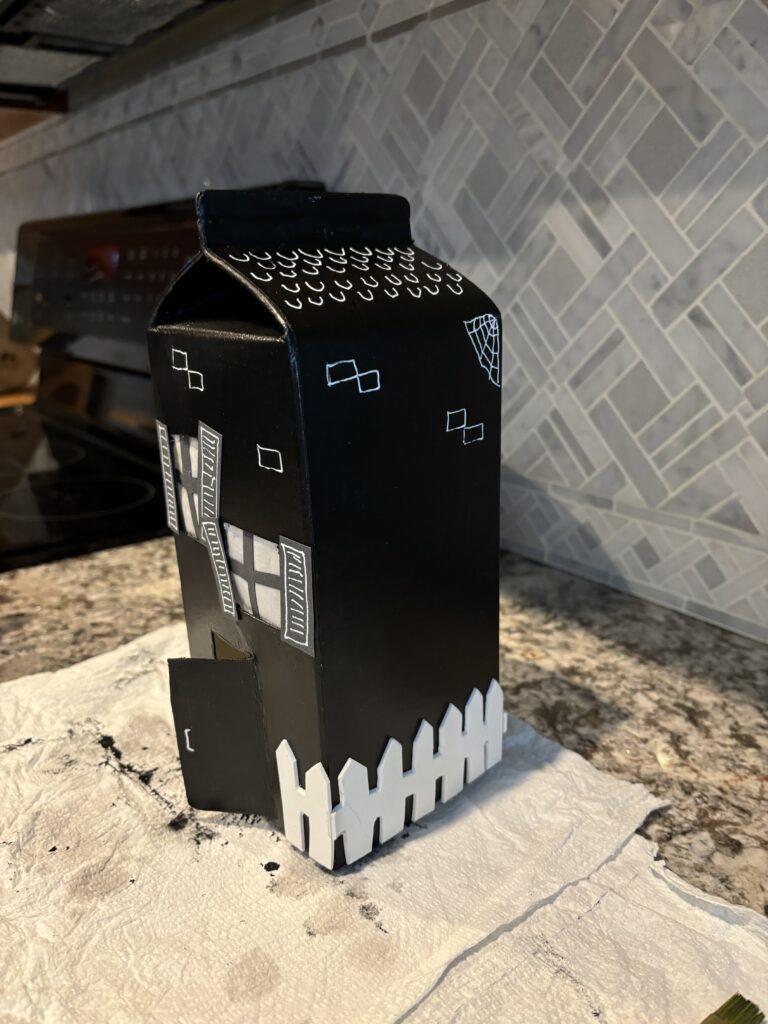
Finishing touches:
Glue the ghost and bat on to the haunted house. Add a battery operated tea light and enjoy your Halloween haunted house!
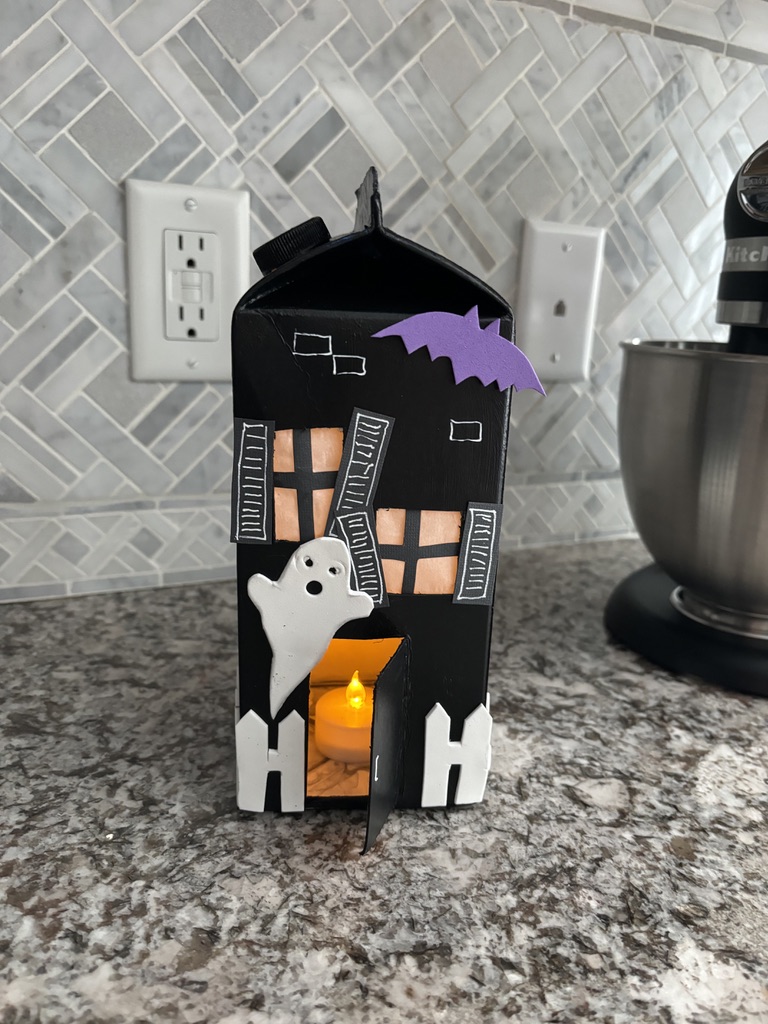
Happy haunting! Kelly