May 21, 2025
Stenciling has been around for quite some time. It is a fun and easy way to decorate items. The results can be stunning, adding an elevated touch to your projects.
Gather your supplies
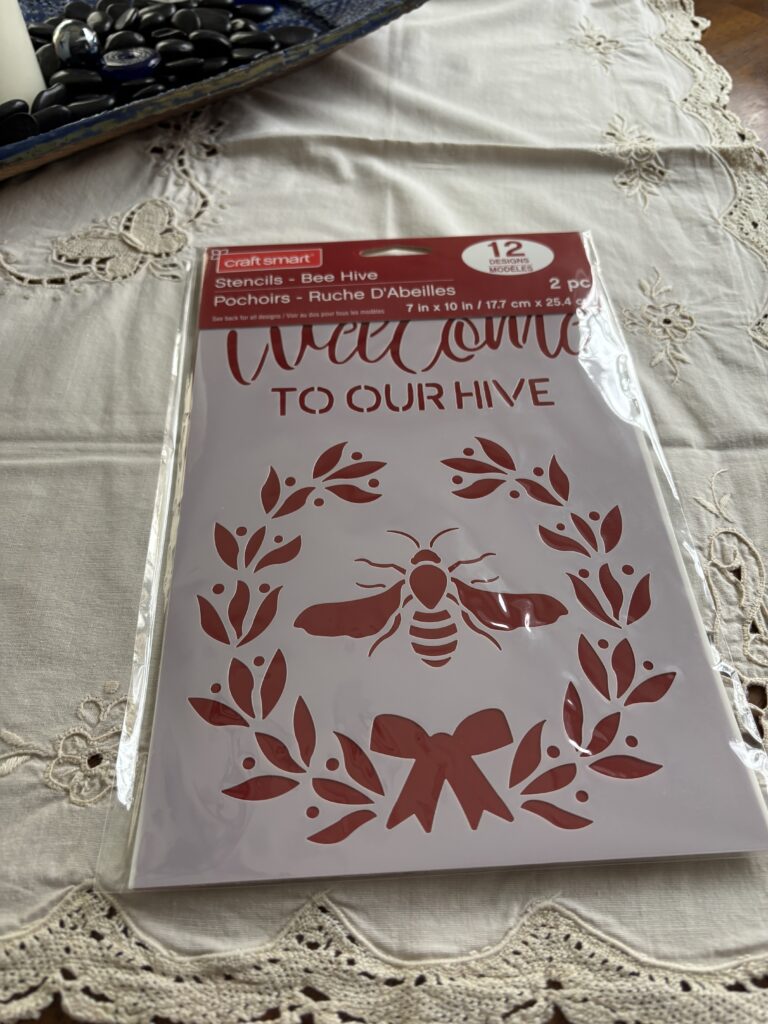
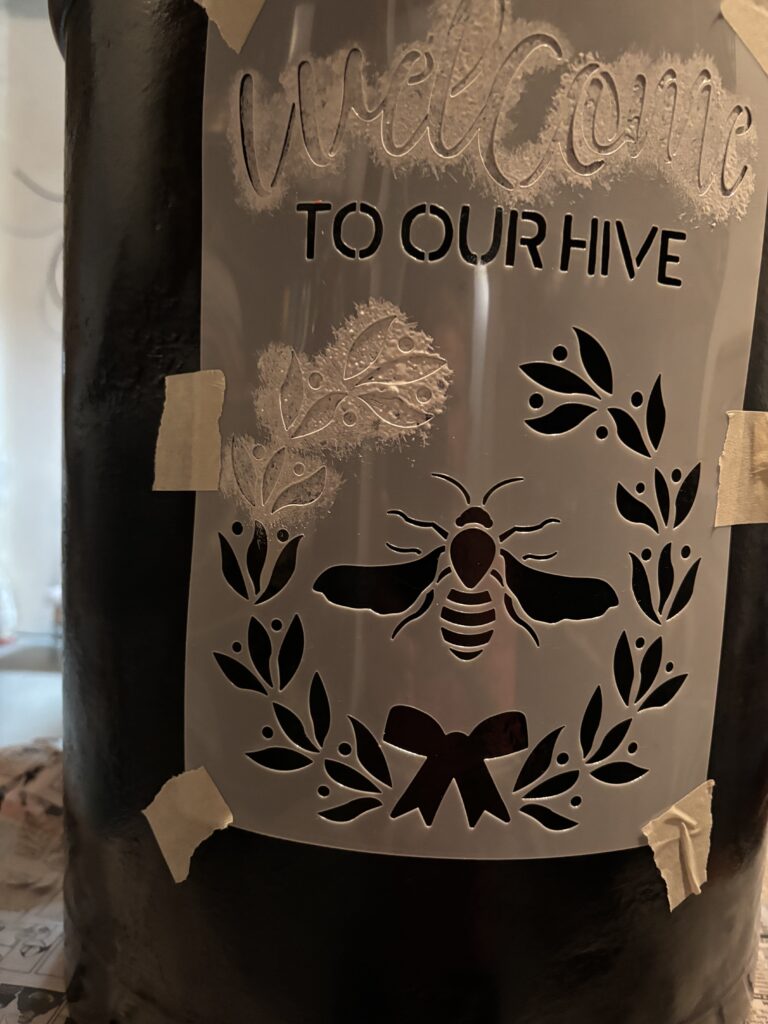
Shop around to find a stencil pattern you like. There are generally several designs included in a packet. I purchased these at Michael’s.
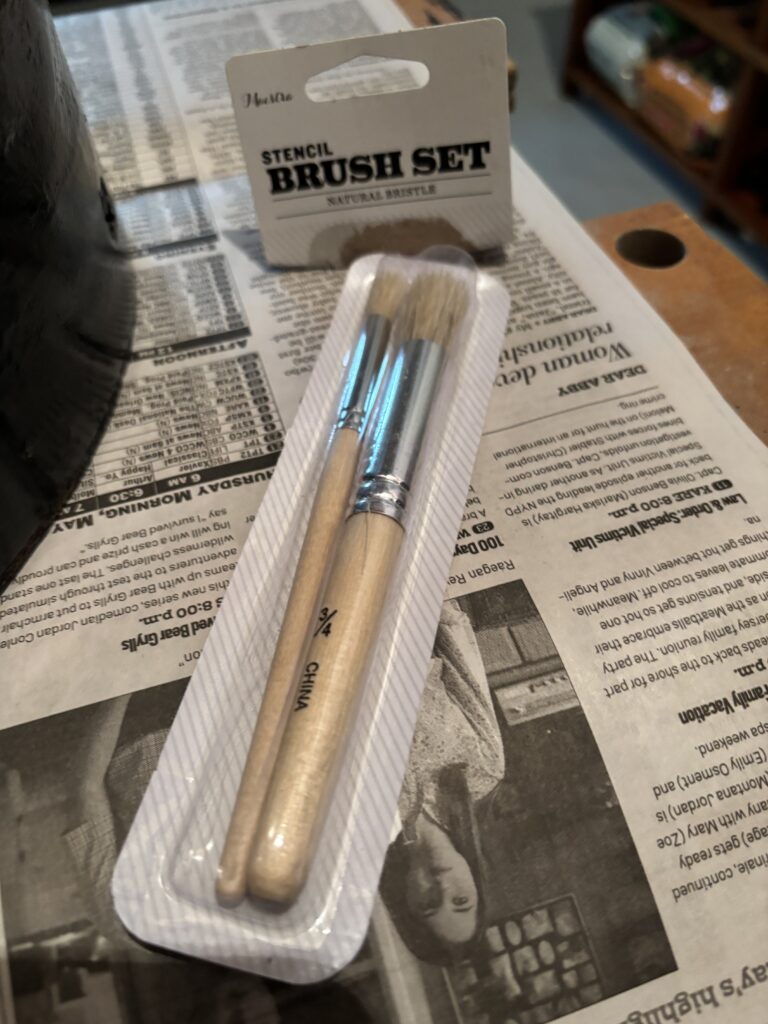
The right brush will set you up for success. Buy a stencil brush.
You will need masking tape to secure the stencil in place.
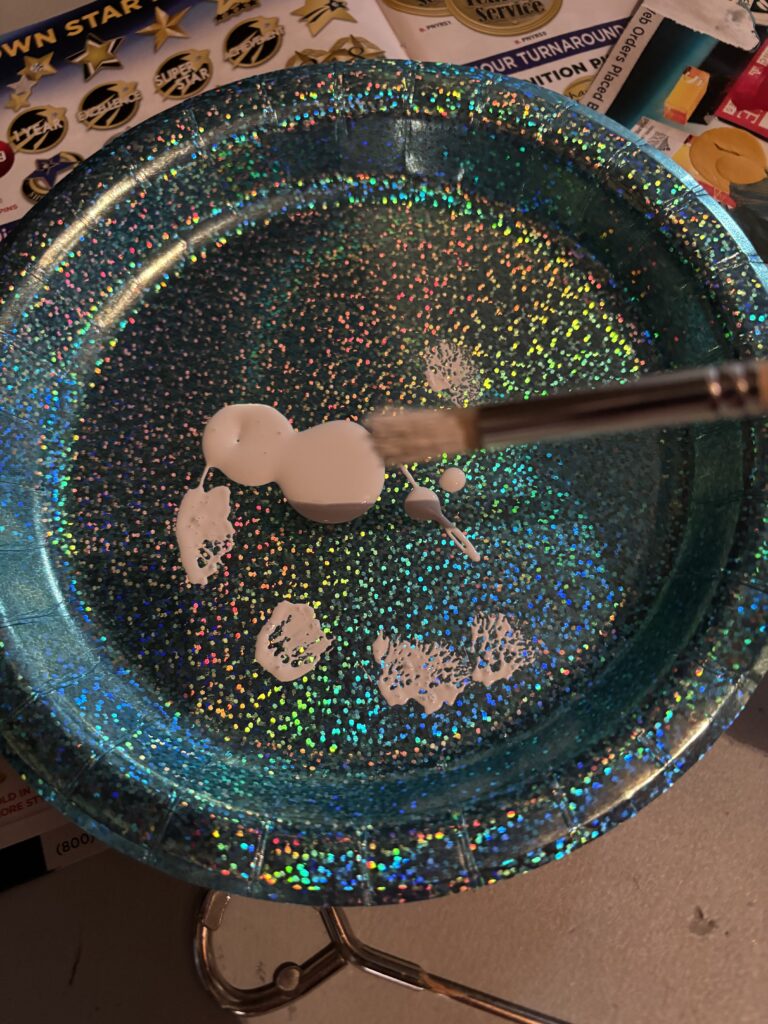
A paper plate works well for putting a small amount of paint on. That way you can dab the excess paint off before applying to the stencil.
What is your subject?
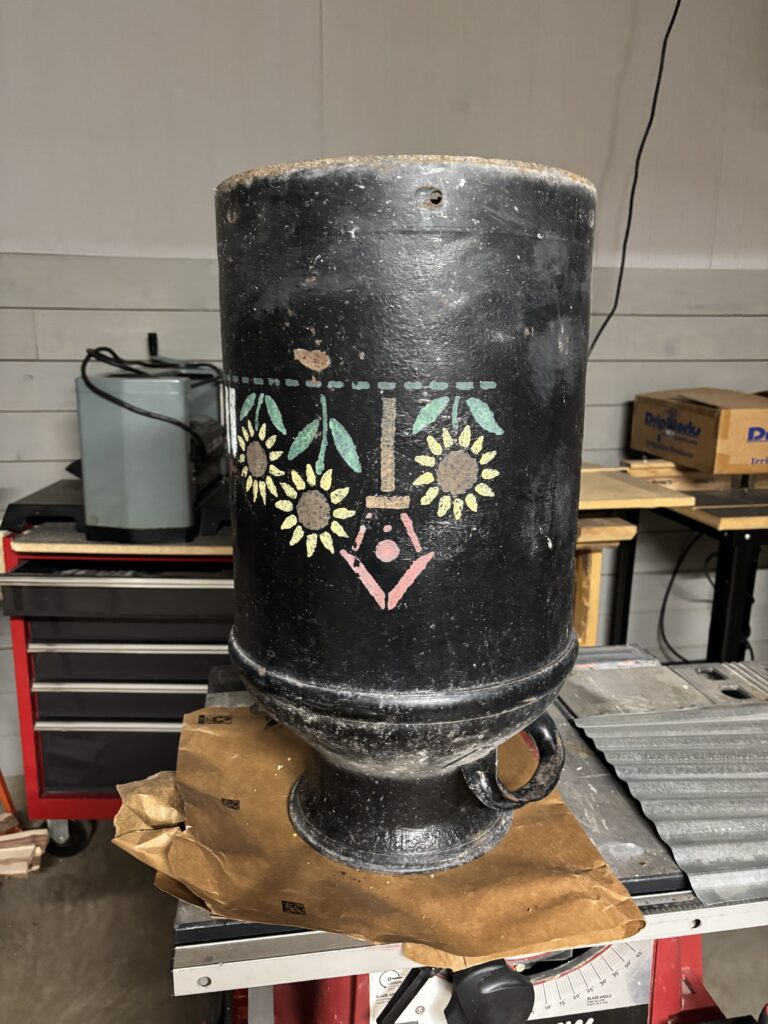
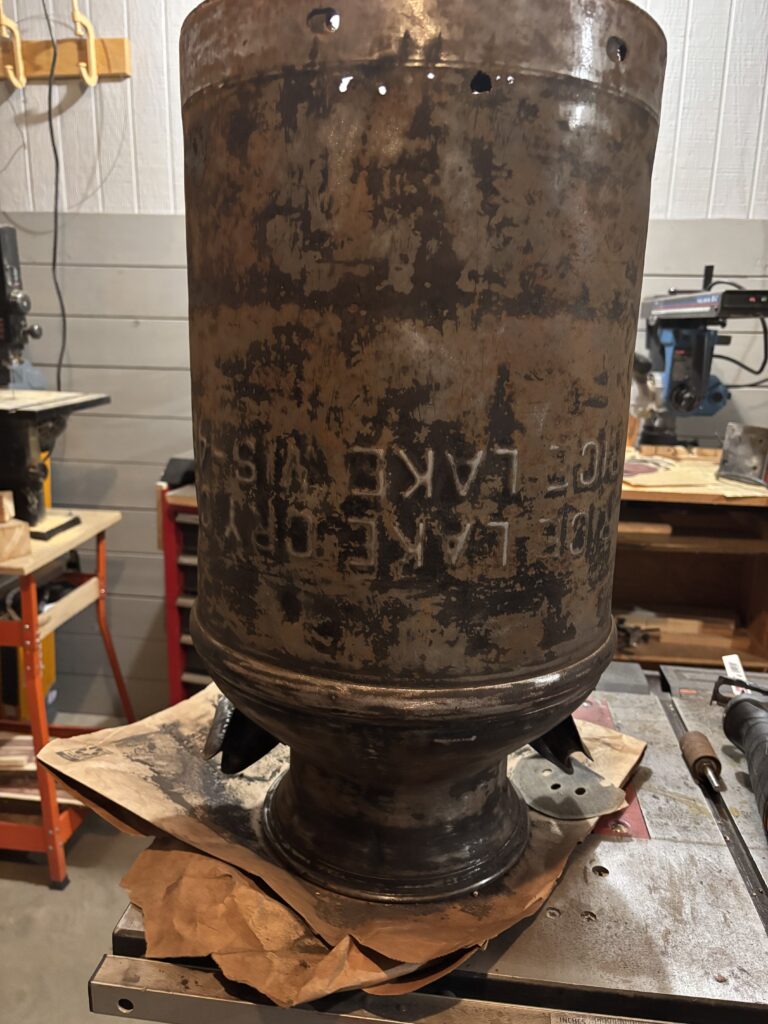
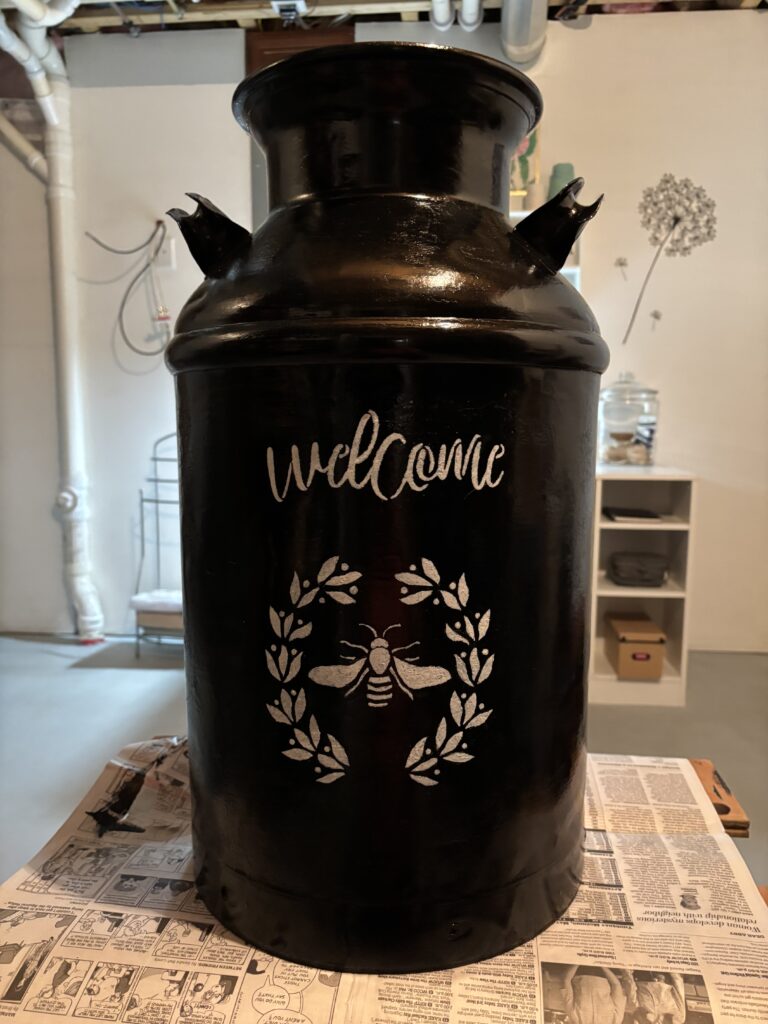
I had a project in mind before I bought the stencils. This is my mom’s milk can from the farm she grew up on. I stenciled it many years ago for her. It needed some repair and a refresh.
Prepare the surface
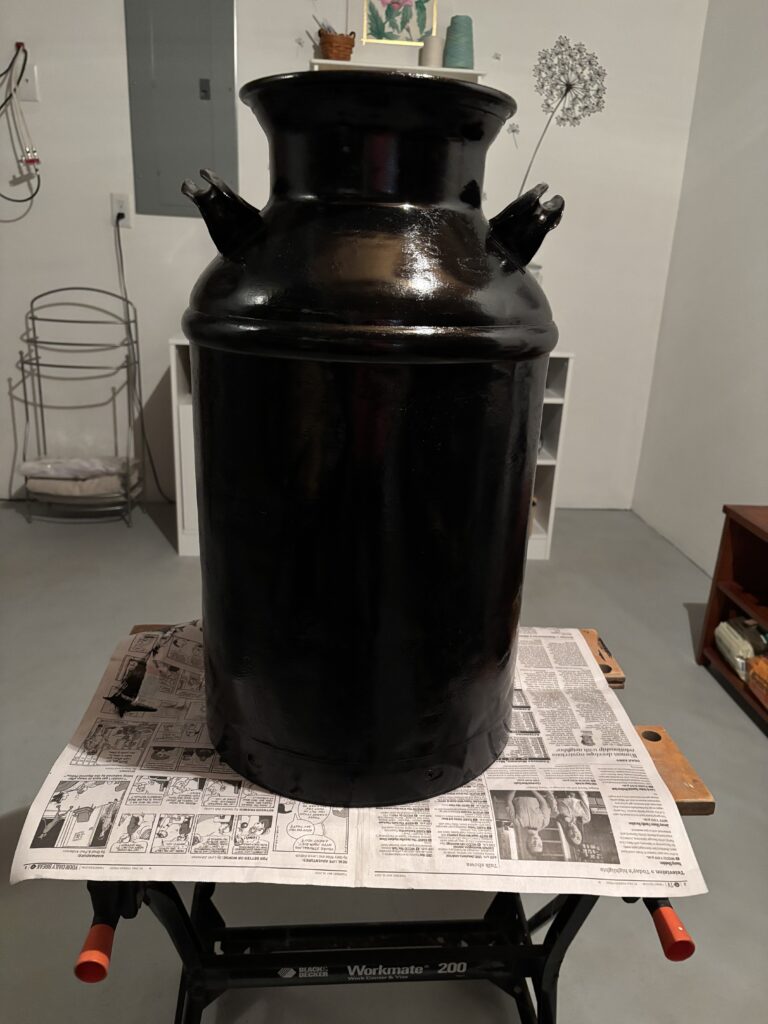
First I cleaned and sanded the surface. A smooth surface is important to do a successful stencil job. Then, I repainted the milk can with Rustoleum paint. Let the paint dry for at least 24 hours before stenciling.
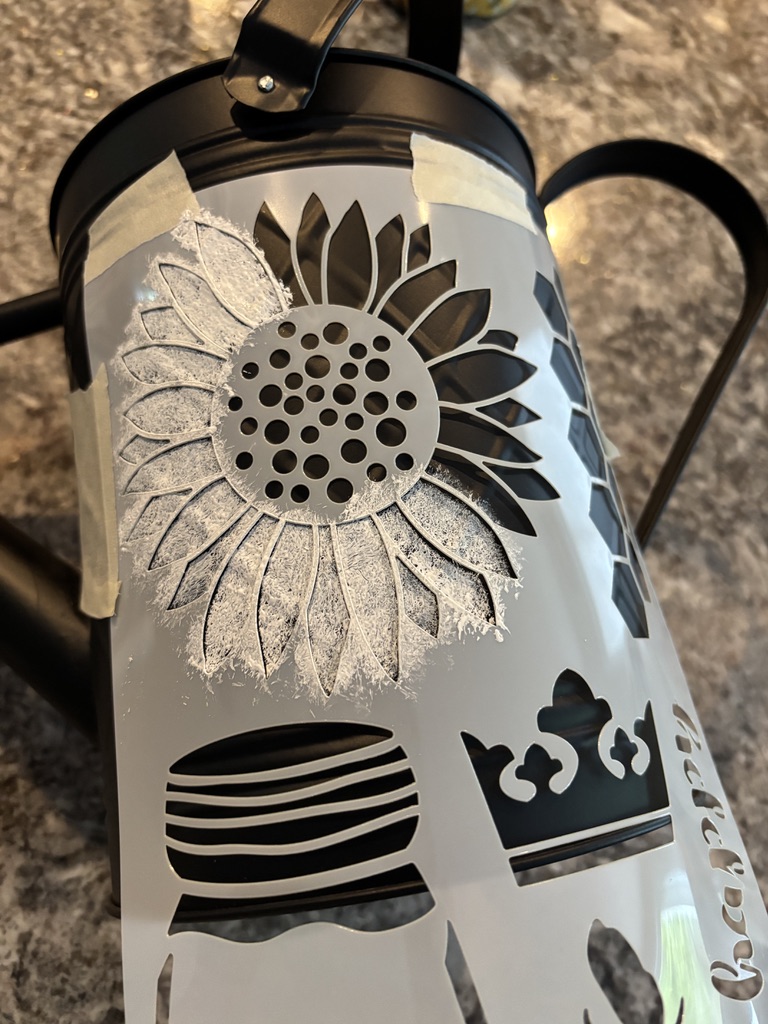
The placement
First I chose what stencils I wanted to use. I chose white paint to create a nice contrast on the black paint. Then, I decided where I wanted to put the stencils. Next, carefully tape the stencil in place.
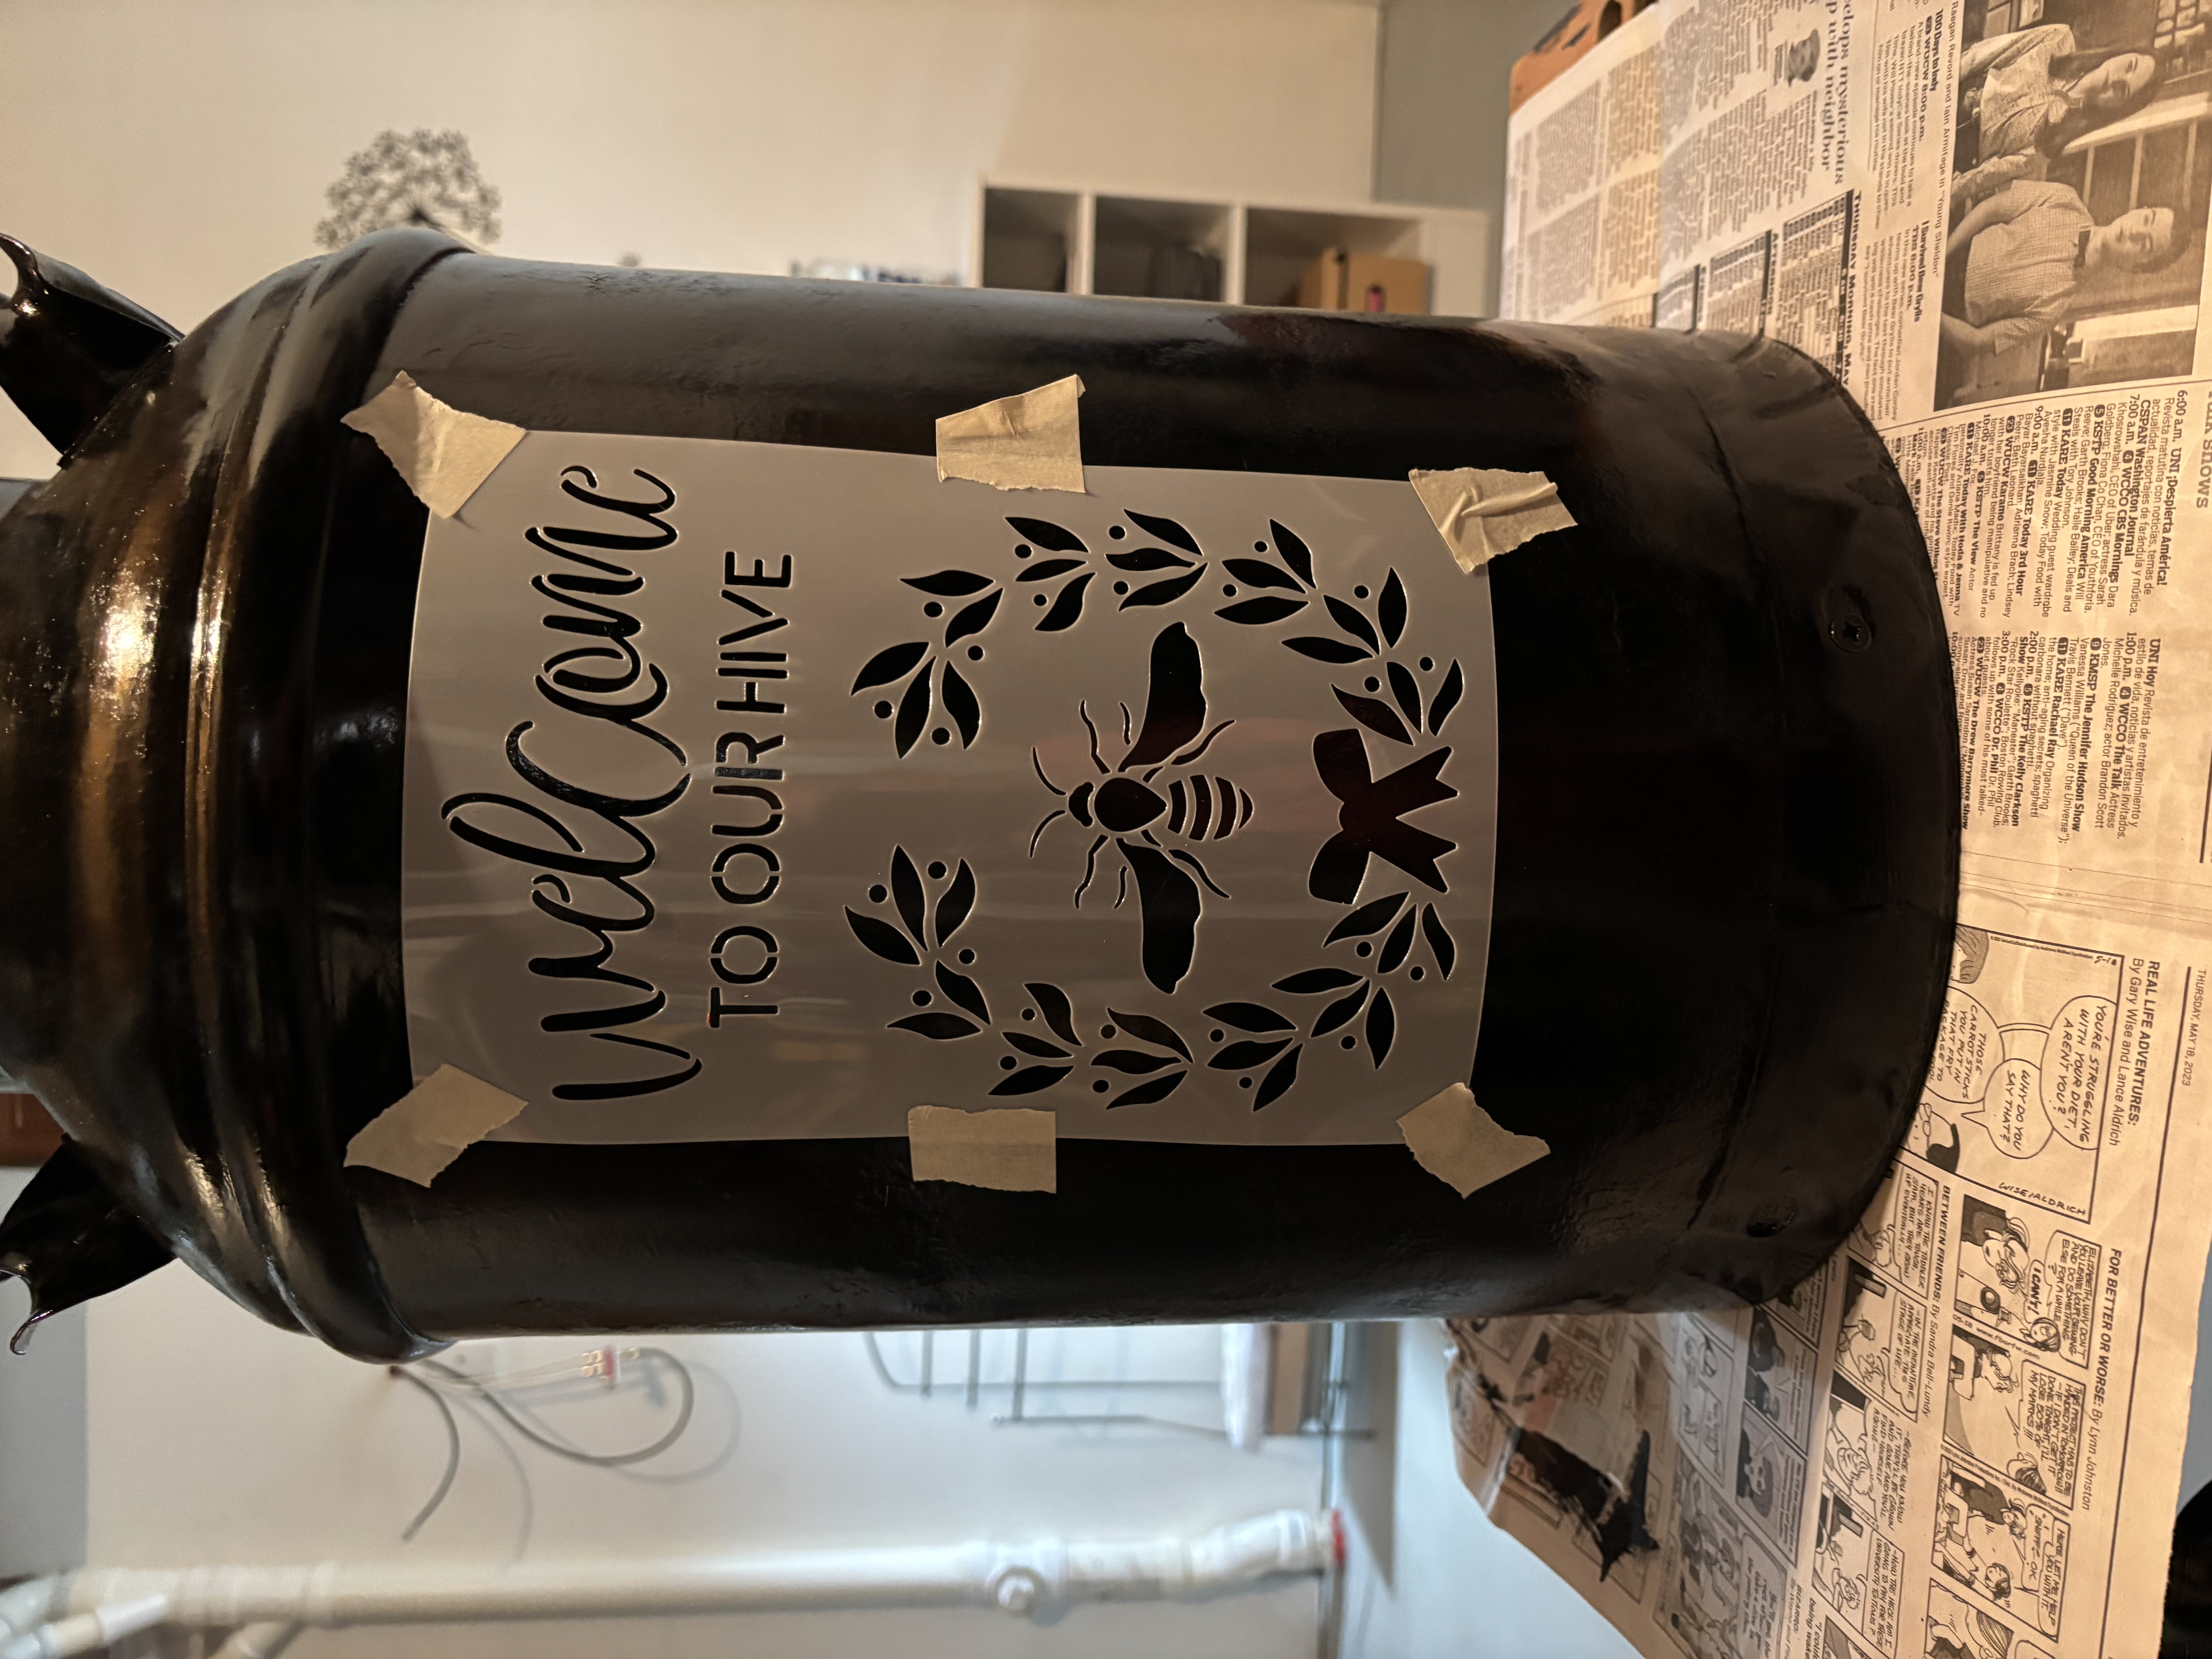
I chose not to stencil the bow or the words “To Our Hive” onto the milk can. I won’t put any paint over those areas.
The process
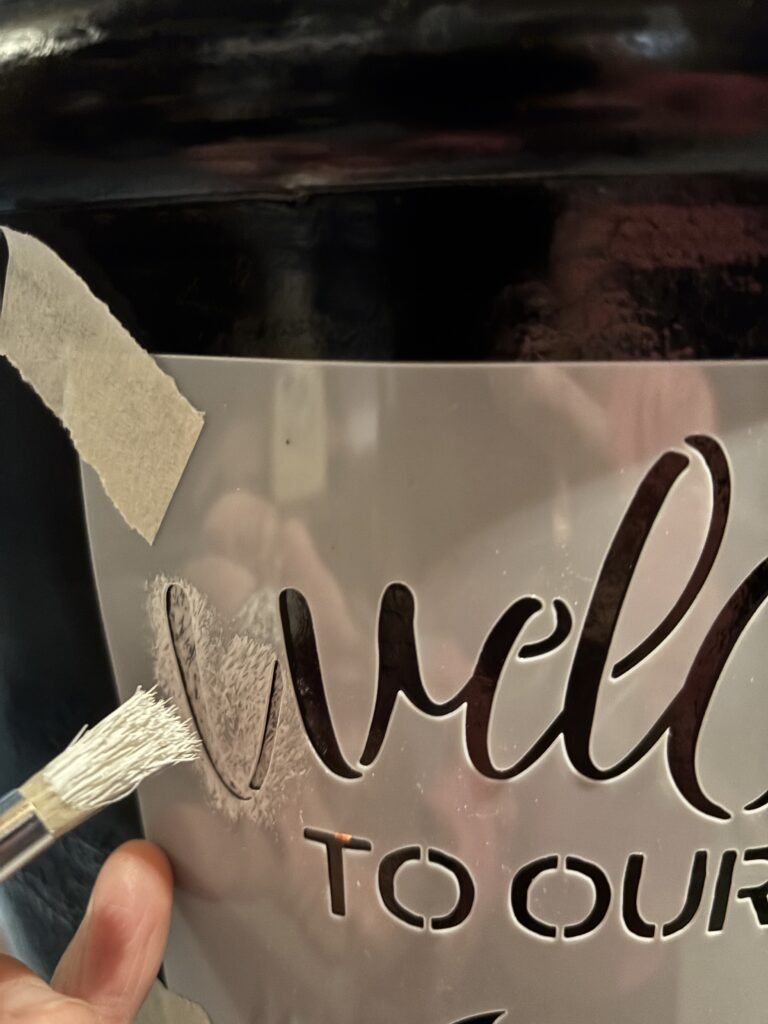
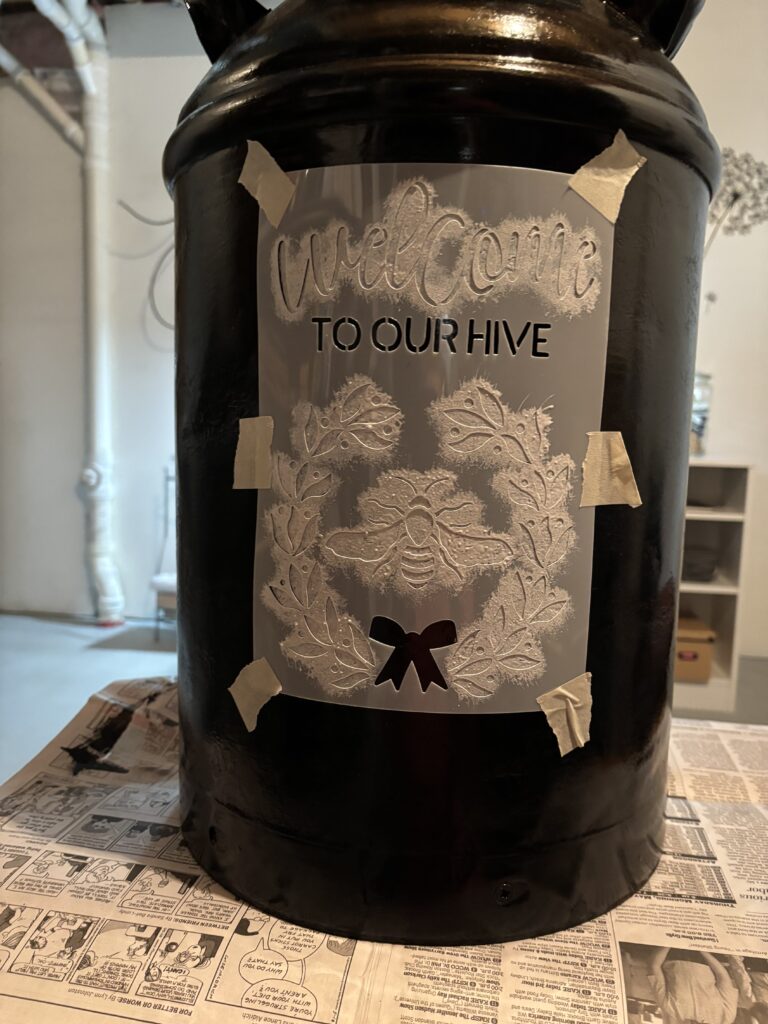
- First put a small amount of paint on a paper plate. You need very little paint to stencil.
- Next put the stencil brush in the paint, then dab it a few times on a clean spot on the plate.
- Now, keeping the brush straight out from the surface, use a dabbing motion to apply the paint to the stencil area.
- Start from the top and work your way down. Be cautious to keep your hands away from the wet paint/stenciled areas.
Removing the stencil
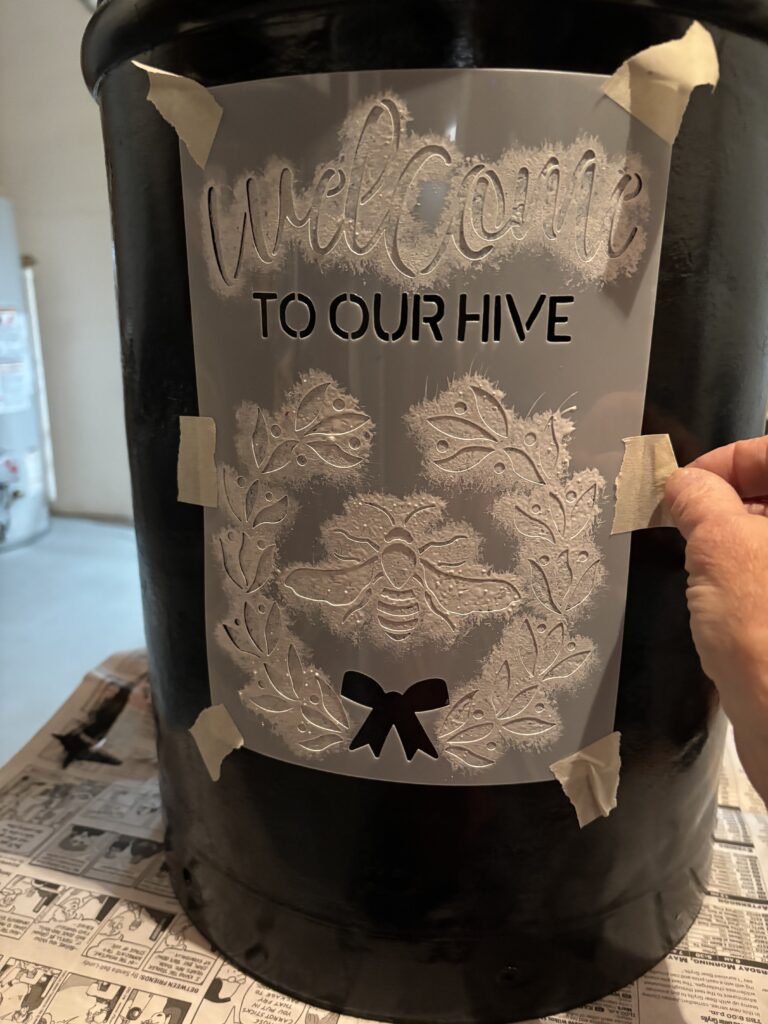
When you are done, carefully remove the masking tape holding the stencil in place. Then remove the stencil.
If you mess up, wash it off or paint over it and try again tomorrow!
I had some spots that I needed to use a small paint brush to touch up. The milk can is so old and the surface is not super smooth. Be sure to let the paint dry for 24 hours. I used acrylic paint that was for indoor/outdoor.
The finished milk can
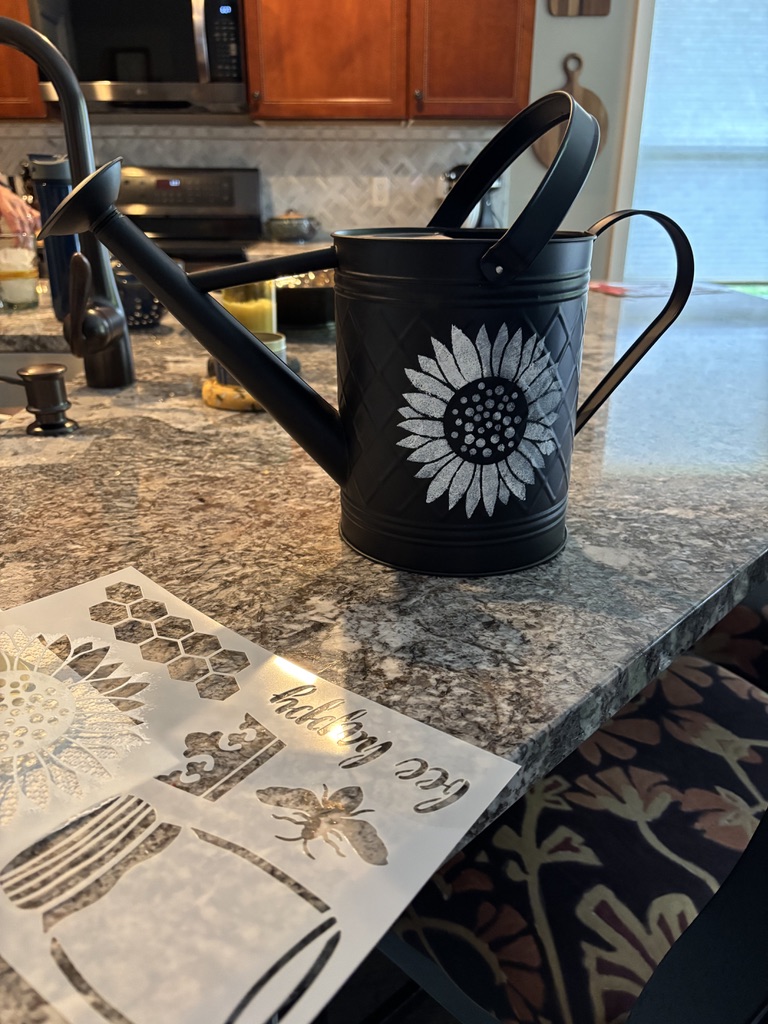
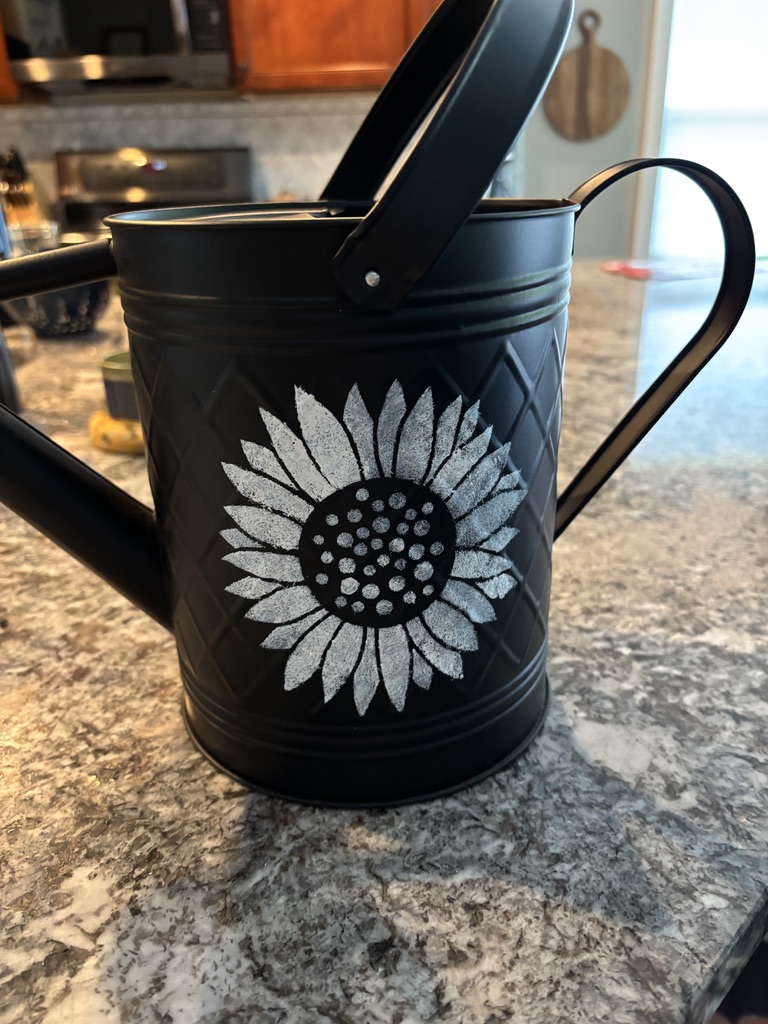
Another stencil project
I put the milk can on my mom’s front porch. She has a small table and chairs on the porch, so I bought a black watering can. Then I added a stencil to it to match.
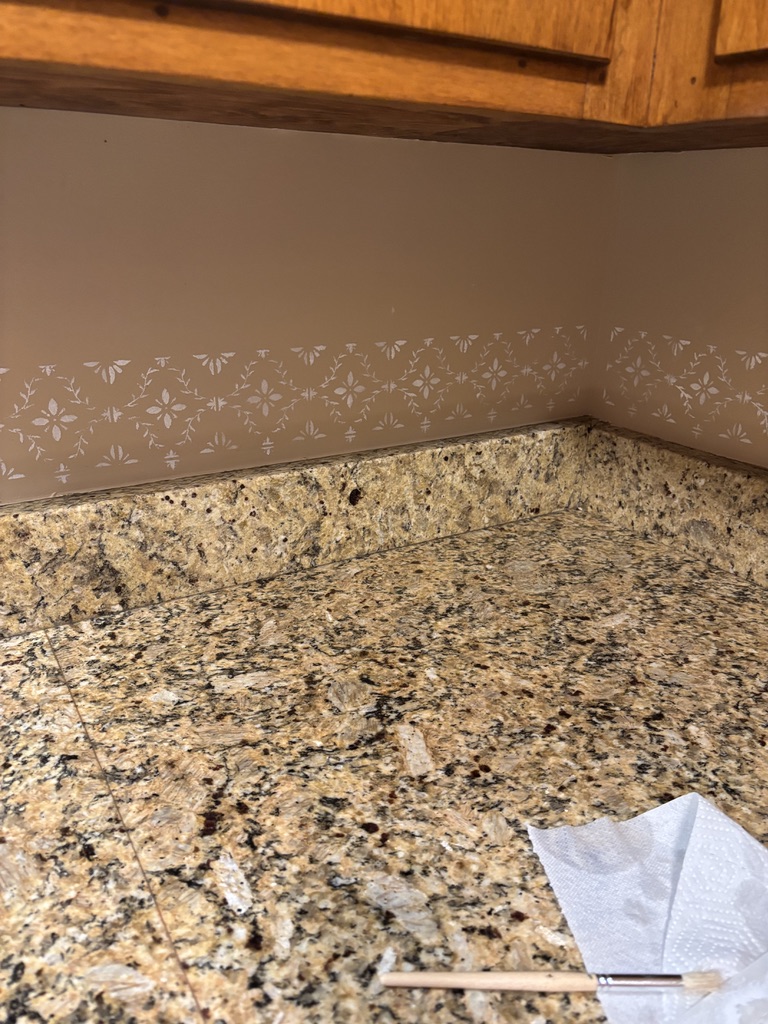
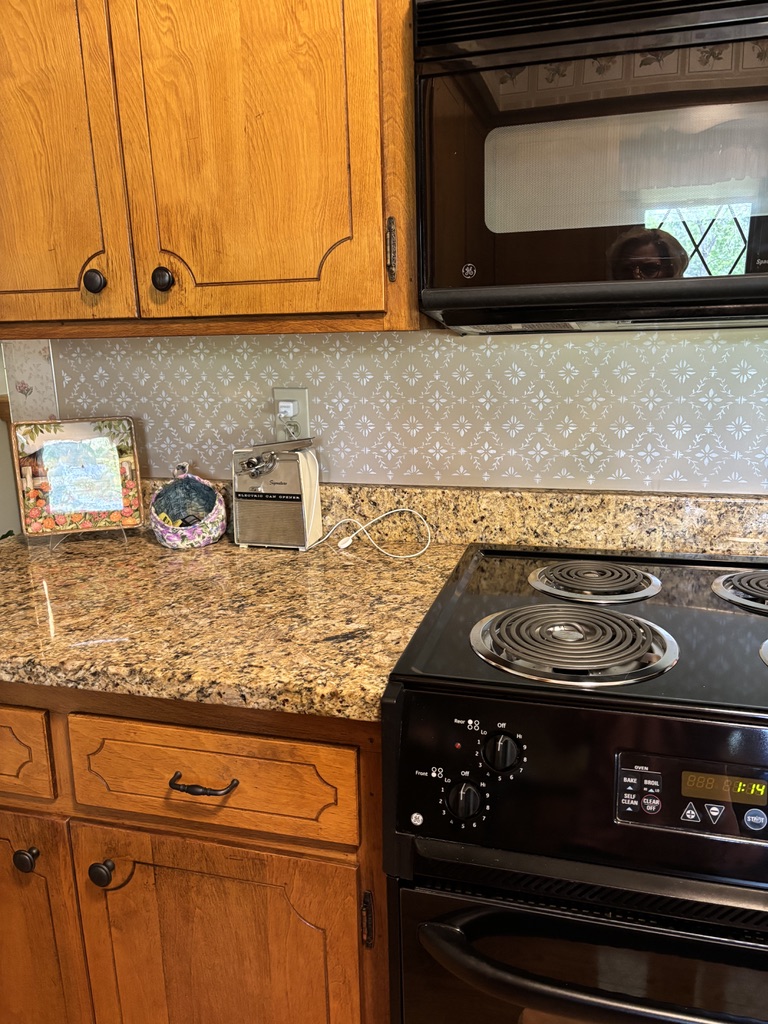
Another idea
My mom’s kitchen needed an update. She didn’t want to spend a lot of money or deal with a mess. Stenciling the backsplash gave the kitchen a fresh look, along with new hardware on the cabinets.
Personalized projects
You can see how stenciling personalizes a project and takes it to the next level.
Happy Stenciling! Kelly